This post may contain affiliate links. Please read my disclosure policy.
About This Recipe
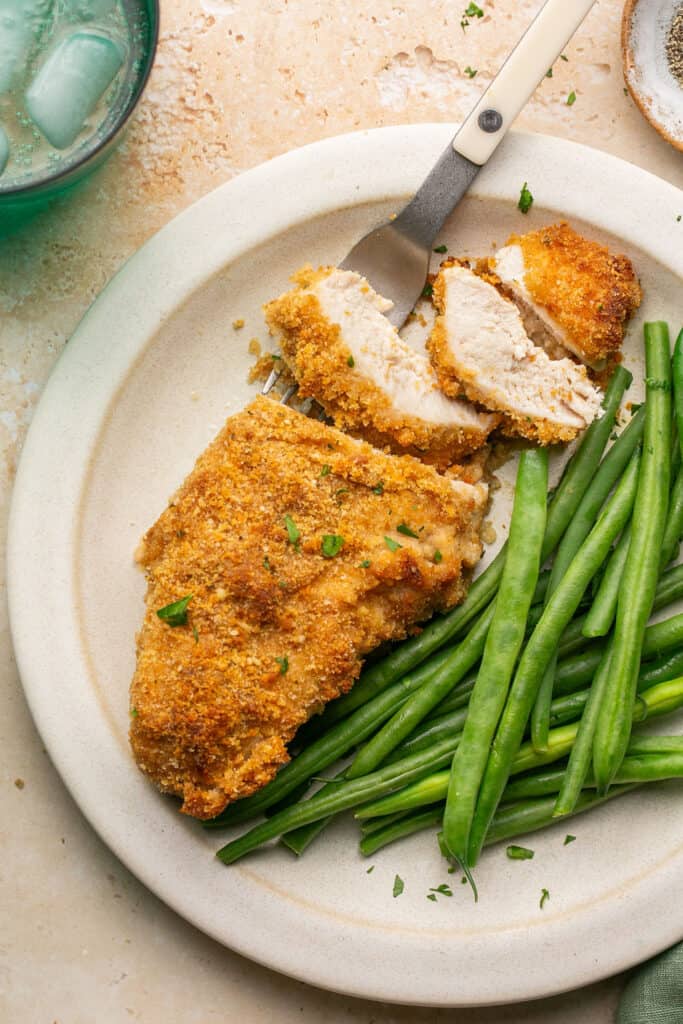
There’s just something so classic and nostalgic about breaded chicken and this breaded chicken (no egg) recipe and this one is my favorite! Made with only 3 simple ingredients, you won’t believe how tasty this chicken is.
This easy chicken recipe is made with my favorite secret ingredient – ranch dressing! No need for the traditionally egg wash used by most recipes. Not only does the ranch dressing act as the binding agent for the breadcrumbs but it also adds an insane amount of flavor and keeps the chicken MOIST! It’s seriously so good and way healthier than the traditional fried version.
Serve this chicken alongside some Air Fryer Sweet Potato Wedges, a baked potato, mashed potatoes, french fries, tater tots or some vegetables like Air Fryer Green Beans or Air Fryer Broccoli. You can also use this breaded chicken as a delicious addition to my Cobb Salad or Simple Salad with Goat Cheese and Cranberries.
And don’t forget your favorite dipping sauce! I love serving with my Skinny Chick-fil-A Honey Roasted BBQ Sauce or Skinny Honey Mustard!
Looking for more Macro-Friendly Chicken recipes? Check out these 50+ Easy and Hella Good Macro Friendly Chicken Recipes for more meal prep inspiration!
Why You’ll Love This Meal Prep Breaded Chicken
- A new way to make this traditional recipe with my special secret ingredient! No egg or olive oil required.
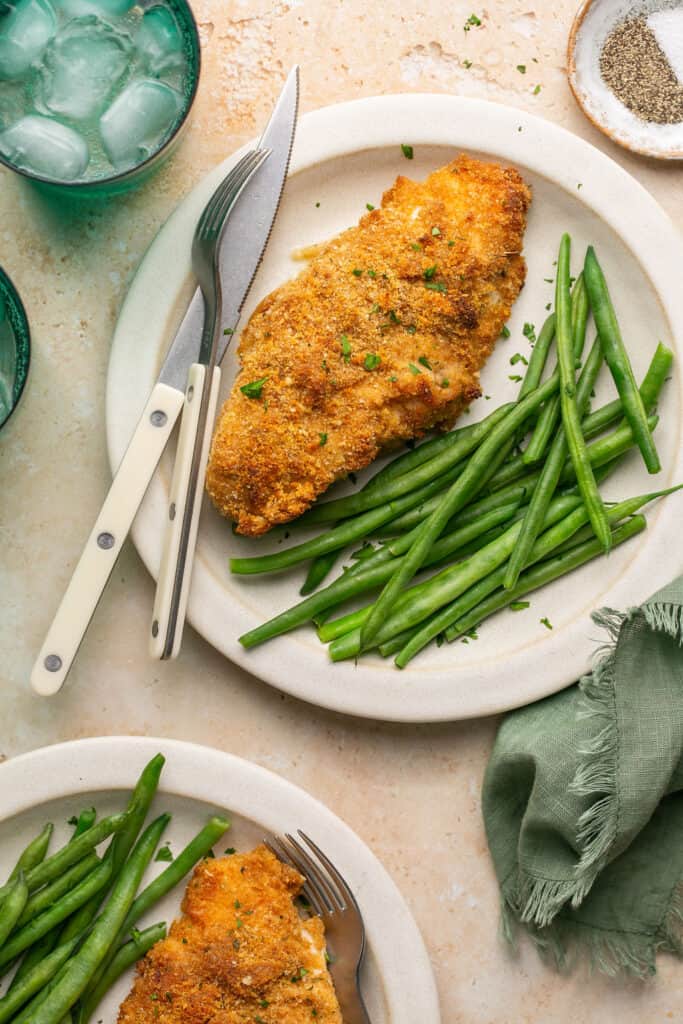
- The juiciest, crispiest chicken perfect for any busy night! No deep frying or messy cleanup!
- Super easy to make and only 3 ingredients required. You might not even need a trip to the grocery store!
- Perfect to serve with your favorite sides or throw on top your favorite salad.
- The most tender, delicious chicken with a crispy crust the whole family will love.
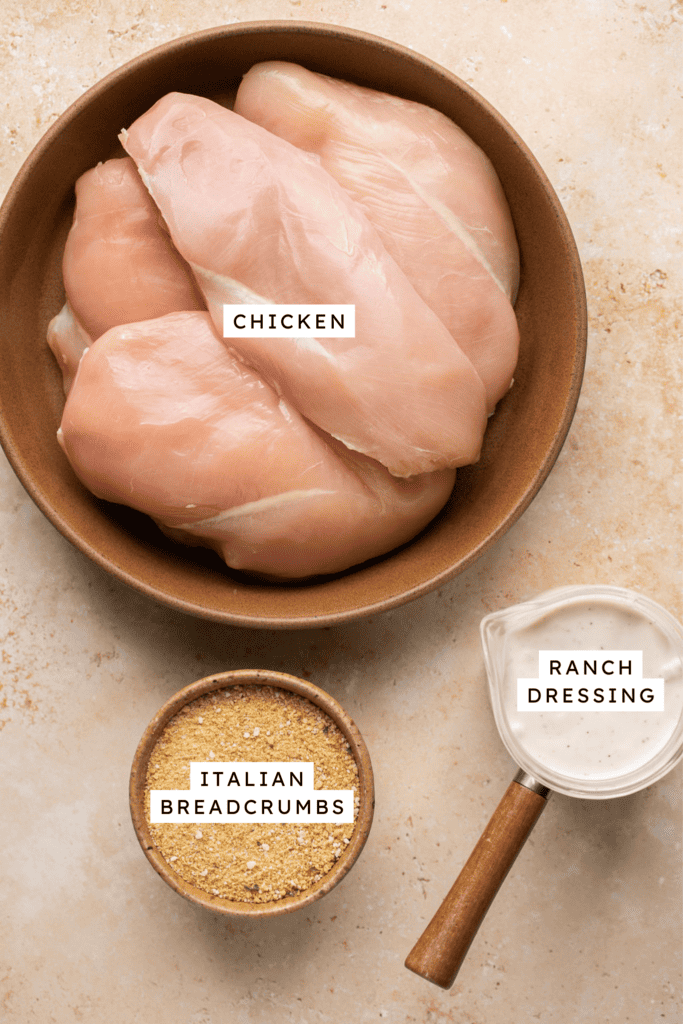
- Chicken – I used boneless skinless chicken breast
- Italian breadcrumbs
- Light ranch dressing – I used Ken’s brand
- Switch up the protein! Use boneless chicken thighs or even swap for boneless pork chops!
- Mix up the breaded! You can swap the Italian breadcrumbs for panko breadcrumbs or regular breadcrumbs. Or try crushed corn flakes or Rtiz crackers for a fun variation!
- Add extra cheese! Sprinkle a little extra parmesan cheese in with your breading mixture to really kick up the flavor!
- Make it dairy-free! Make this chicken dairy-free by subbing the ranch dressing for dairy-free ranch or light mayonnaise.
- Spice it up! Add extra seasoning like garlic powder, Italian seasoning, black pepper, paprika, or a pinch of cayenne pepper to give your chicken an even bigger flavor boost.
How To Make
The full printable recipe is below, but let me walk you through the process so you know what to expect when you’re making it!

1. Preheat the oven to 400 degrees F. Place a wire rack on top of a large baking sheet. Pat chicken dry with a paper towel and season both sides generously with salt and pepper.
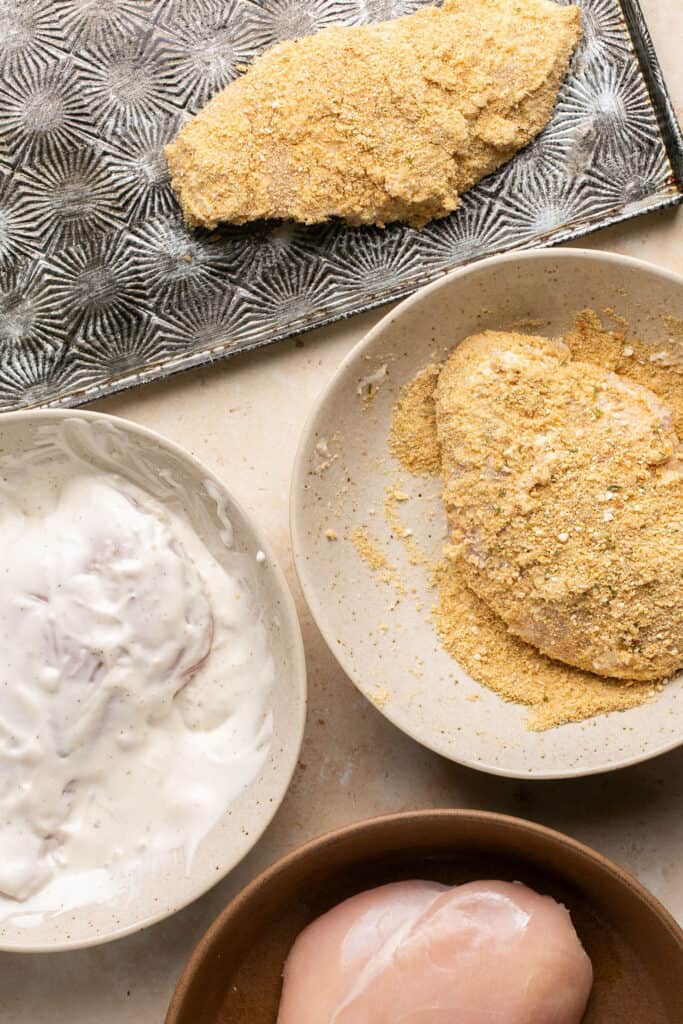
2. In a flat, shallow dish, add the breadcrumbs. In a separate shallow dish, add the dressing. Create an assembly line in this order: chicken, dressing, breadcrumbs, baking sheet.
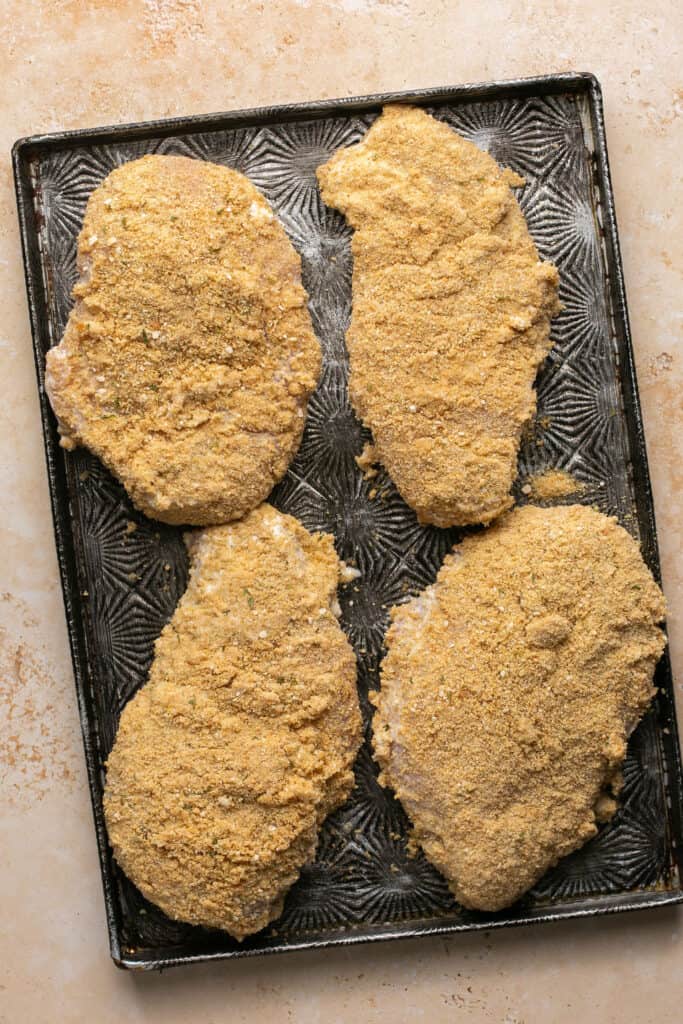
3. Dip each chicken breast in the dressing, then in the breadcrumbs, and then onto the prepared baking sheet. Arrange the coated chicken breasts on the wire rack and top with any remaining breadcrumbs.
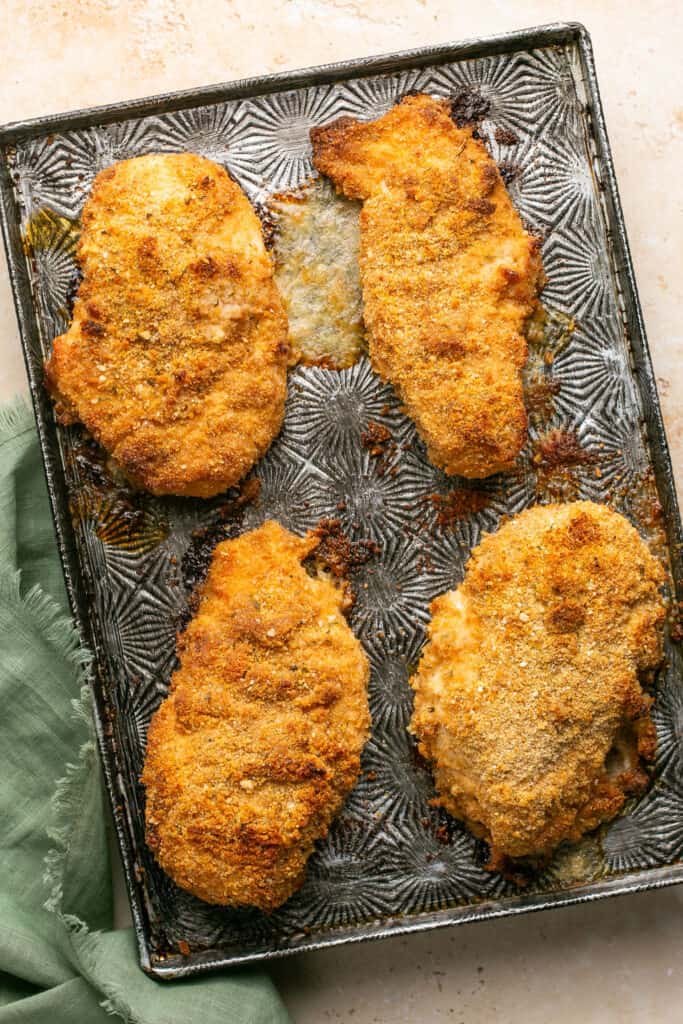
4. Bake for 30-35 minutes, or until the internal temperature of the chicken reaches 165 degrees F. Let sit for at least 5 minutes before slicing and enjoy!
For The Best Breaded Chicken
- Even Thickness: pound the thicker end of the chicken pieces with a meat mallet (or rolling pin) to make both sides are leveled out so they cook evenly.
- Brine chicken: for the juiciest, most tender chicken, brine chicken in lukewarm salt water for 15 minutes (or more) before breading.
- Let rest: be sure to let chicken rest and cool for at least 5 minutes before cutting to ensure optimal juiciness.
- Use a wire rack: this makes a huge difference in the crispiness of your breaded chicken! It allows both sides to bake the whole time in the oven and prevents the bottom side from getting soggy. If you don’t have a wire rack, you can still make it work. Just flip the breasts halfway through baking.
Do I need to brine this breaded chicken (no egg) before cooking?
Brining this chicken isn’t necessary but you can brine it if you prefer. To brine chicken, place chicken breasts sit in salted, lukewarm water for a minimum of 15 minutes (or up to overnight in the fridge). Rinse chicken chicken with cold water and dry with a towel before dipping chicken in ranch dressing and bread crumbs.
How do I store this breaded chicken?
Store leftover breaded chicken in an airtight container in the fridge for up to 4 days.
Can I cook this chicken in the air fryer?
Yes, you can cook this chicken in the air fryer if you prefer. To cook in the air fryer, preheat your air fryer to 390 degrees F. Coat the basket with cooking spray, then arrange the chicken in the basket in a single layer (you will likely need to cook the chicken in two batches). Air fry the breaded chicken breast on the first side for 4 minutes. Then flip the chicken and continue cooking for 2 to 5 additional minutes (cooking times may vary based on type of air fryer) or until the internal temperature of 165 degrees F.
How do I know when my breaded chicken is done?
One of the biggest mistakes when cooking chicken (or various other types of meat) is overcooking it and waiting until it reaches 165F to pull it out. You can actually cook chicken until it reaches 155F and allow carryover cooking to ensure it reaches 165F. This helps keep your chicken moist and juicy and avoids overcooking which can dry your chicken out. For best results, I recommend using an instant meat thermometer to check the internal temperature of the chicken!
Did you make this? If you snap a photo, please be sure leave a review, tag me on Instagram or TikTok at @LaurenFitFoodie or hashtag #LaurenFitFoodie so I can see your creations!
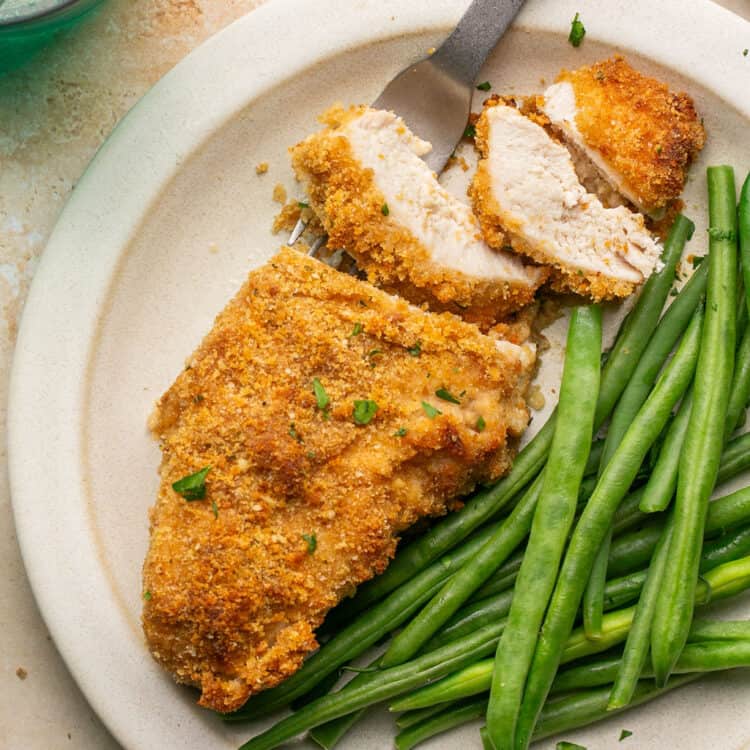
Meal Prep Breaded Chicken (No Egg)
Ingredients
- 2 lb. boneless skinless chicken breast
- 1/2 cup Italian breadcrumbs (56g)
- 1/2 cup light ranch dressing (120g) I used Ken’s brand
Before You Begin! If you make this, please leave a review and rating letting us know how you liked this recipe! This helps our business thrive & continue providing free recipes. Scroll for macros and MyFitnessPal code.
Instructions
- Preheat the oven to 400 degrees F. Place a wire rack on top of a large baking sheet.
- Pat chicken dry with a paper towel and season both sides generously with salt and pepper.
- In a flat, shallow dish, add the breadcrumbs.
- In a separate shallow dish, add the dressing. Create an assembly line in this order: chicken, dressing, breadcrumbs, baking sheet.
- Dip each chicken breast in the dressing, then in the breadcrumbs, and then onto the prepared baking sheet. Arrange the coated chicken breasts on the wire rack and top with any remaining breadcrumbs.
- Bake for 30-35 minutes, or until the internal temperature of the chicken reaches 165 degrees F.
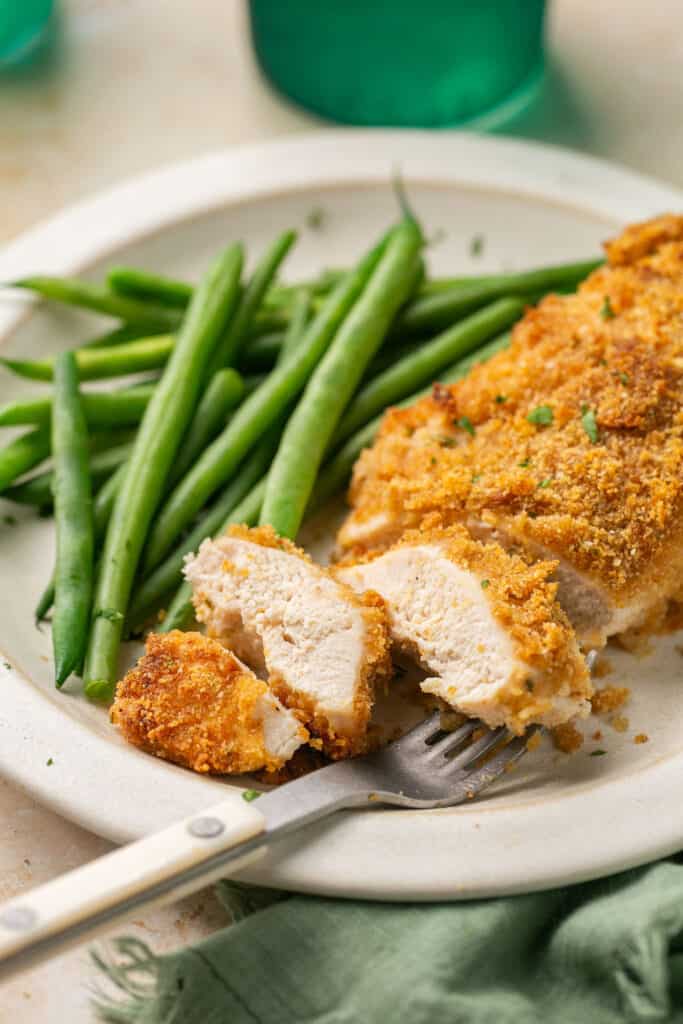
- Let sit for at least 5 minutes before slicing and enjoy!
Notes
- Even Thickness: pound the thicker end of the chicken pieces with a meat mallet (or rolling pin) to make both sides are leveled out so they cook evenly.
- Brine chicken: for the juiciest, most tender chicken, brine chicken in lukewarm salt water for 15 minutes (or more) before breading.
- Let rest: be sure to let chicken rest and cool for at least 5 minutes before cutting to ensure optimal juiciness.
- Use a wire rack: this makes a huge difference in the crispiness of your breaded chicken! It allows both sides to bake the whole time in the oven and prevents the bottom side from getting soggy. If you don’t have a wire rack, you can still make it work. Just flip the breasts halfway through baking.
Nutrition Information
Nutrition is hand-calculated and accurate. No autocalulations! However, note that values can vary based on the brands you use and if you substitute ingredients.


