This post may contain affiliate links. Please read my disclosure policy.
About This Recipe
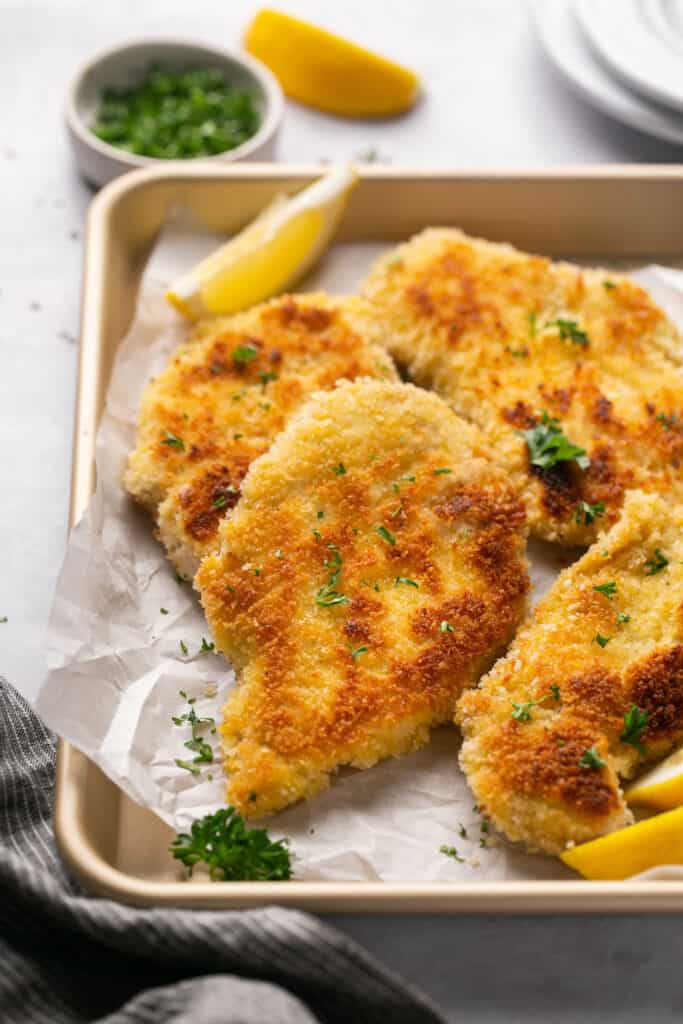
Schnitzel is a fun word to say, isn’t it! So, what IS schnitzel? Schnitzel actually comes from the German word schnitt, which translates to “cut.” Basically, it is a simple way of preparing thin cutlets of meat by breading and frying them.
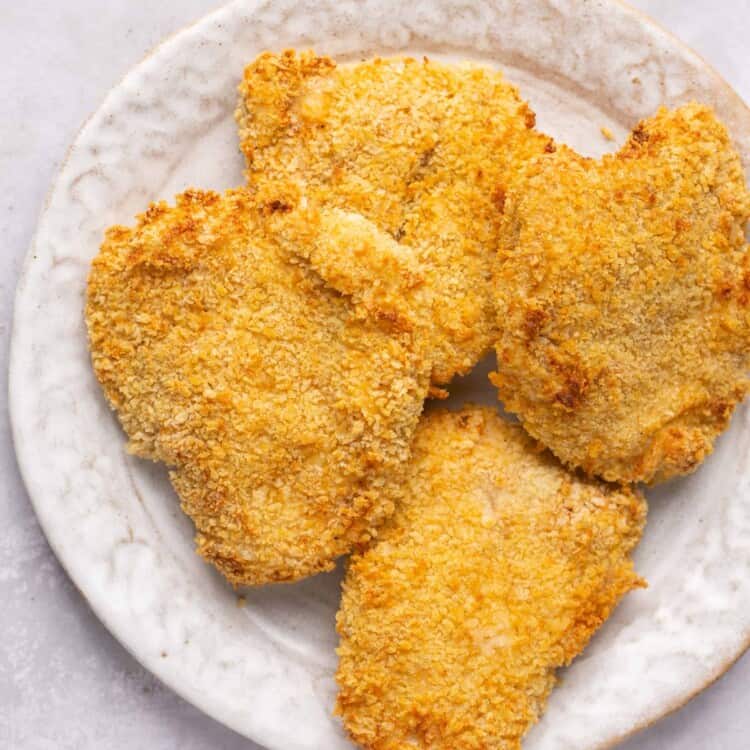
This chicken schnitzel recipe is similar to the traditional version in the sense that we are also using thin cutlets, also breading them and also pan-frying them.
However deep frying can really add the fat on quickly, so I wanted to lighten them up a little bit. So instead of deef frying I just added a few tablespoons of canola oil and found it to be the perfect amount. The chicken was so crispy and so juicy!
So the fact that this recipe uses less oil is what makes it a little healthier and lighter from the traditional! Plus did I mention it is also packed with protein?! 44 grams per serving!
This healthy chicken schnitzel recipe pairs well with SO many different sides! Serve with a side of veggies such as a fresh salad, my Air Fryer Broccoli, Ginger Maple Glazed Carrots, or Air Fryer Green Beans.
It’s also delicious paired with potato salad, french fries, mashed potatoes, or my Air Fryer Sweet Potato Wedges!
Why You’ll Love This Healthy Chicken Schnitzel
- Lightened up chicken schnitzel! Lower in fat and a great protein-packed, star-of-the-meal, option
- Staple + easy ingredients – all normal ingredients, you probably have most of them already!
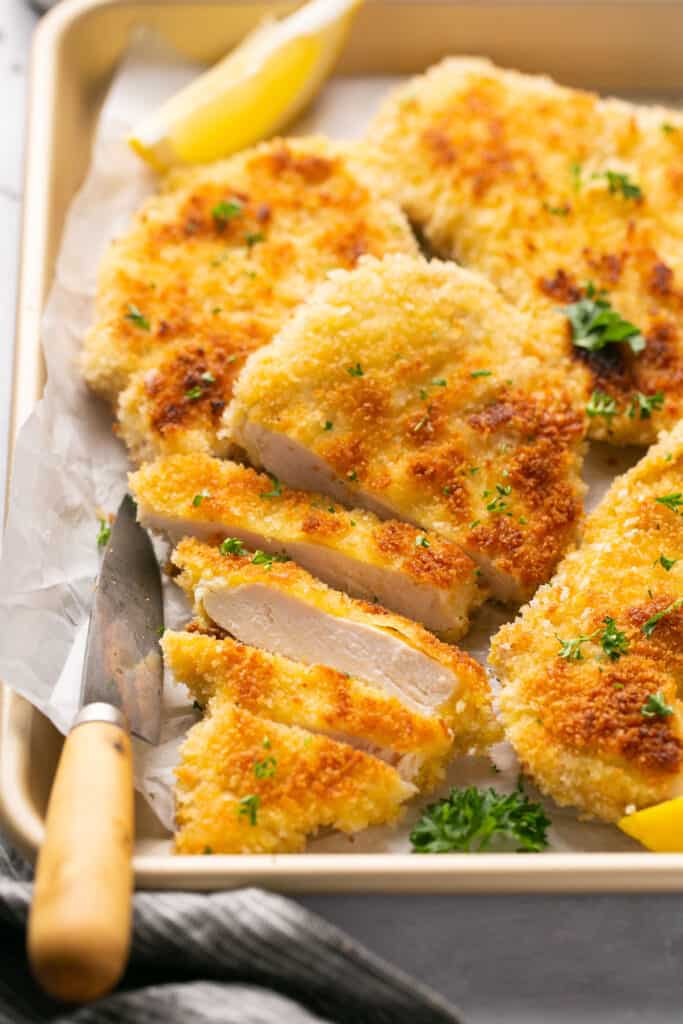
- Crispy, tender, juicy – tender juicy chicken coated in golden crispy perfection!
- Both kids and adults alike will LOVE this! Truly, it will become a family favorite!
- Ready in 30 minutes – an easy go-to for weeknights
- A comfort food staple to add to your recipe collection. Because pan-fried juicy chicken always sounds pretty dang delicious!
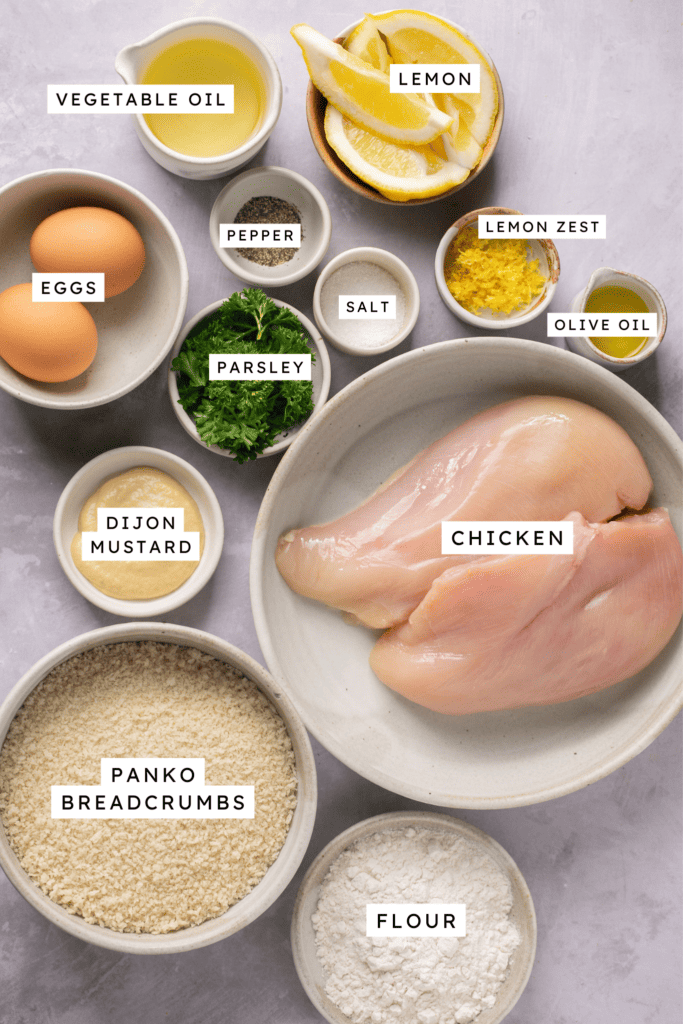
- Chicken Breasts – I used skinless boneless chicken breasts.
- Eggs
- Dijon mustard – gives it a little tang!
- Flour – I used all purpose flour. You could also use gluten-free flour here. My favorite gluten-free flours are Bob’s Red Mill and King Arthur’s.
- Panko bread crumbs – make sure to use Panko and not Italian or it won’t get as crispy! Use gluten free if needed.
- Cooking oil – I used both olive oil and canola oil in this recipe. The canola oil is for pan frying the chicken. If you want to use a different oil, make sure it has a high heat point. If you use olive oil, make sure it is light olive oil for frying and not extra virgin olive oil.
- Lemon – I used a fresh lemon for zest and serving. It’s optional but normally used in the traditional versions and it gives the chicken a lot of flavor!
- Parsley – for serving, also gives it a whole other level of flavor and freshness! I used fresh chopped parsley.
How To Make
The full printable recipe is below, but let me walk you through the process so you know what to expect when you’re making it!
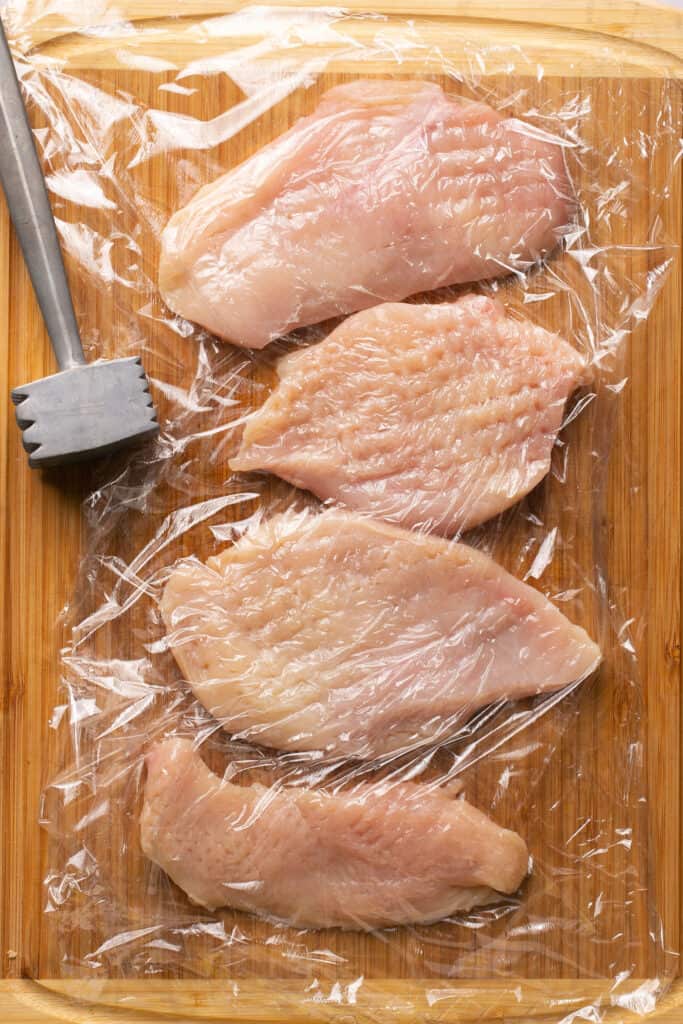
1. Pat the chicken breasts dry with a paper towel then cut each piece horizontally (like you are butterflying) to make two thinner cutlets (so you have four total). Place the chicken between two sheets of plastic wrap and pound with a meat mallet or rolling pin them until they are 1/4 inch thick. Generously season both sides with salt and pepper.
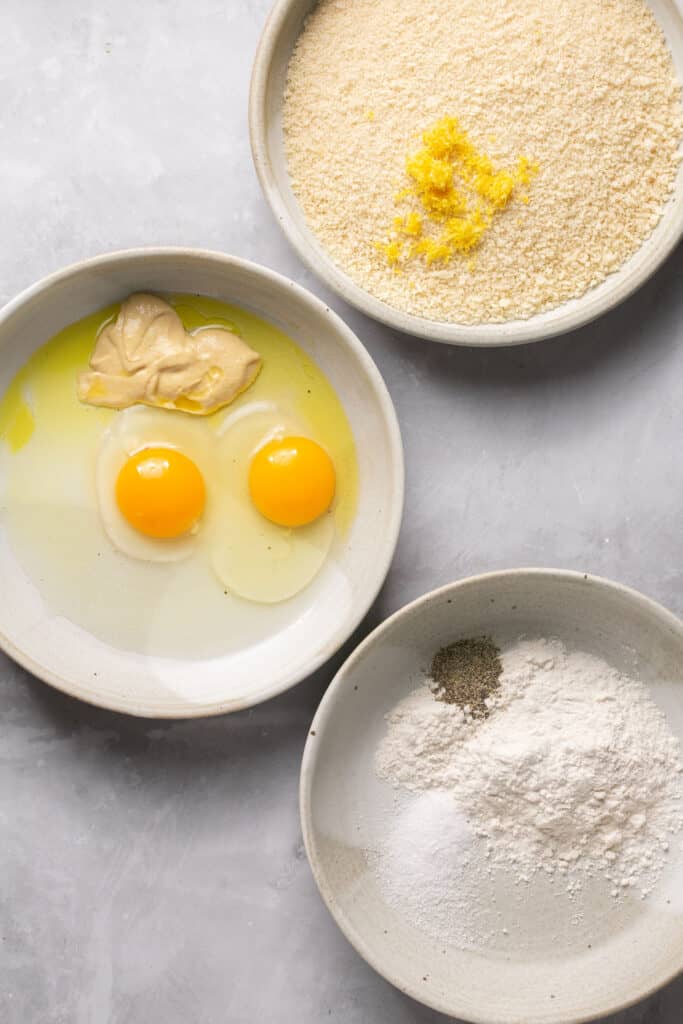
2. Prepare three shallow bowls. In one, mix together the flour, 1 tsp salt and 1/2 tsp black pepper. In a second, whisk together the eggs, mustard and olive oil. In the third bowl, add the panko breadcrumbs and lemon zest (if using).
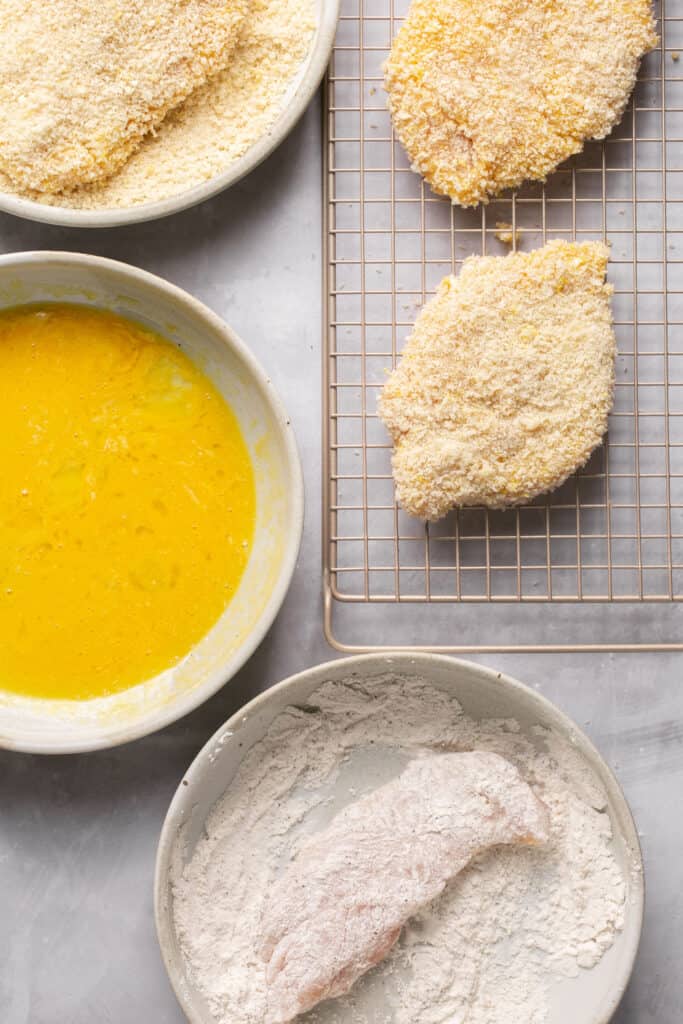
3.First dip the chicken cutlet completely in the flour mixture, shaking off any excess. Next, dip completely in the egg mixture, shaking off any excess. Then lastly, dip in the breadcrumb mixture, using your fingers to press to ensure the chicken is coated evenly. Repeat with the remaining chicken.
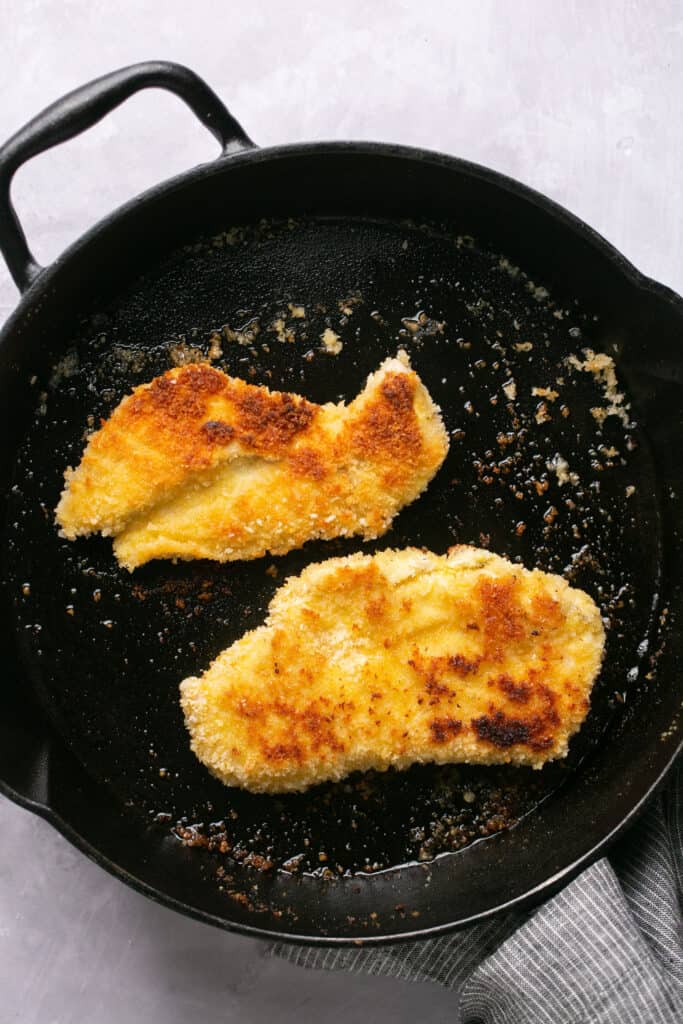
4. Heat 2 Tbsp of vegetable oil in a large skillet or frying pan over medium heat. When shiny, add two pieces of the coated chicken in a single layer and reduce heat to medium-low. Fry the first side for 2 to 3 minutes or until golden brown, then flip and cook for another 2 to 3 minutes or until internal temperature reaches 155F.*
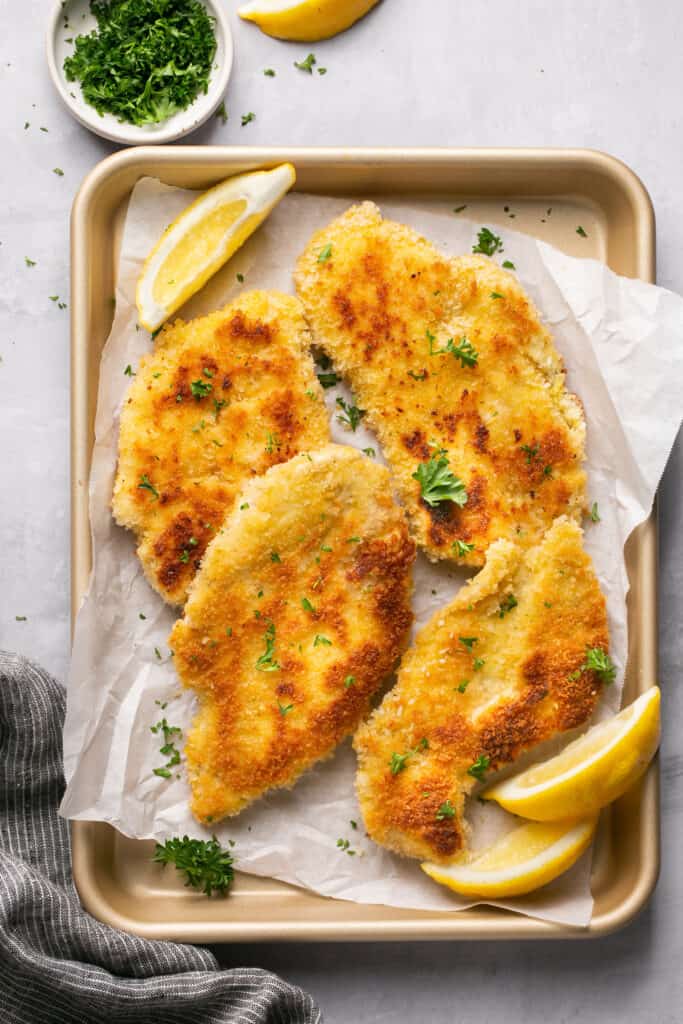
5. After both sides of the chicken have been cooked, transfer chicken to paper towel-lined plate. Wipe the skillet clean and add another 2 Tbsp of vegetable oil. Repeat for the other two chicken pieces and placed on the paper towel-lined large plate.

6. Garnish breaded chicken with fresh parsley and lemon slices to serve!
Helpful Tips
- Do not skip pounding the chicken. The chicken needs to be even and thin (¼ inch thick) to ensure the chicken cooks evenly and fast. If chicken is too thick you risk burning the breading or overcooking the chicken.
- Use Panko breadcrumbs – Normal Italian breadcrumbs don’t get as crispy as Panko breadcrumbs. Make sure you’re using Panko!
- Use a high-heat point oil. What we don’t want is for the breading to burn before the chicken has a chance to cook throughout. That’s why I used canola oil. I typically prefer to use olive oil over canola oil because it’s healthier (see this article), but I hardly ever use it and it’s fine in moderation! Plus it’s worth it for me for this one because it really helps give this schnitzel that perfect crispy crunchy outer coating!
- Don’t over-cook the chicken – over-cooking can result in the chicken drying out and not being tender and juicy – which we don’t want! Check internal temperature with a thermometer to ensure chicken is cooked through (no longer pink in the middle or internal temperature reaches 165F). I actually like to remove from chicken when it reaches 155F because it will still continue to cook some even when it’s not in the pan and this way it prevents overcooking.
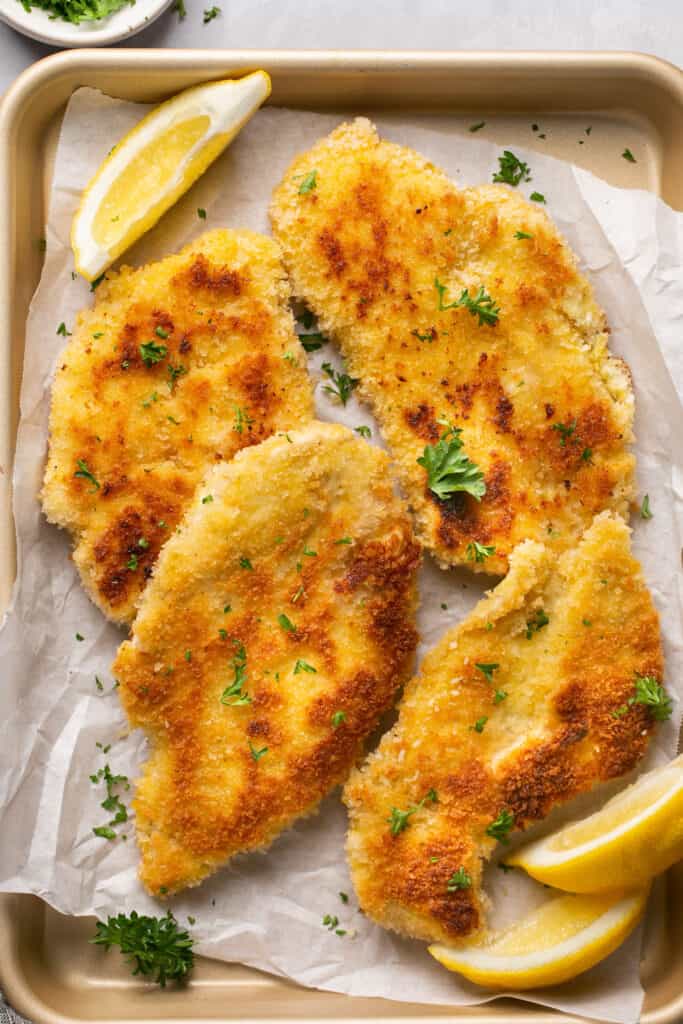
What is Schnitzel?
Schnitzel actually comes from the German word schnitt, which translates to “to cut”. It’s a simple way of preparing thin cutlets of meat by breading and frying them. Typically the most common meat for schnitzel is veal, pork, but you also see varieties made with chicken or turkey.
What makes this chicken schnitzel healthy?
It uses less oil than the traditional version. We’re more so pan-frying here than deep frying, so less oil is being used. Oils are great but they are calorie dense and it’s easy to add a lot of calories and fat with a little oil. So pan-frying them in this method cuts down the fat and calories and in a way we can better control and measure.
Why do you add olive oil to the egg mixture when you are using oil to fry?
It helps lock the moisture in! Don’t skip this!
What is this healthy chicken schnitzel best served with?
I honestly feel like it goes with just about everything! A baked potato, mashed potatoes, potato wedges or air fryer sweet potato wedges. Serve it with some vegetables like air fryer green beans, air fryer broccoli or ginger maple carrots. Or serve it over a bed of greens for a hella good, 5-star salad!
Can you make gluten-free chicken schnitzel?
You sure can! Just be sure to use gluten free flour and gluten free Panko breadcrumbs.
Can you make this chicken schnitzel dairy-free?
It is dairy free as written!
Did you make this? If you snap a photo, please be sure leave a review, tag me on Instagram or TikTok at @LaurenFitFoodie or hashtag #LaurenFitFoodie so I can see your creations!
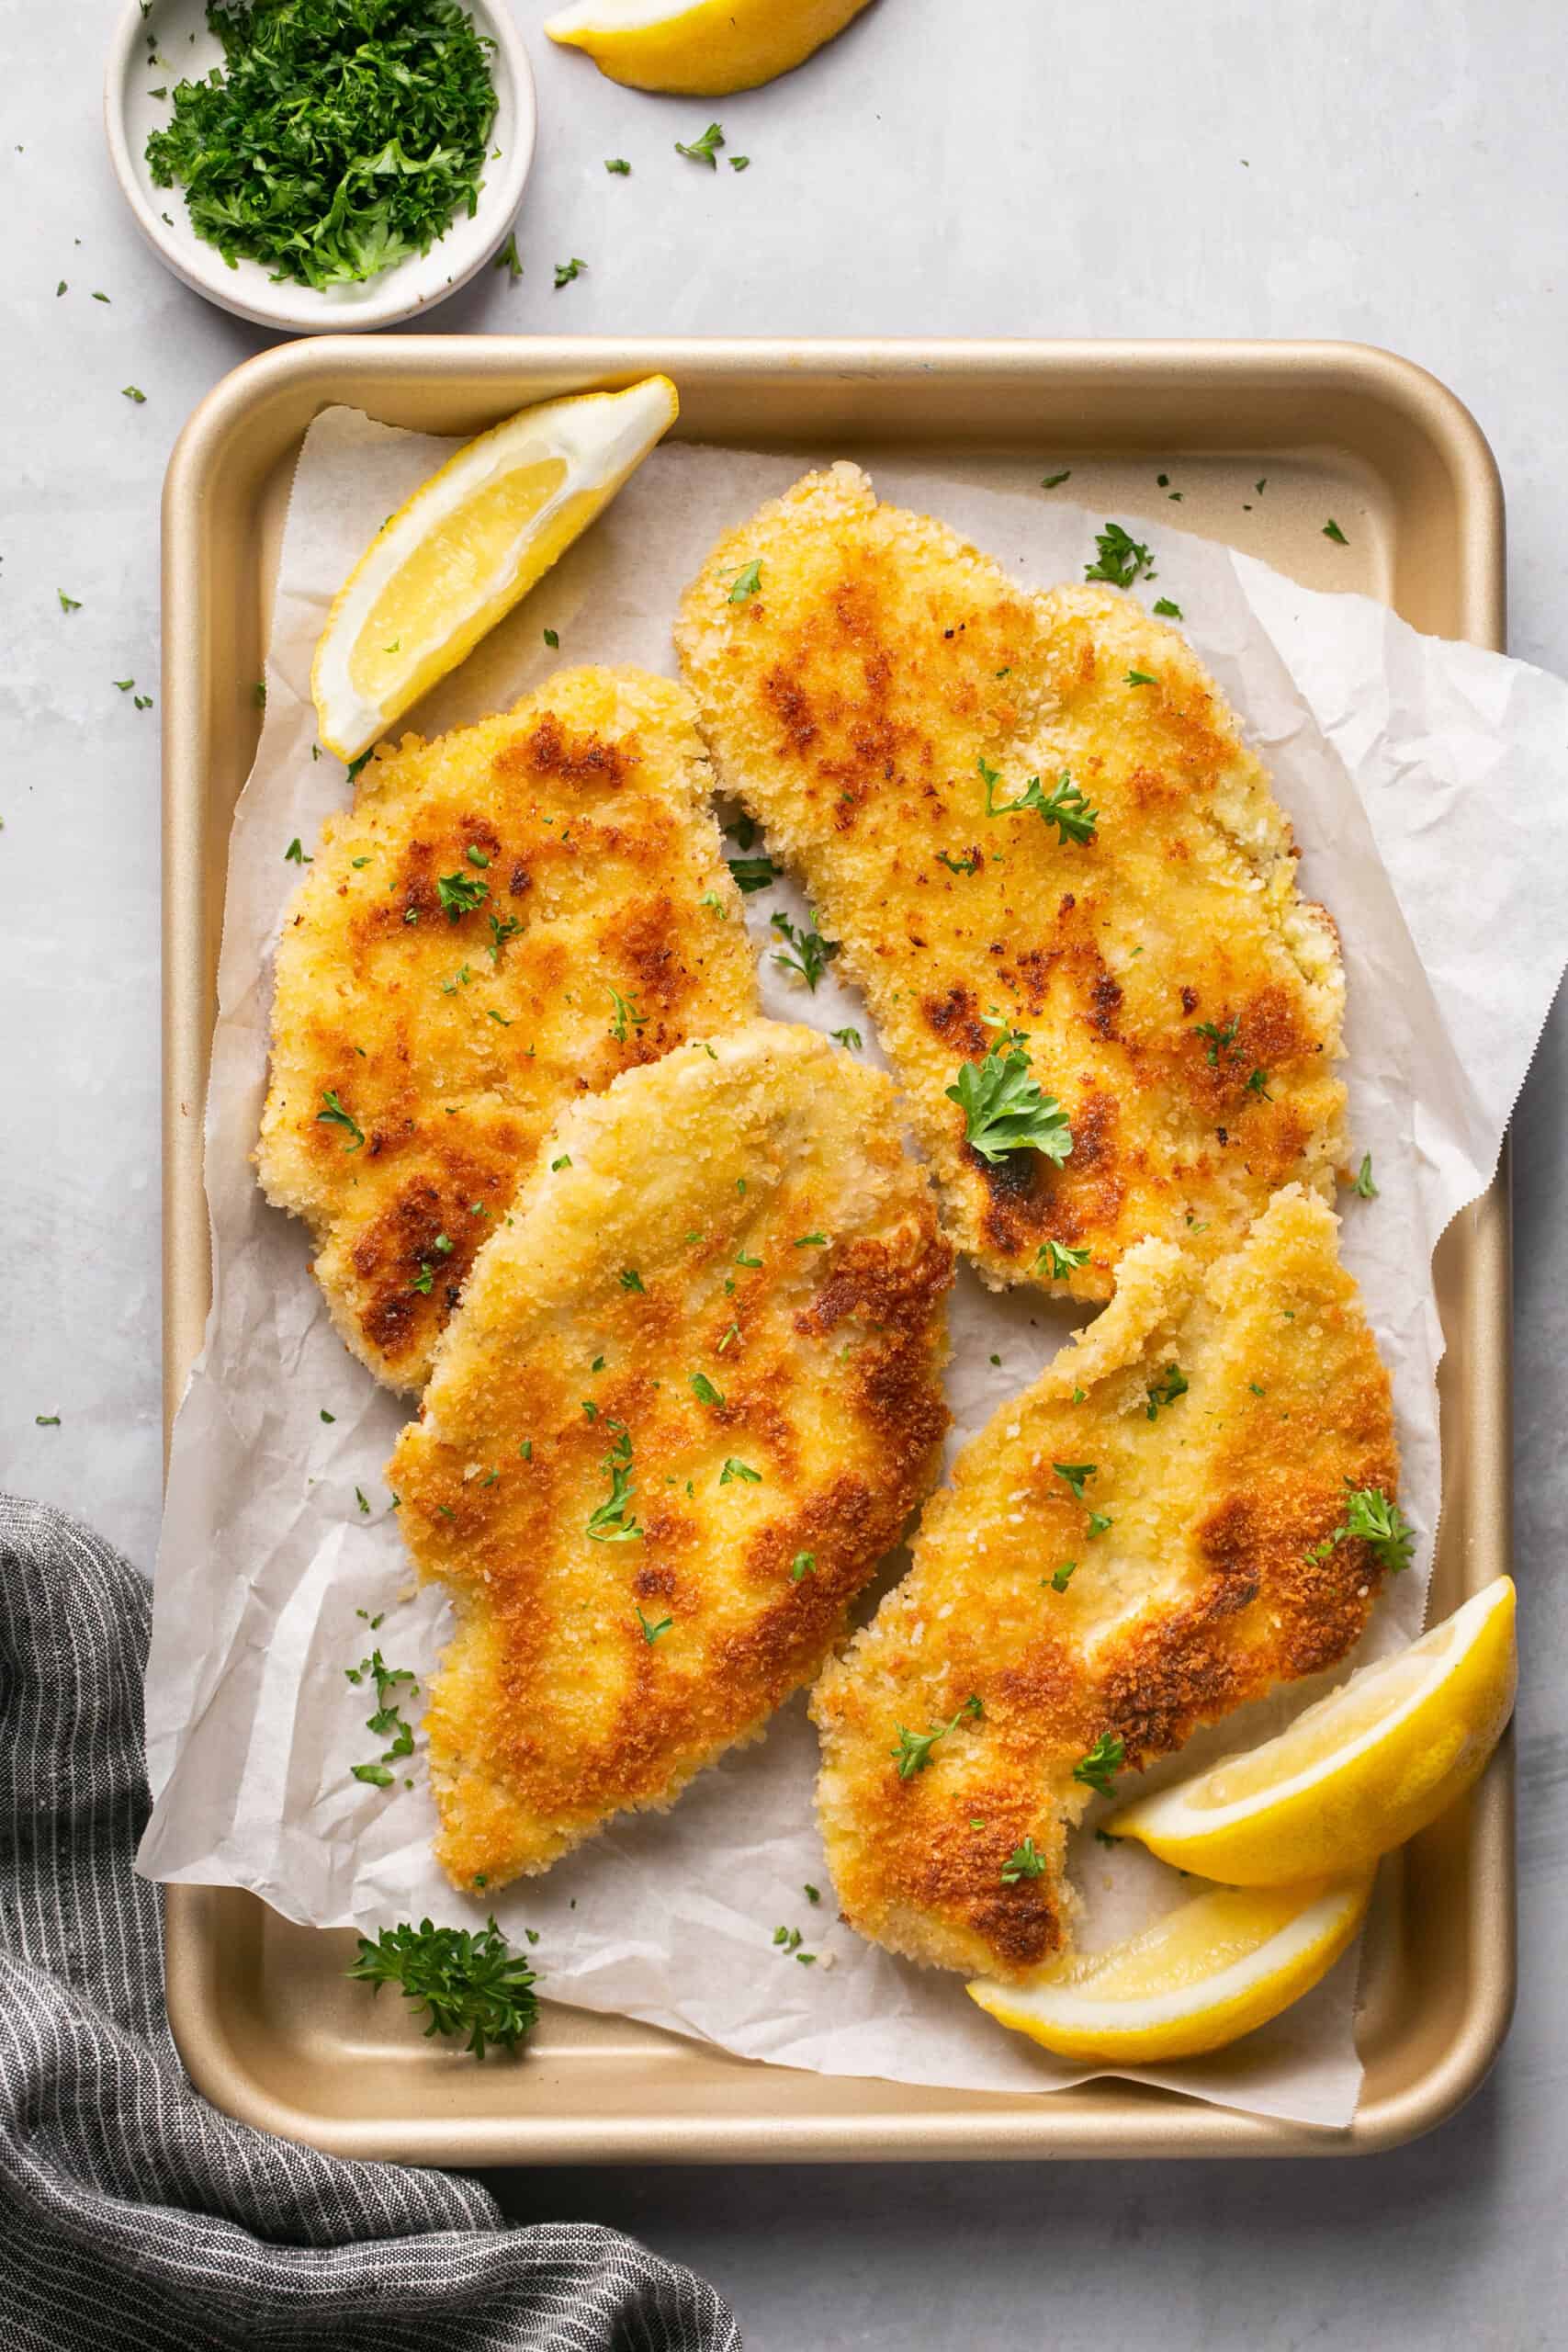
Crispy Panfried Healthy Chicken Schnitzel
Ingredients
- 1.5 lb. boneless chicken breasts ~2 large breasts
- 1 tsp salt + more for the chicken
- 1/2 tsp pepper + more for the chicken
- 2 large eggs
- 2 Tbsp dijon mustard (30g)
- 1 tsp olive oil
- 1/3 cup all-purpose flour (40g)
- 2 cups panko bread crumbs (112g)
- 1 tsp lemon zest optional
- 1/4 cup vegetable oil (60g) divided
- Optional for serving: chopped parsley, lemon wedges
Before You Begin! If you make this, please leave a review and rating letting us know how you liked this recipe! This helps our business thrive & continue providing free recipes. Scroll for macros and MyFitnessPal code.
Instructions
Prepare the Chicken:
- Pat the chicken breasts dry with a paper towel then cut each piece horizontally (like you are butterflying) to make two thinner cutlets (so you have four total).
- Place the chicken between two sheets of plastic wrap and pound them until they are 1/4 inch thick. Generously season both sides with salt and pepper.
Prepare the Breading Station:
- Prepare three shallow bowls. In one, mix together the flour, 1 tsp salt and 1/2 tsp black pepper. In the second, whisk together the eggs, mustard and olive oil. In the third, add the panko breadcrumbs and lemon zest (if using).
Bread the Chicken:
- First dip the chicken completely in the flour, shaking off any excess. Next, dip completely in the egg mixture, shaking off any excess. Then lastly, dip in the breadcrumbs, using your fingers to press to ensure the chicken is coated evenly. Repeat with the remaining chicken.
Pan-fry the Chicken:
- Heat 2 Tbsp of vegetable oil in a large skillet over medium heat. When shiny, add two pieces of the chicken and reduce heat to medium-low.
- Fry the first side for 2 to 3 minutes or until golden brown, then flip and cook for another 2 to 3 minutes or until internal temperature reaches 155F.* Transfer chicken to a paper towel-lined plate. *Carryover cooking will ensure your chicken reaches 165°F and prevents overcooking.
- Wipe the skillet clean and add another 2 Tbsp of vegetable oil. Repeat for the other two chicken pieces.
Garnish and Serve:
- Garnish with fresh parsley and lemon wedges to serve!
Equipment
Notes
- Do not skip pounding the chicken. The chicken needs to be even and thin (¼ inch thick) to ensure the chicken cooks evenly and fast. If chicken is too thick you risk burning the breading or overcooking the chicken.
- Use Panko breadcrumbs – Normal Italian breadcrumbs don’t get as crispy as Panko breadcrumbs. Make sure you’re using Panko!
- Use a high-heat point oil. What we don’t want is for the breading to burn before the chicken has a chance to cook throughout. That’s why I used canola oil. I typically prefer to use olive oil over canola oil because it’s healthier (see this article), but I hardly ever use it and it’s fine in moderation! Plus it’s worth it for me for this one because it really helps give this schnitzel that perfect crispy crunchy outer coating!
- Don’t over-cook the chicken – over-cooking can result in the chicken drying out and not being tender and juicy – which we don’t want! Check internal temperature with a thermometer to ensure chicken is cooked through (no longer pink in the middle or internal temperature reaches 165F). I actually like to remove from chicken when it reaches 155F because it will still continue to cook some even when it’s not in the pan and this way it prevents overcooking.
Nutrition Information
Nutrition is hand-calculated and accurate. No autocalulations! However, note that values can vary based on the brands you use and if you substitute ingredients.
