This post may contain affiliate links. Please read my disclosure policy.
About This Recipe
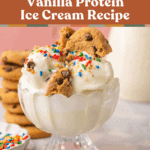
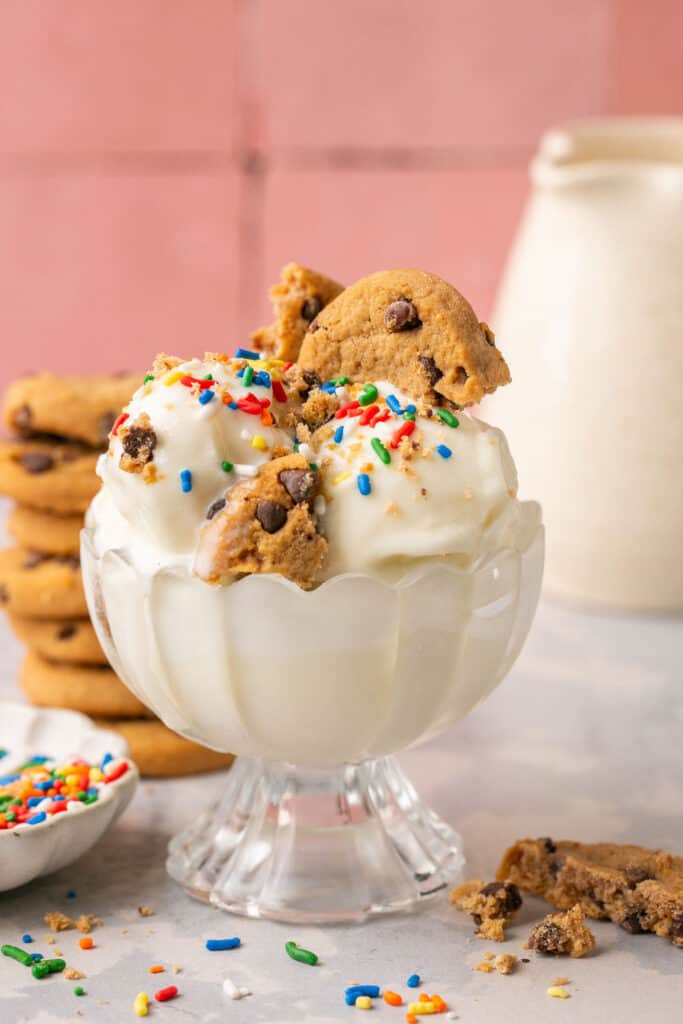
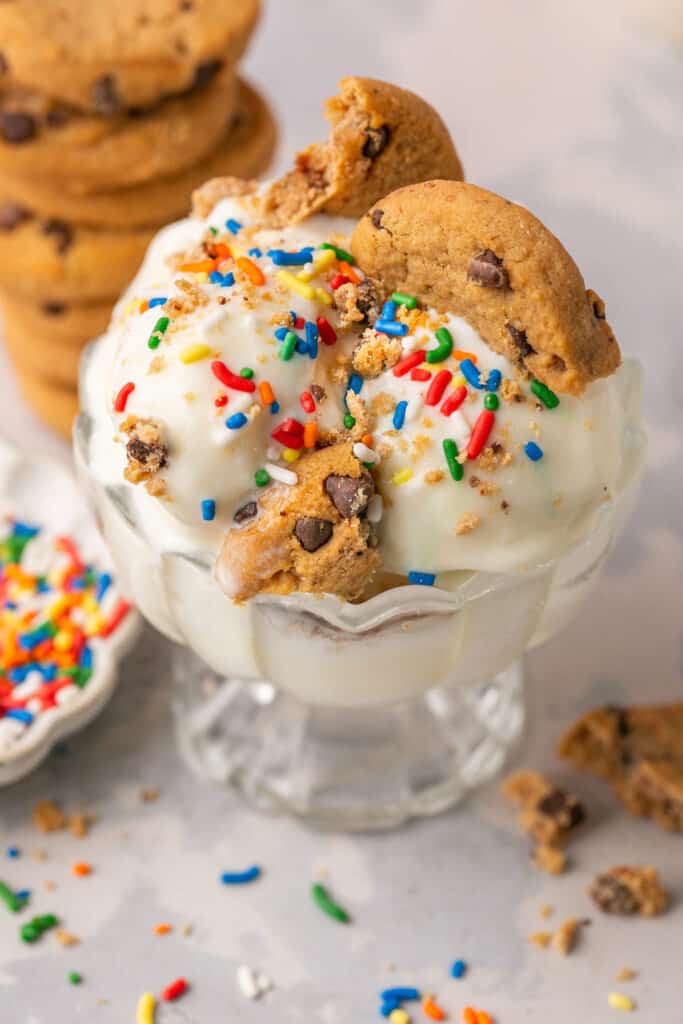
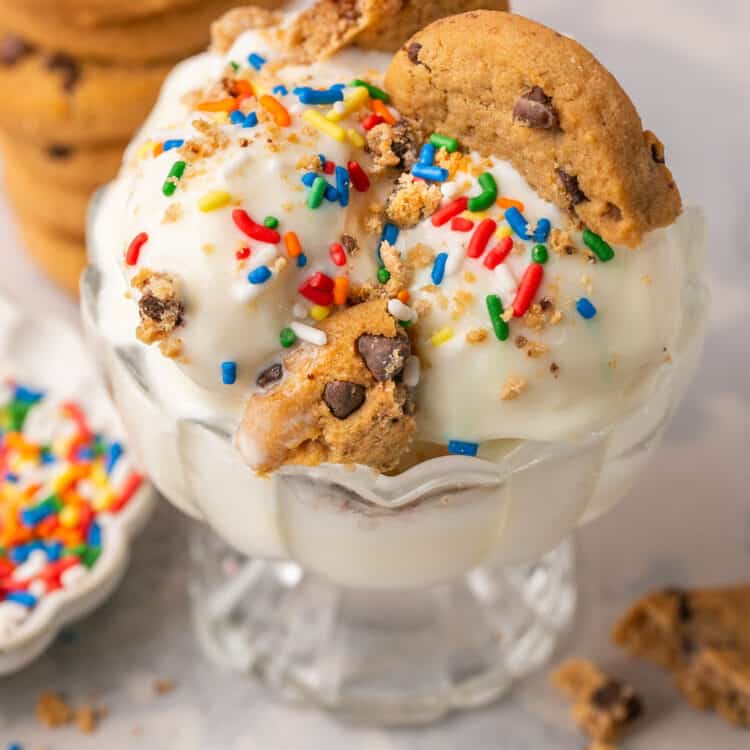
This Ninja Creami Vanilla Protein Ice Cream recipe seriously might be my favorite protein ice cream recipe yet! It’s sweet, insanely creamy and full of classic vanilla flavor.
The reason I love it so much is because it makes the perfect base for all my favorite toppings and mix-in’s! Seriously, Oreos, chocolate chips, cookie dough, sprinkles, you name it!
The Ninja Creami makes high protein ice cream taste like traditional ice cream and doesn’t have all that weird artificial taste that so many store-bought protein ice creams have.
If you haven’t jumped on the Ninja Creami train yet, it’s a game changer for ice cream lovers! You all know I have a serious sweet tooth and what’s better than getting to enjoy an entire pint of ice cream for just 230 calories?
I’m pretty sure my Ninja Creami machine was my most used kitchen appliance in 2023 and I don’t see that changing any time soon.
There are so many different Ninja Creami recipes out there but I love this one because it’s so simple.
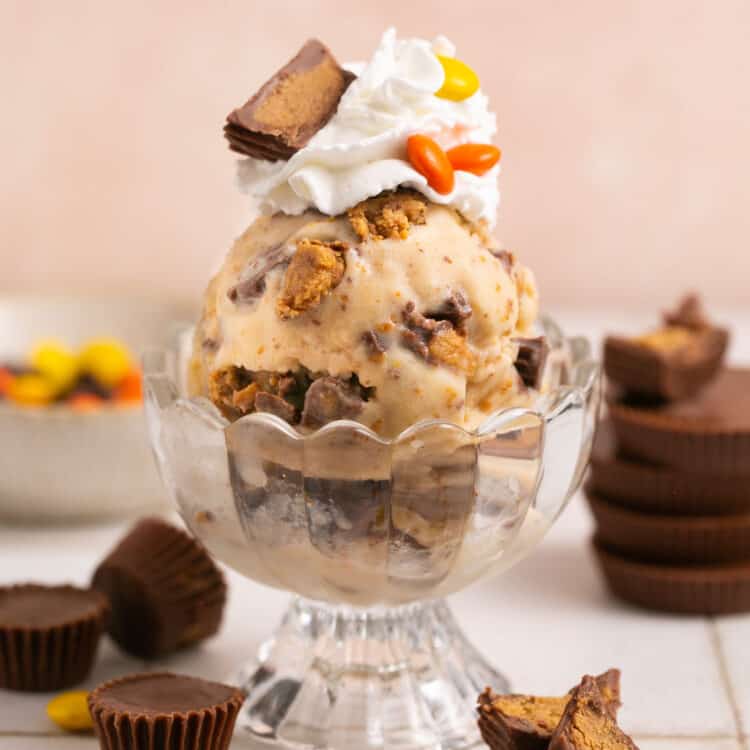
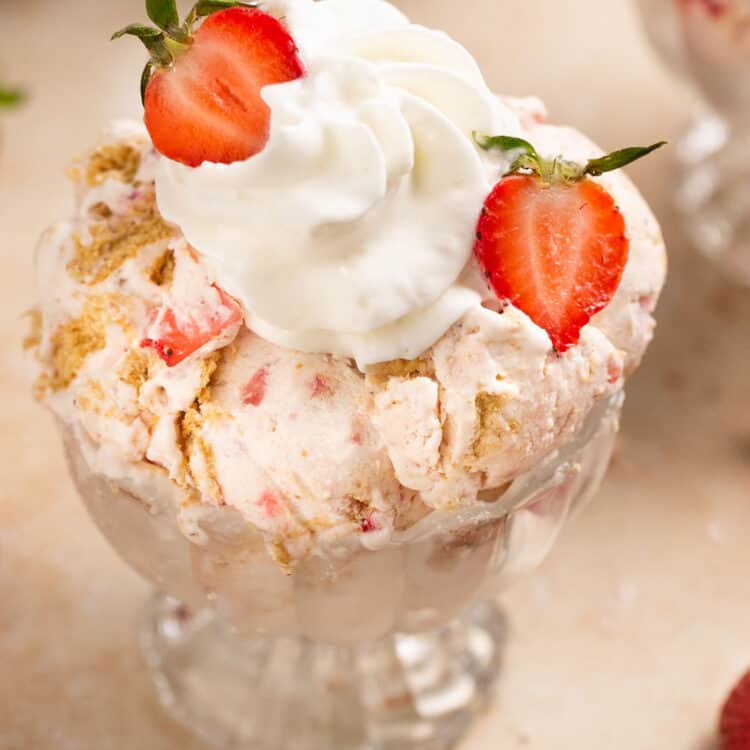
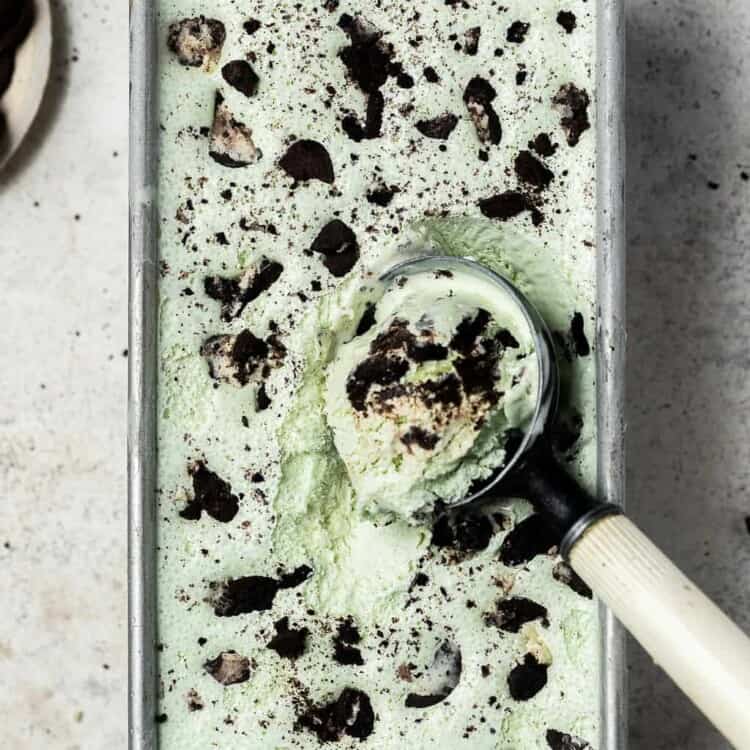
For more delicious ways to use your Ninja Creami, try my peanut butter protein ice cream or strawberry cheesecake ice cream. Or if you don’t have a Creami, try this super easy loaf pan mint Oreo protein ice cream!
Why You’ll Love This Ninja Creami Protein Ice Cream
- The best classic vanilla ice cream recipe to enjoy with all your favorite toppings!
- Easily customizable and fun to switch up with different toppings and mix-ins!
- A healthy ice cream recipe that tastes like the real deal!
- Protein punch with 27g of protein!
- Enjoy the whole pint or split into 2-3 servings! See tips for refreezing!
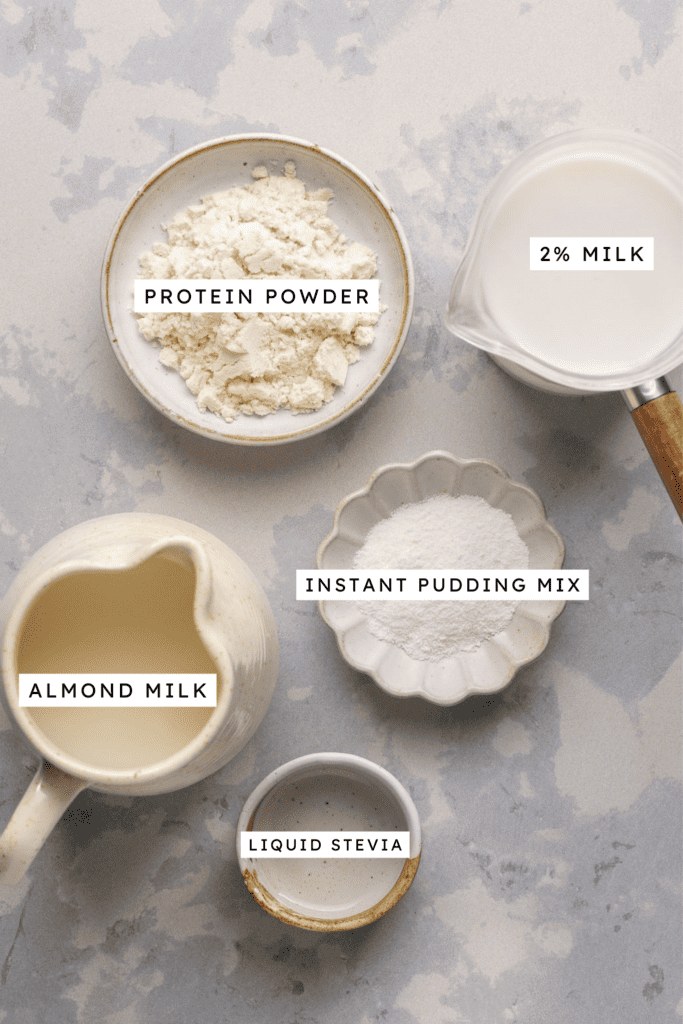
- Milk – I used a combination of 2% Fairlife milk and unsweetened almond milk. The fat in the 2% milk helps gives this ice cream some creaminess so I like making sure I use both to keep calories lower but the consistency right.
- Protein powder – I used PEScience vanilla protein powder (code Laurenfitfoodie to save!) but any protein should work here so just use your favorite protein powder. Use a plant-based dairy-free protein powder if needed.
- Sugar-free instant pudding mix – This helps to add flavor and also acts as a thickening agent. I used vanilla flavor but you could use white chocolate or cheesecake too!
- Liquid stevia – can also sub for honey or pure maple syrup.
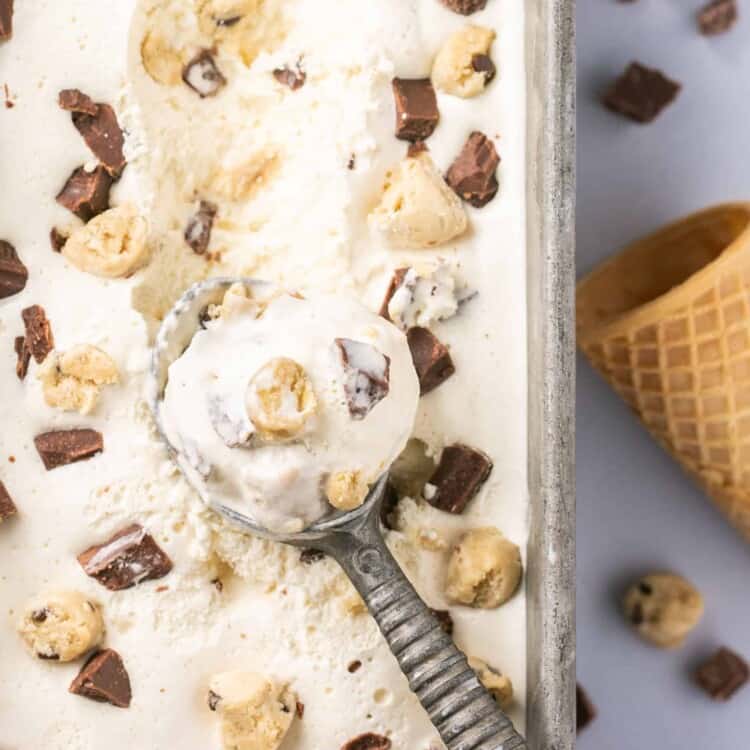
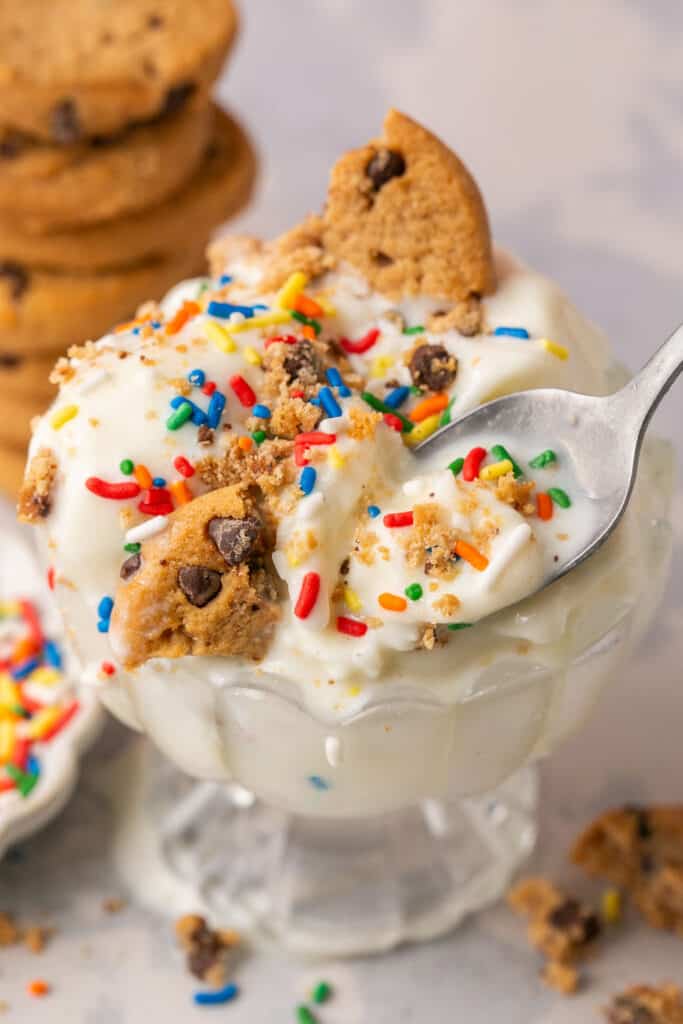
- Mix-ins! This recipe is really where mix in and toppings shine! Add your favorite cookies, cookie dough, sprinkles, chocolate chips, candy bites, peanut butter, granola, etc.
- Make it chocolate! Use chocolate Fairlife milk, chocolate protein powder and chocolate sugar-free pudding mix to make the best chocolate protein ice cream.
- Make it vegan! Use your favorite dairy-free milk, vegan protein powder and vegan pudding mix.
How To Make
The full printable recipe is below, but let me walk you through the process so you know what to expect when you’re making it!
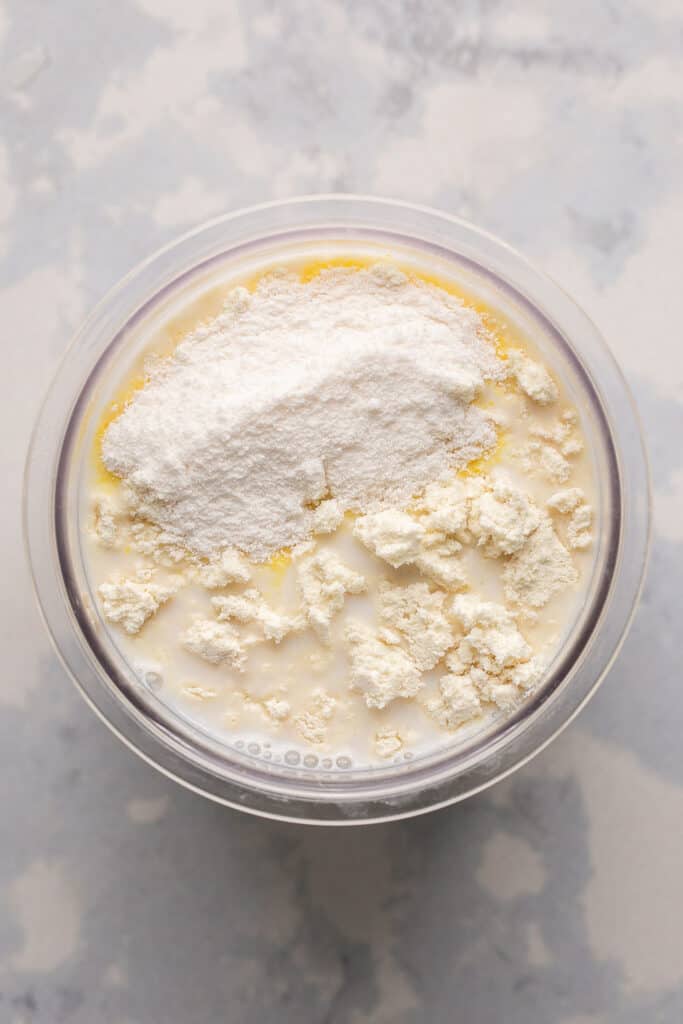
1. Add all the base ingredients to an empty Ninja Creami pint.
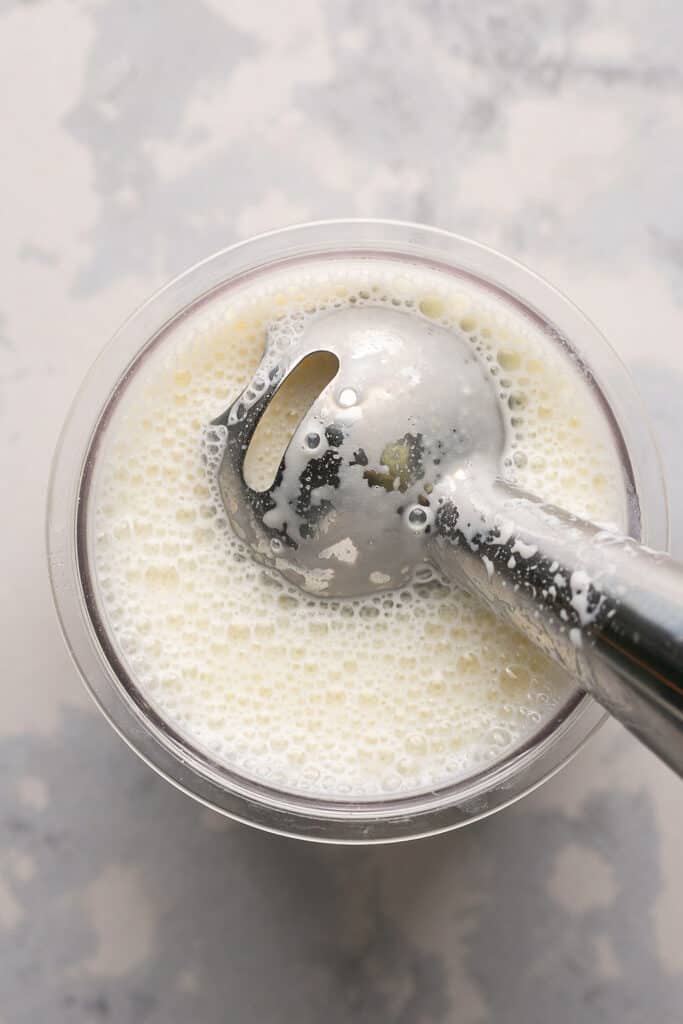
2. Use an immersion blender to combine (or you can blend in a food processor or blender).
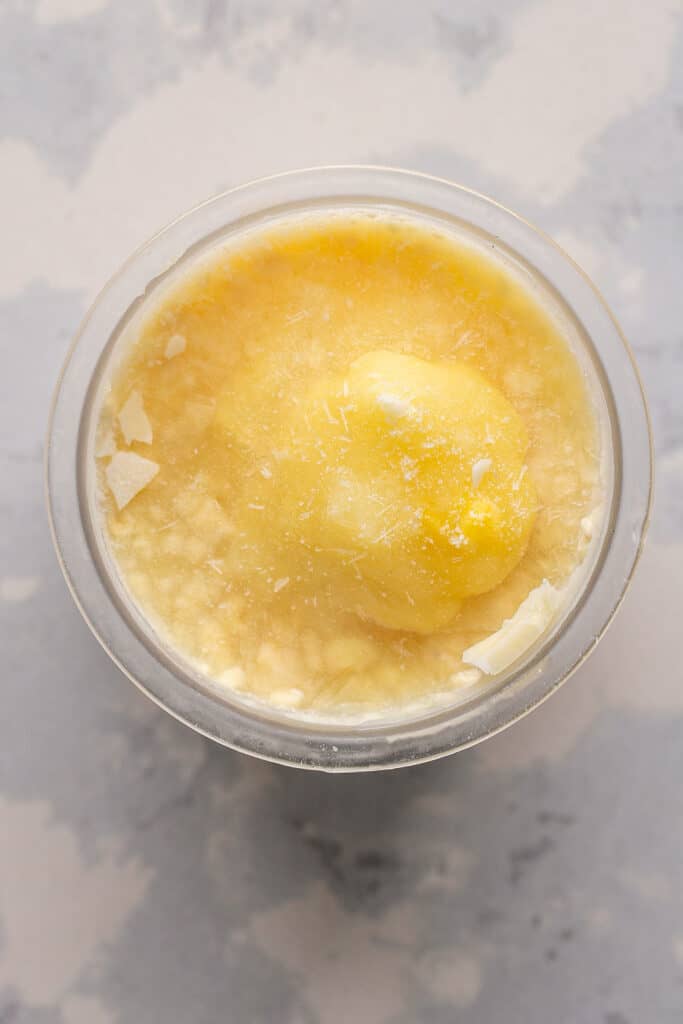
3. Freeze for 12 to 24 hours.
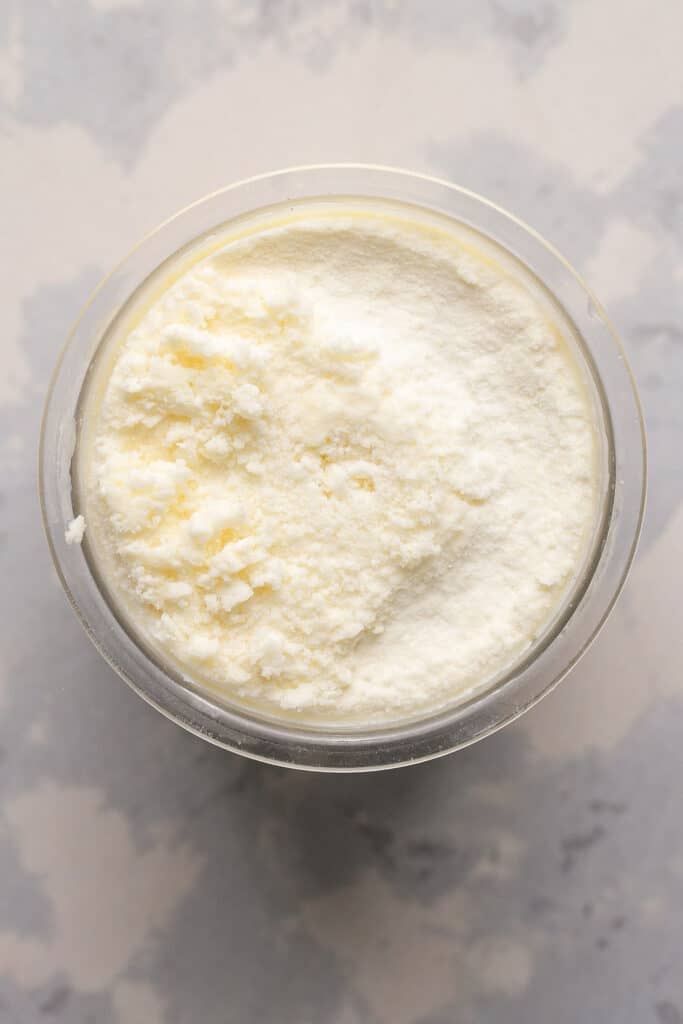
4. Take out and run under warm water for a few minutes. Then spin through the Gelato cycle once.
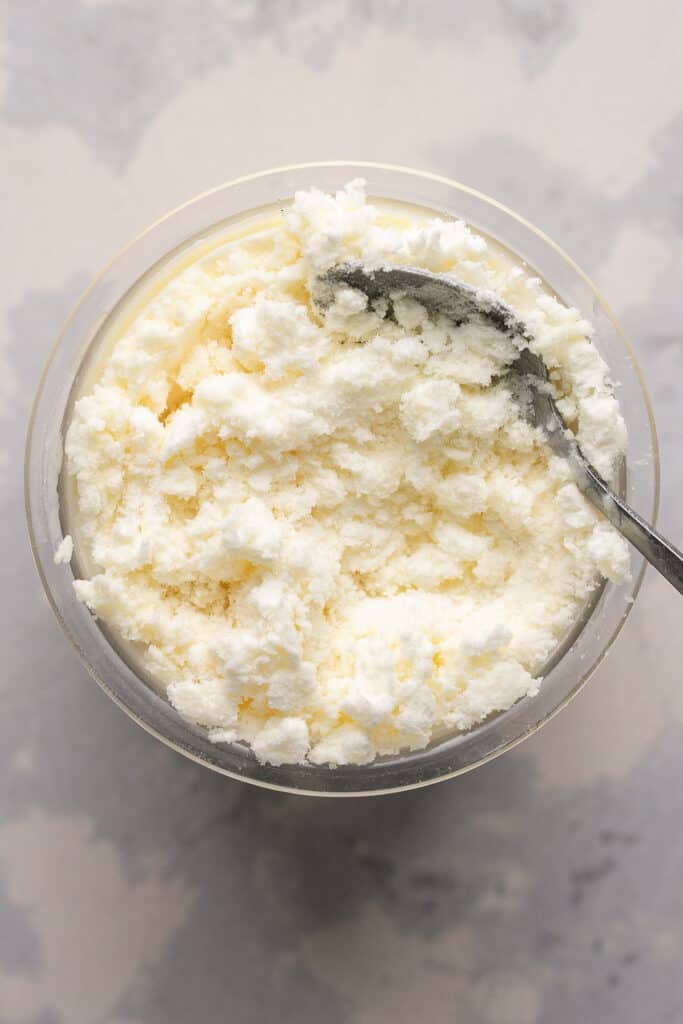
5. Give the top of the ice cream a quick stir then spin again on the Lite ice cream cycle.
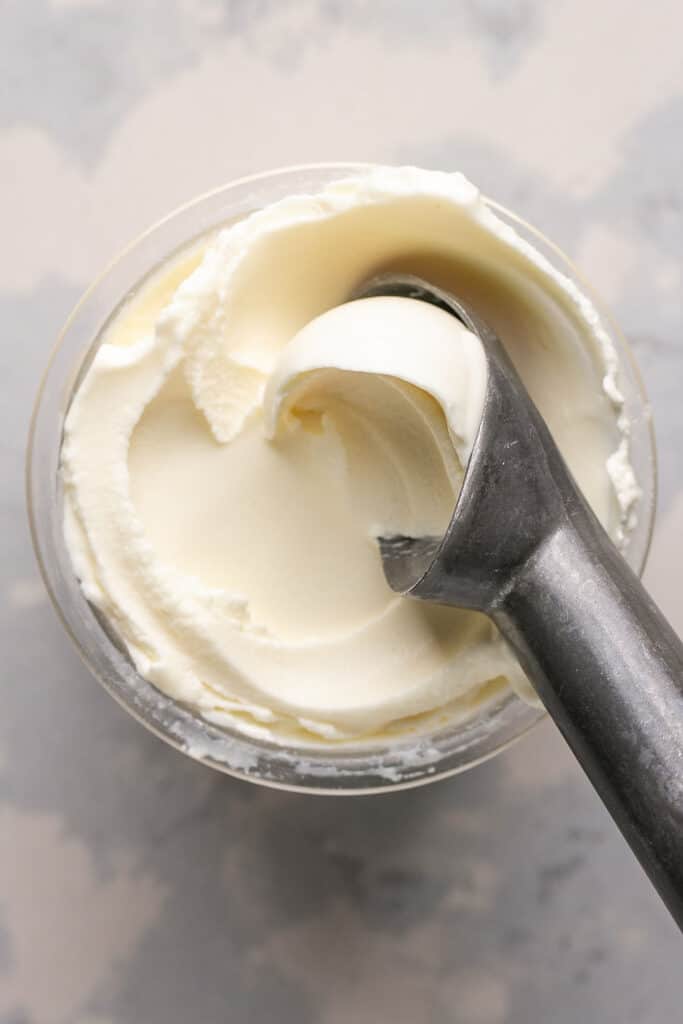
6. Top with whatever toppings sound good and enjoy! (Topping ideas: Crushed Oreos or Reese’s, sprinkles, chocolate sauce!)
If you don’t finish the full pint, you can save the rest for later! Use a spoon to smooth and level out the top of the remaining ice cream in the Ninja Creami container and place back in the freezer. When ready to eat, re-spin the frozen pint until desired consistency.
If you want to save your leftovers in another container, transfer the leftover ice-cream to another container and freeze. To enjoy, let it thaw on the container for a bit or microwave it for 5-10 seconds to soften.
Helpful Ninja Creami Tips
- Prep in advance. I have found that I don’t necessarily need to wait 24 hours, but if I make this ice cream the morning of, say 8 hours in advance, I am good!
- Avoid Icy Edges. Run the container under hot water for 30 seconds before running it through the machine (or let sit out on the counter for 15-20 minutes). After the initial spin, run a butter knife or spoon along the sides and re-spin.
- Additional Re-spins. If you like your ice cream more like soft serve, you can re-spin 2-3 times before adding in your mix ins. This will soften the ice cream. If you like your ice cream more scoop-able, I recommend sticking with 1 re-spin.
- Don’t overfill the container. The ice cream will expand in volume as your re-spin so don’t worry if it looks like the pint isn’t initially full. Leaving adequate room in the container will allow the ice cream to spin correct to make the best, most creamy ice cream.
Why does my Ninja Creami have a weird powdery texture after the first spin?
It is normal and expected for the ice cream base to be crumbly and powdery after the first spin. The second spin (especially when you add a little more liquid) is when the magic happens! If ice cream is still not to desired consistency after first re-spin, you do an additional 2-3 re-spins (until desired consistency).
Do I have to use protein powder in this recipe?
No, you don’t have to use protein powder. Lots of people love to use the Fairlife shakes, premier protein shakes or their favorite protein shake for these recipes. If you prefer to use a pre-made protein shake, just add sugar-free jello powder and sweetener of choice (if desired).
Do I really need to wait 24 hours for my pint to freeze?
I have found that I don’t necessarily need to wait 24 hours, but if I make this ice cream the morning of, say 8 hours in advance, I am good!
Did you make this? If you snap a photo, please be sure leave a review, tag me on Instagram or TikTok at @LaurenFitFoodie or hashtag #LaurenFitFoodie so I can see your creations!
Ninja Creami Vanilla Protein Ice Cream Recipe
Ingredients
- 1 cup 2% Fairlife milk (240g)
- 1 cup plain unsweetened almond milk (240g)
- 2 Tbsp vanilla protein powder (15g)
- 1 Tbsp sugar-free vanilla Jello pudding mix (7g) or regular
- 1/4 tsp liquid stevia or sweetener or choice to taste
Before You Begin! If you make this, please leave a review and rating letting us know how you liked this recipe! This helps our business thrive & continue providing free recipes. Scroll for macros and MyFitnessPal code.
Instructions
- Add all the base ingredients to an empty Ninja Creami pint and use an immersion blender to combine (or you can blend in a food processor or blender). Freeze for 12 to 24 hours.
- Take out and run under warm water for a few minutes. Then spin through the Gelato cycle once. Give the top of the ice cream a quick stir then spin again on the Lite ice cream cycle.
- Top with whatever toppings sound good and enjoy! (Topping ideas: Crushed Oreos or Reese’s, sprinkles, chocolate sauce!)
Equipment
Notes
- Prep in advance. I have found that I don’t necessarily need to wait 24 hours, but if I make this ice cream the morning of, say 8 hours in advance, I am good!
- Avoid Icy Edges. Run the container under hot water for 30 seconds before running it through the machine (or let sit out on the counter for 15-20 minutes). After the initial spin, run a butter knife or spoon along the sides and re-spin.
- Additional Re-spins. If you like your ice cream more like soft serve, you can re-spin 2-3 times before adding in your mix ins. This will soften the ice cream. If you like your ice cream more scoop-able, I recommend sticking with 1 re-spin.
- Don’t overfill the container. The ice cream will expand in volume as your re-spin so don’t worry if it looks like the pint isn’t initially full. Leaving adequate room in the container will allow the ice cream to spin correct to make the best, most creamy ice cream.
Nutrition Information
Nutrition is hand-calculated and accurate. No autocalulations! However, note that values can vary based on the brands you use and if you substitute ingredients.
