This post may contain affiliate links. Please read my disclosure policy.

About This Recipe
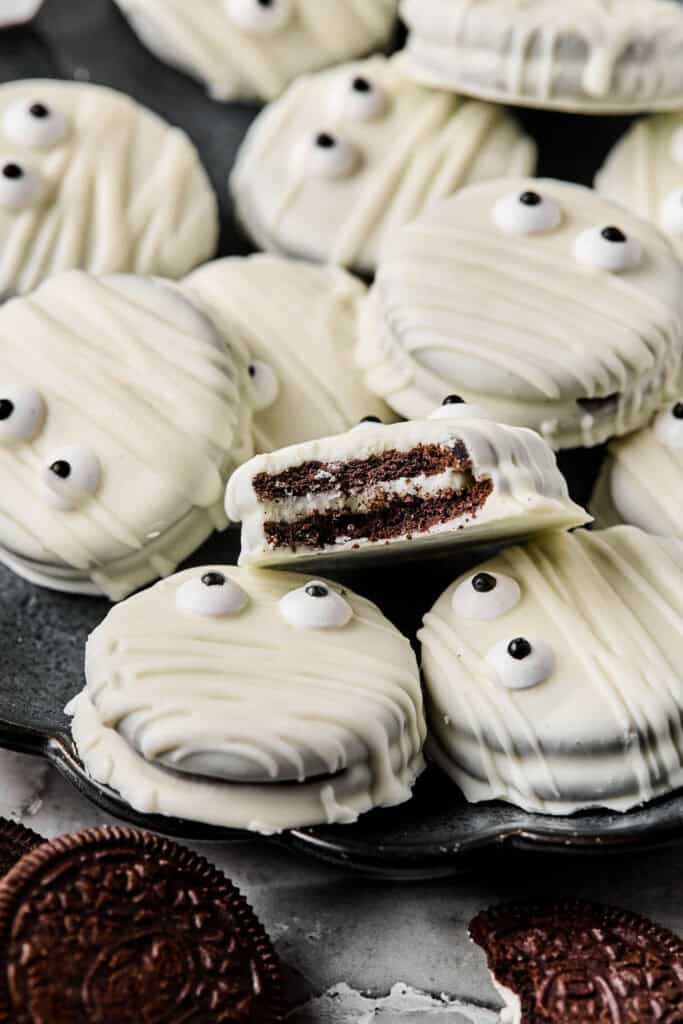
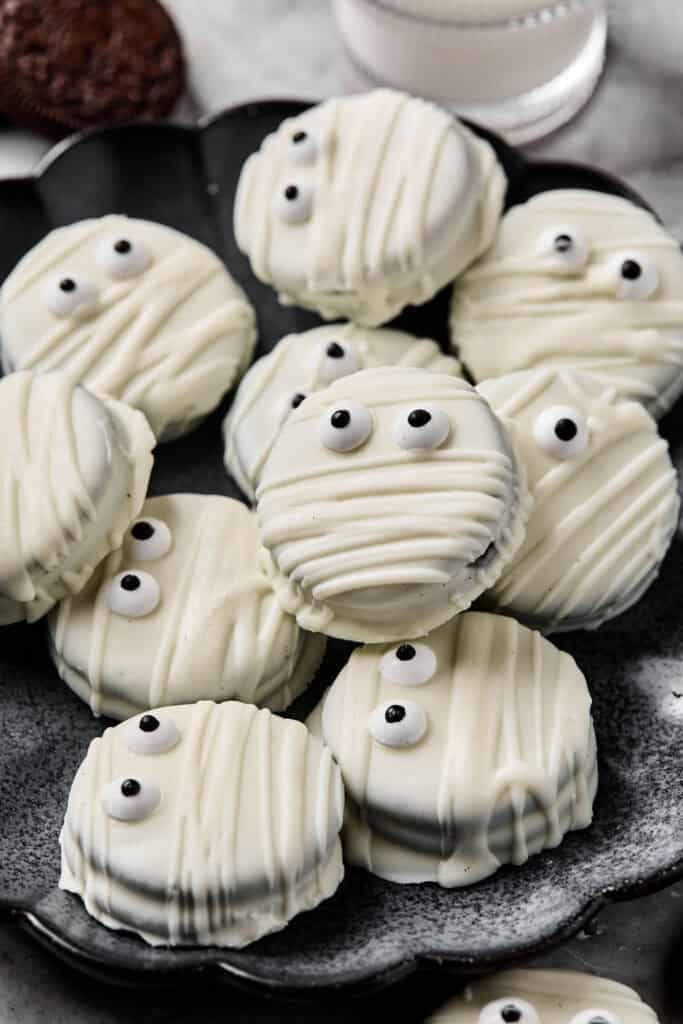
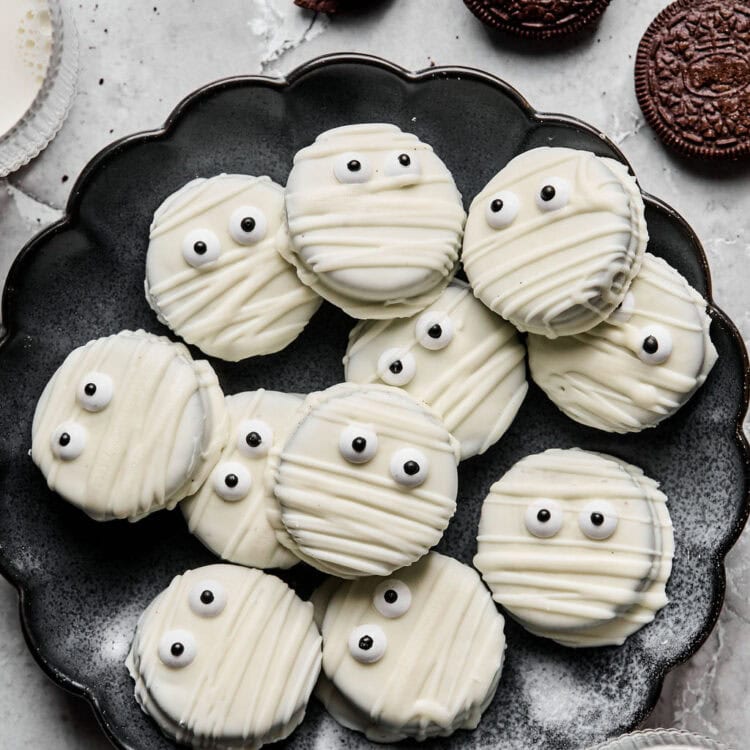
These adorable Oreo Mummy Cookies are always a hit at Halloween parties or for a simple at-home activity with kids. They’re great because they take just a few minutes to come together, require minimal ingredients, and there are no complicated steps! Whether you’re hosting a Halloween party or just want something festive to snack on, these mummy cookies are the perfect festive treat!
They’re also great for parties because they’re easy to make ahead. Plus, you can easily customize them for other holidays. Just change the drizzle color and replace the candy eyes with sprinkles!
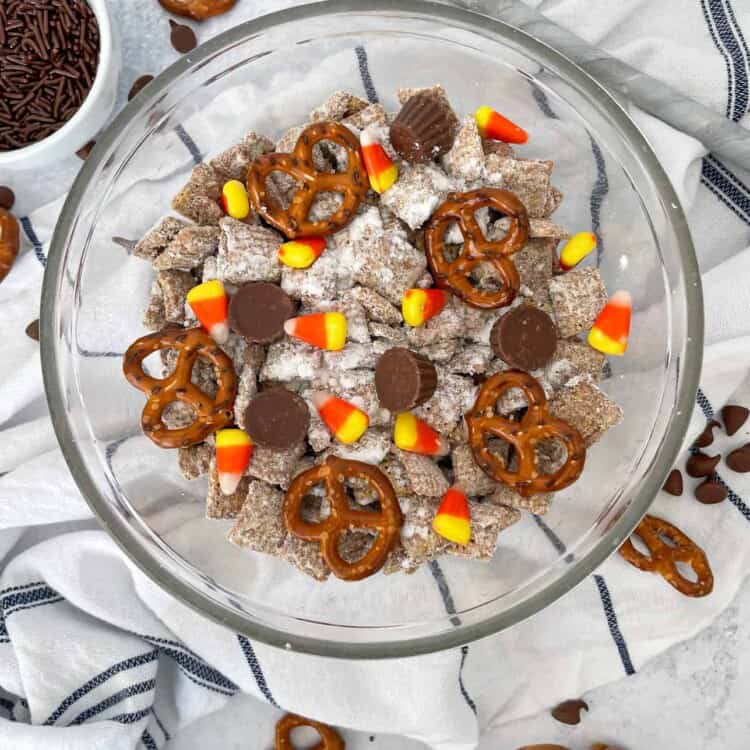
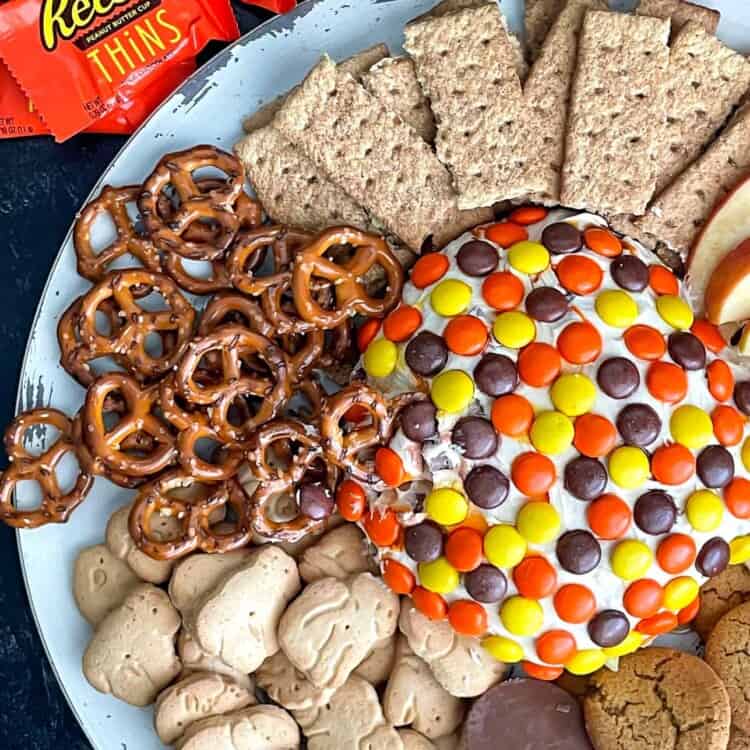
For more fun Halloween desserts, try my Halloween Protein Puppy Chow, Reese’s Peanut Butter Dessert Cheese Ball, or Oreo Dirt Cake Cups.
Why You’ll Love These Halloween Oreo Cookies
- Kid-friendly: Perfect for little helpers to decorate.
- No-bake: A super quick Halloween cookie idea you can throw together last minute!
- Fast & easy: Only a few simple ingredients and minimal cleanup required!
- Festive & fun: Instantly adds a spooky (and cute!) touch to any Halloween spread.
- Customizable: Use different chocolate colors or Oreo flavors to mix it up.
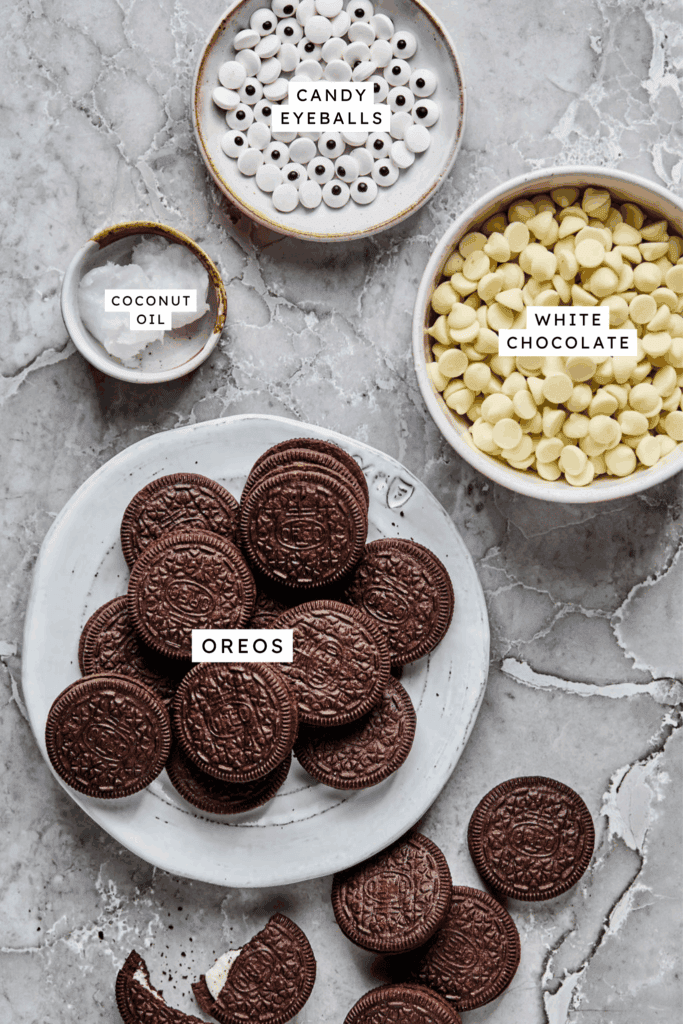
- Oreos: Classic Oreos work best, but feel free to use Double Stuffed, Golden, or even seasonal flavors like Pumpkin Spice or Mint for a twist. These cookies will really work with any kind of cookie.
- White chocolate chips (or candy melts): Candy melts are the easiest for coating since they set quickly, but white chocolate chips work great too. Just be careful not to overheat them.
- Coconut oil: Helps thin out the chocolate for smooth dipping. You can also use vegetable oil or shortening if you prefer.
- Small candy eyeballs: These bring the mummies to life! You can find them at most grocery stores, craft stores, or online around Halloween.
- Gluten-free: Use gluten-free Oreos or any type of sandwich cookie.
- Vegan: Use dairy-free white chocolate chips and vegan sandwich cookies.
- Add a pop of color: Tint your drizzle with gel food coloring (like orange or green) for a fun twist.
- Different holidays: Feel free to adjust the color of the drizzle and use sprinkles for various holidays!
How To Make
The full printable recipe is below, but let me walk you through the process so you know what to expect when you’re making it!
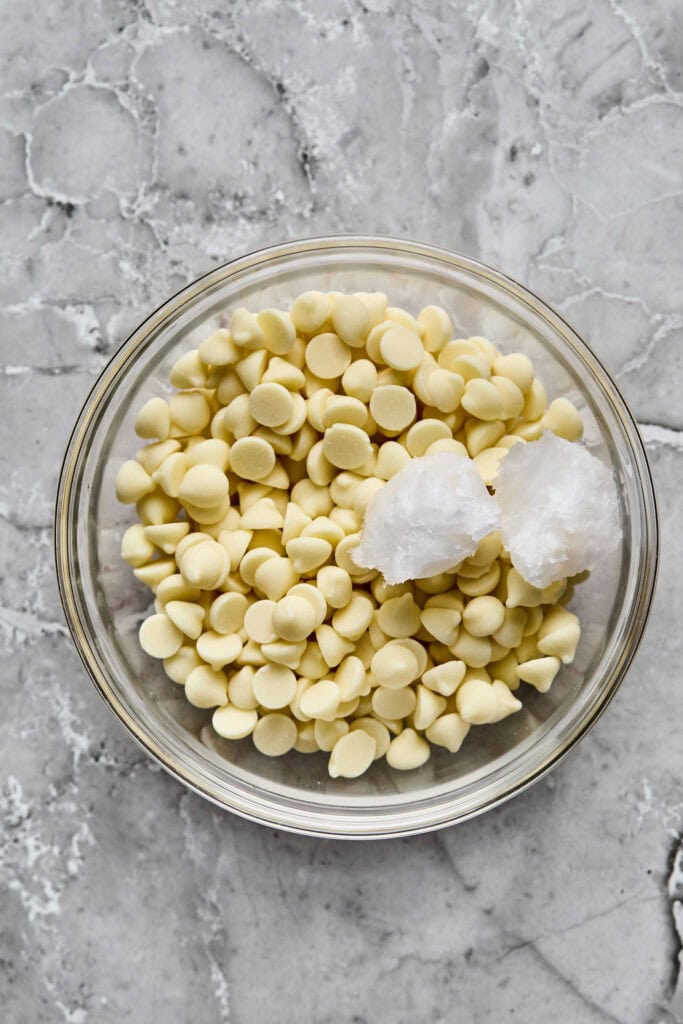
1. Put the white chocolate and coconut oil in a microwave-safe bowl.

2. Heat it in 30-second bursts, stirring each time, until melted and smooth.
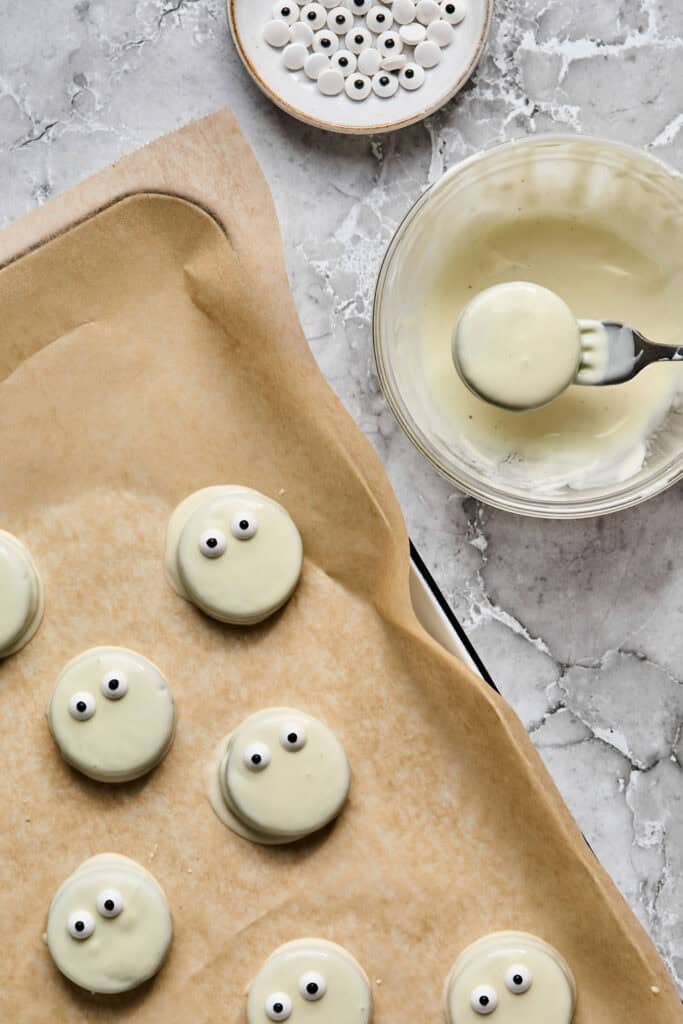
3. Use a fork to dip an Oreo into the melted white chocolate. Fully coat both sides and let the excess chocolate drip back into the bowl. Place the chocolate-covered Oreos on the parchment paper-lined baking sheet. While the chocolate is still soft, place two candy eyeballs on the upper half of the Oreo to “glue” the mummy’s eyes in place. Let the chocolate sit for a few minutes to cool and firm up (place in the fridge to speed up the process).
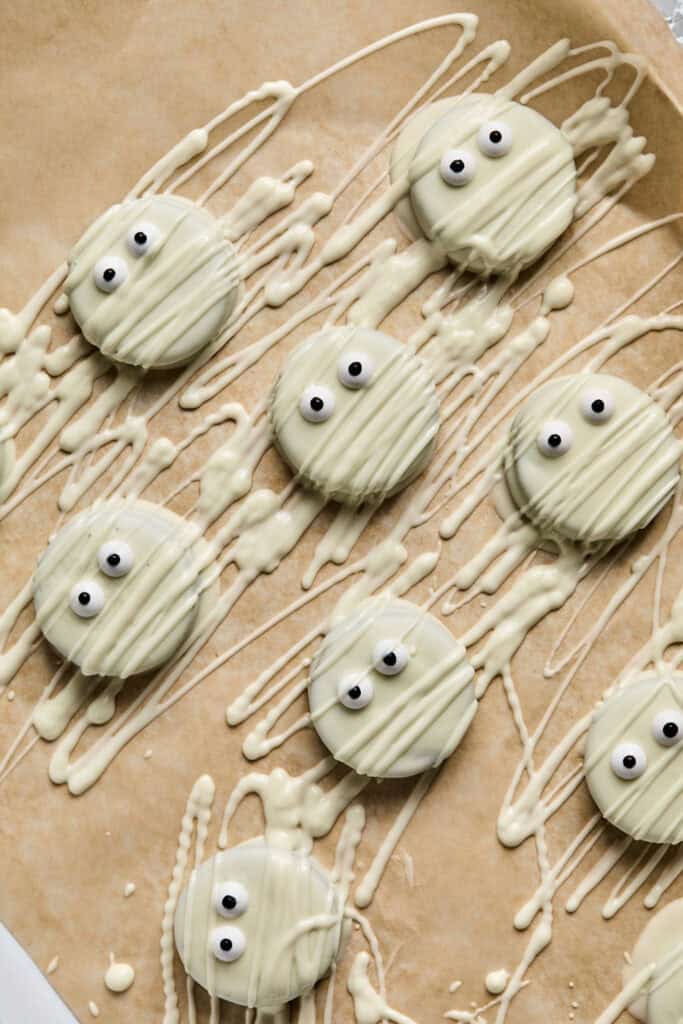
4. Fill a piping bag with melted white chocolate and use it to drizzle the white chocolate over the Oreo in a zigzag motion (to mimic the mummy’s bandages–just be careful not to cover the eyes all the way!) Let the mummy Oreos cool and set fully. Again, you can speed things up by popping them in the fridge; they should set within 10-15 minutes. Enjoy!!
Store your Oreo Mummy Cookies in an airtight container at room temperature for up to 1 week, or in the refrigerator for up to 2 weeks. If stacking them, place a piece of parchment or wax paper between layers to prevent sticking. You can also freeze them for up to 2 months. Just let them thaw in the fridge before serving.
Helpful Tips
🔥Don’t overheat: Don’t overheat your chocolate. Melt slowly in intervals (stirring between each one) to prevent seizing or burning.
🍫Keep chocolate thin: If the white chocolate starts to thicken while dipping, pop it back in the microwave for 10–15 seconds to loosen it up.
👀Work in batches: If making a lot of cookies, work in batches so your melted chocolate doesn’t harden before you add the eyes.
🤍Piping bag: For neat “bandages,” use a squeeze bottle or piping bag for more control over the white chocolate drizzle. If you don’t have a piping bag, you can use a ziptop plastic bag and just cut the very corner off to create your own at-home piping bag.
More Halloween Treats You’ll Love

Did you make this? If you snap a photo, please be sure leave a review, tag me on Instagram or TikTok at @LaurenFitFoodie or hashtag #LaurenFitFoodie so I can see your creations!
Oreo Mummy Cookies
Ingredients
- 12 Oreos
- 1 cup white chocolate chips (160g) or candy melts
- 2 tsp coconut oil (10g)
- 24 small candy eyeballs
Before You Begin! If you make this, please leave a review and rating letting us know how you liked this recipe! This helps our business thrive & continue providing free recipes. Scroll for macros and MyFitnessPal code.
Instructions
- Line a sheet pan with parchment paper (one that will fit in the fridge).
- Put the white chocolate and coconut oil in a microwave-safe bowl. Heat it in 30-second bursts, stirring each time, until melted and smooth.
- Use a fork to dip an Oreo into the melted white chocolate. Fully coat both sides and let extra chocolate drip back into the bowl.
- Place the chocolate-covered Oreos on the parchment paper-lined baking sheet.
- While the chocolate is still soft, place two candy eyeballs on the upper half of the Oreo to “glue” the mummy’s eyes in place.
- Let the chocolate sit for a few minutes to cool and firm up (place in the fridge to speed up the process).
- Fill a piping bag with melted white chocolate and use it to drizzle the white chocolate over the Oreo in a zigzag motion (to mimic the mummy’s bandages–just be careful not to cover the eyes all the way!)
- Let the mummy Oreos cool and set fully. Again, you can speed things up by popping them in the fridge; they should set within 10-15 minutes. Enjoy!!
Notes
Nutrition Information
Nutrition is hand-calculated and accurate. No autocalulations! However, note that values can vary based on the brands you use and if you substitute ingredients.