This post may contain affiliate links. Please read my disclosure policy.
About This Recipe
I’ve always been more of a fan of chilled desserts! Ice cream, no-bake cheesecake, you name it. I even put most of the desserts I make in the fridge because they are seriously just so better chilled!
And if the chilled desserts are no-bake desserts, even better! They come together so quick and easily.
One of my favorite desserts of all time is my Peanut Butter Oreo Pie so I knew after making the no bake peanut butter pie that I would have to do a regular Oreo, “cookies and cream” version too.
Except that I took this one up a notch by making a homemade Oreo pie crust. And oh my word does it take it up a notch, or three! I HIGHLY recommend the homemade Oreo pie crust for this one. It really does not take long at all to come together, and it’s SO WORTH IT.
This Oreo Pie makes the perfect dessert for a special occasion in spring, summer, or any time of the year really! And if you need a great no-bake option for fall, check out my Pumpkin Dessert Pie!
You’d also never guess it’s lightened up. It’s one of those recipes you’ll always want to have in your back pocket because you can whip it up in just 10 minutes. Then, just let it set up in the freezer where all the magic happen! Oreo lovers will absolutely fall in love with this sweet treat.
And if you want more Oreo-goodness, check out my No Bake Oreo Protein Balls or my Cookies and Cream Protein Milkshake!

Why You’ll Love This Cool Whip Oreo Pie
- Four ingredients – just four main ingredients with some vanilla and optional sweetener!
- Lightened up – this recipe uses Oreo thins, low fat cream cheese and light butter to bring the fat and calories down for this recipe. But don’t worry, it doesn’t taste lightened up for a second!
- Easy to make gluten-free and dairy-free
- No oven required – not even for the crust!
- Made in 10 minutes – then chill and boom! Seriously the easiest ever no-bake recipe.
- A CROWD FAVORITE – seriously this is one loved by everyone! A special treat and one to make for every occasion!
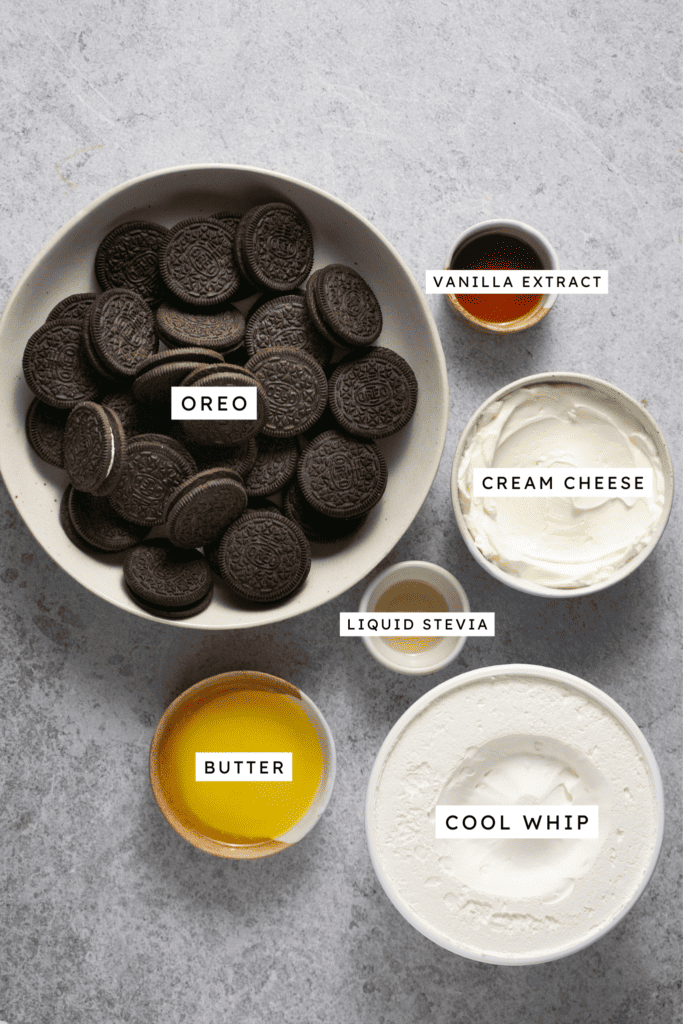
- Oreo thins – You can also use regular or gluten-free Oreos here! Golden Oreos would also be delicious!
- Butter – I used light butter. Regular or dairy-free butter also work just fine.
- Cream cheese – I used low-fat cream cheese. But of course, any cream cheese will work here. To make this recipe vegan, use dairy-free cream cheese.
- Stevia – I used liquid stevia. My favorite stevia is the NOW Foods brand.
- Vanilla extract
- Cool Whip – I used lite Cool Whip. If needed, use a dairy-free whipped topping.
How To Make
The full printable recipe is below, but let me walk you through the process so you know what to expect when you’re making it!
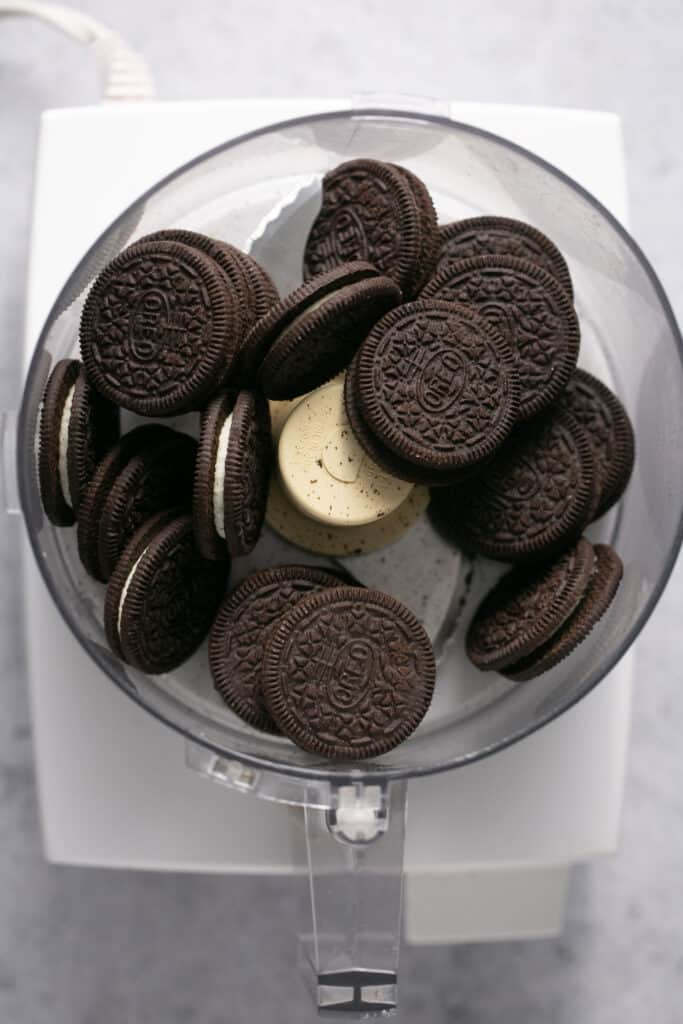
1. Add the Oreos (the whole thing) to a food processor or blender and pulse until they’re completely crumbed and the cookies are fine crumbs. (You could also put the Oreos in a sealed ziploc bag and crush them with a rolling pin).
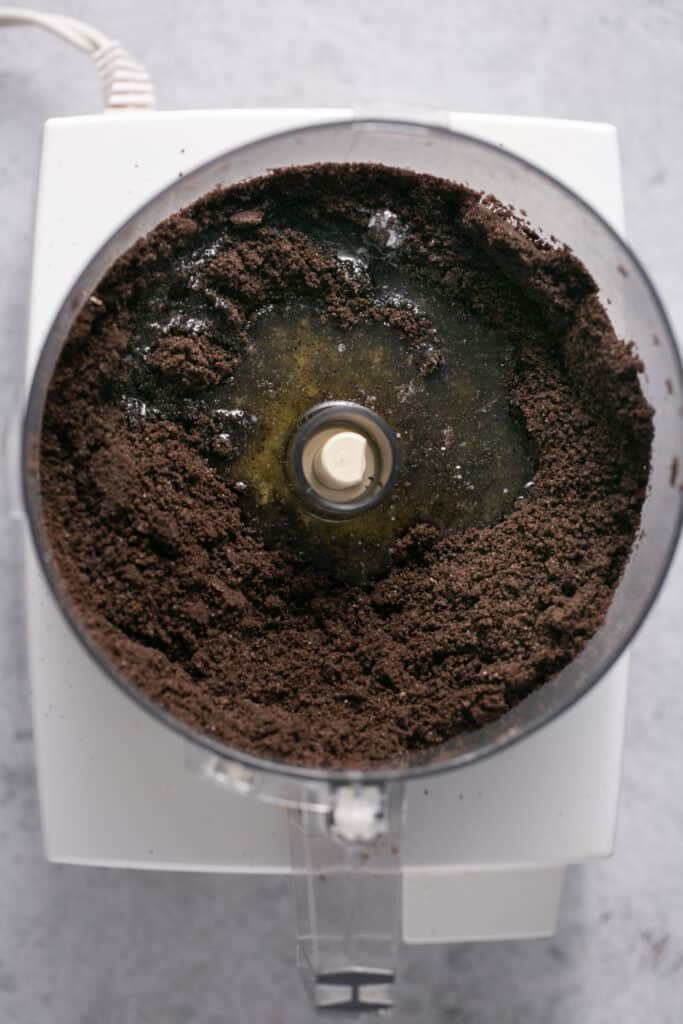
2. Remove blade from food processor (or transfer to a mixing bowl) and mix in the melted butter.
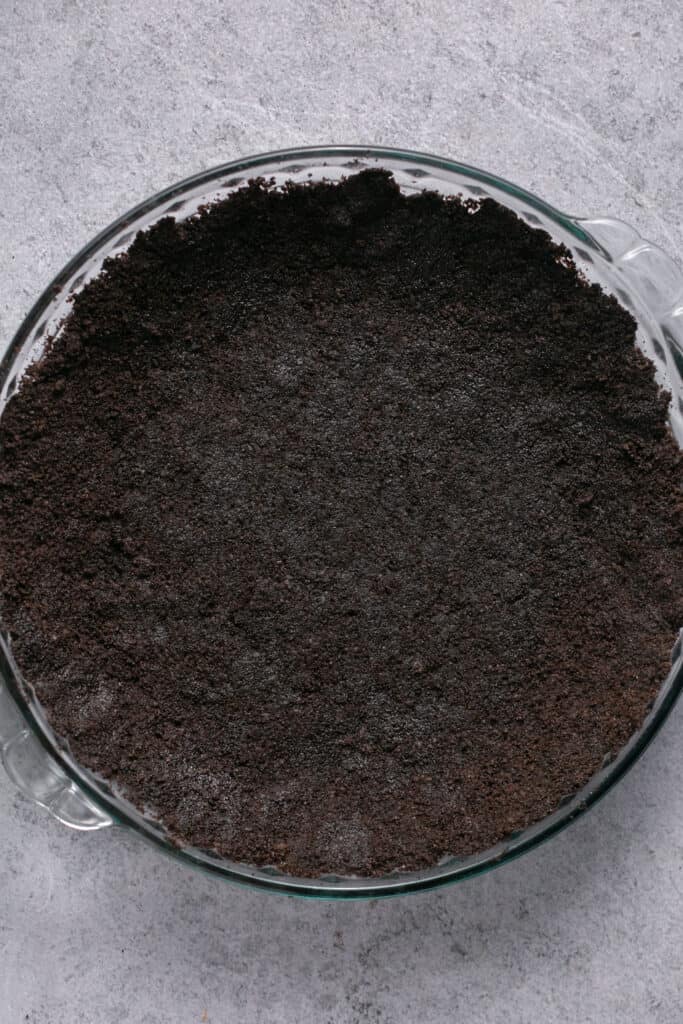
3. Transfer the Oreo cookie crust mixture to a greased pie dish and press evenly along the bottoms and sides. Use your fingers to make sure everything is pressed down well.
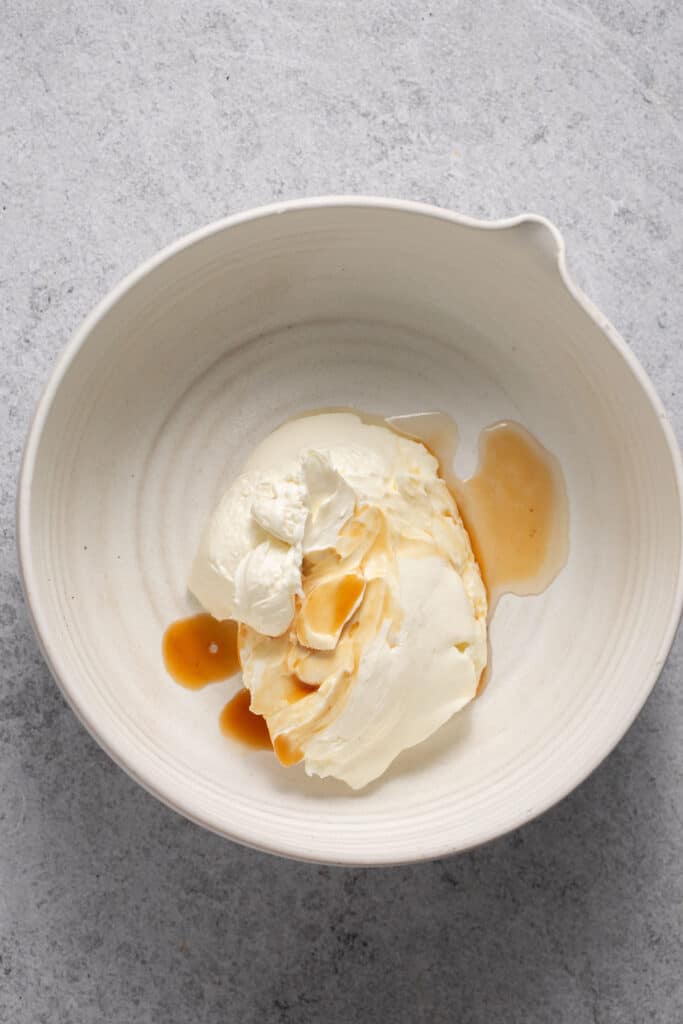
4. In the large bowl of a stand mixer (or with a hand electric mixer), mix together the cream cheese, stevia and vanilla for one minute or until creamy.
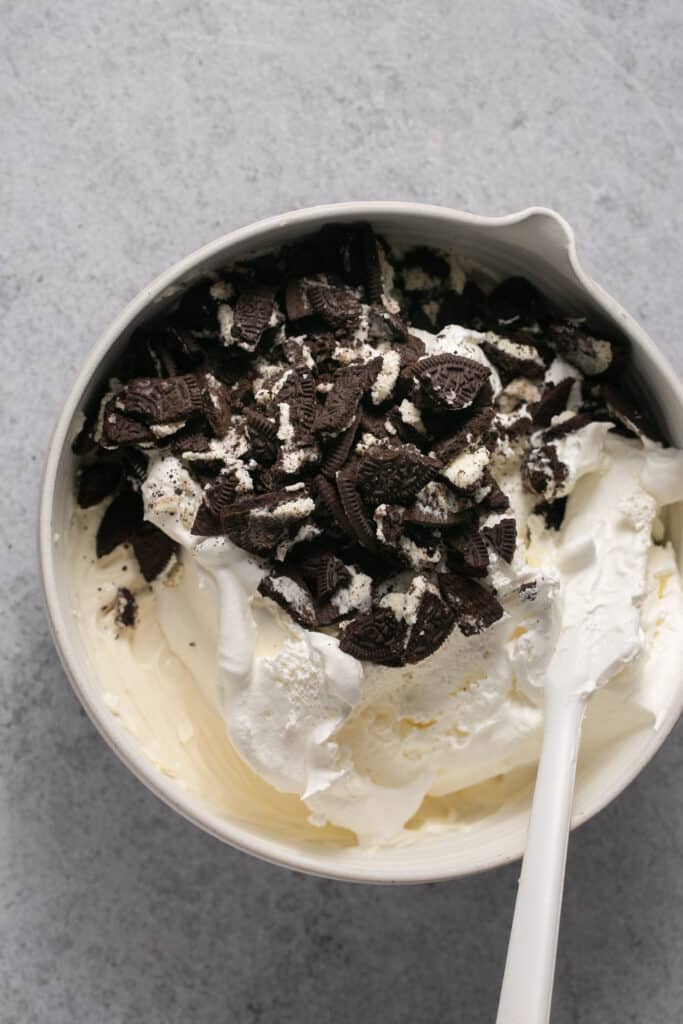
5. Then fold in the crushed Oreos and cool whip with a rubber spatula.
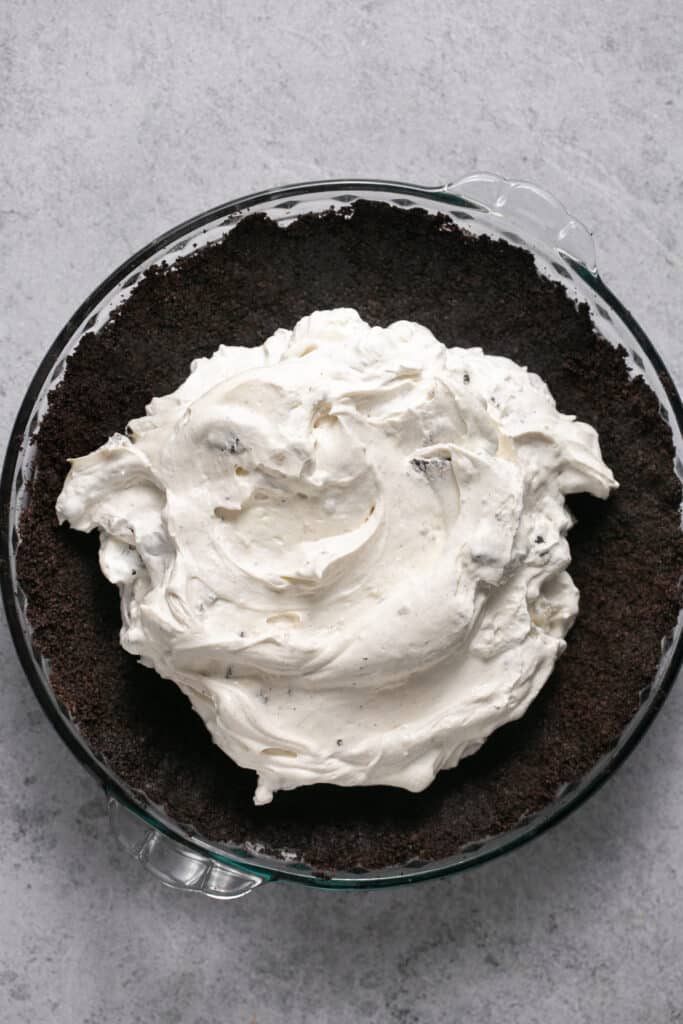
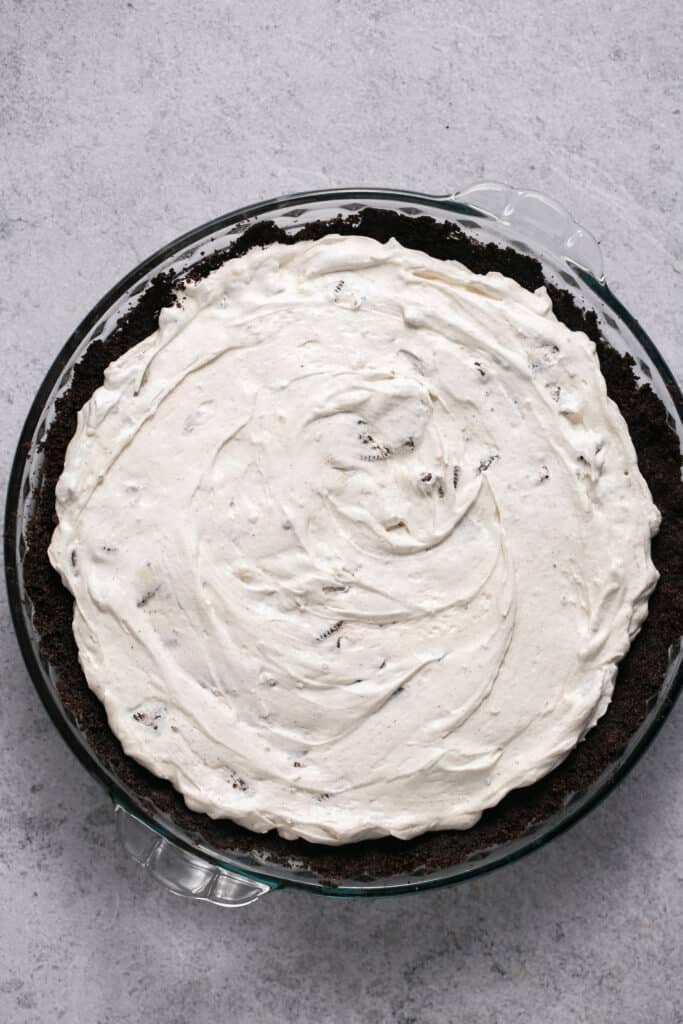
6. Add cool whip mixture on top of the pie crust in an even layer.
7. Cover the pie and place in the freezer for a minimum of 2 hours.
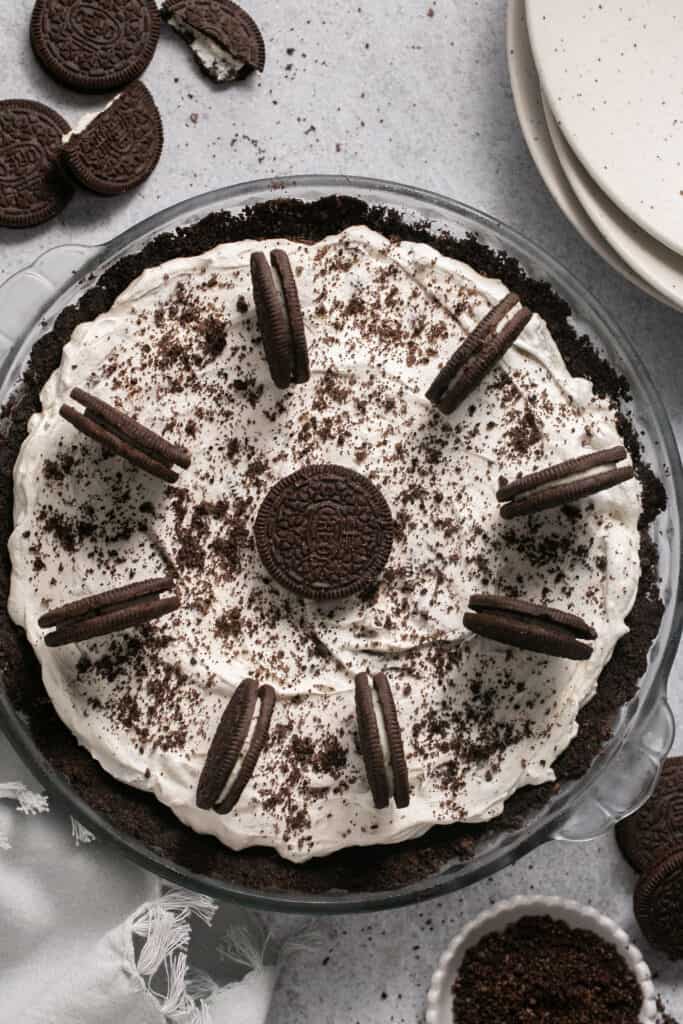
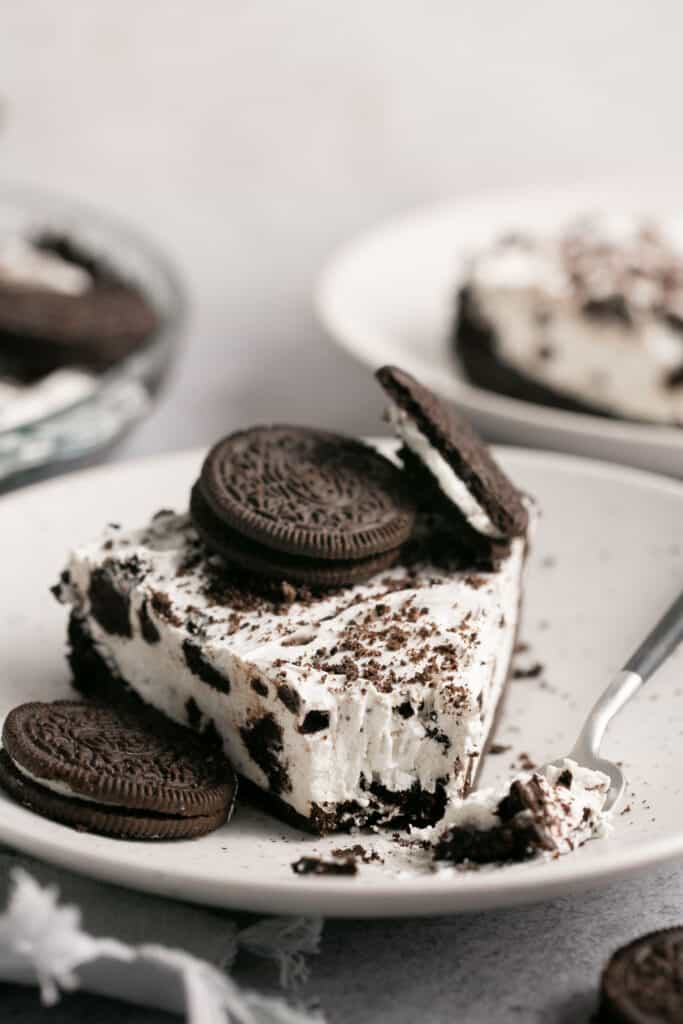
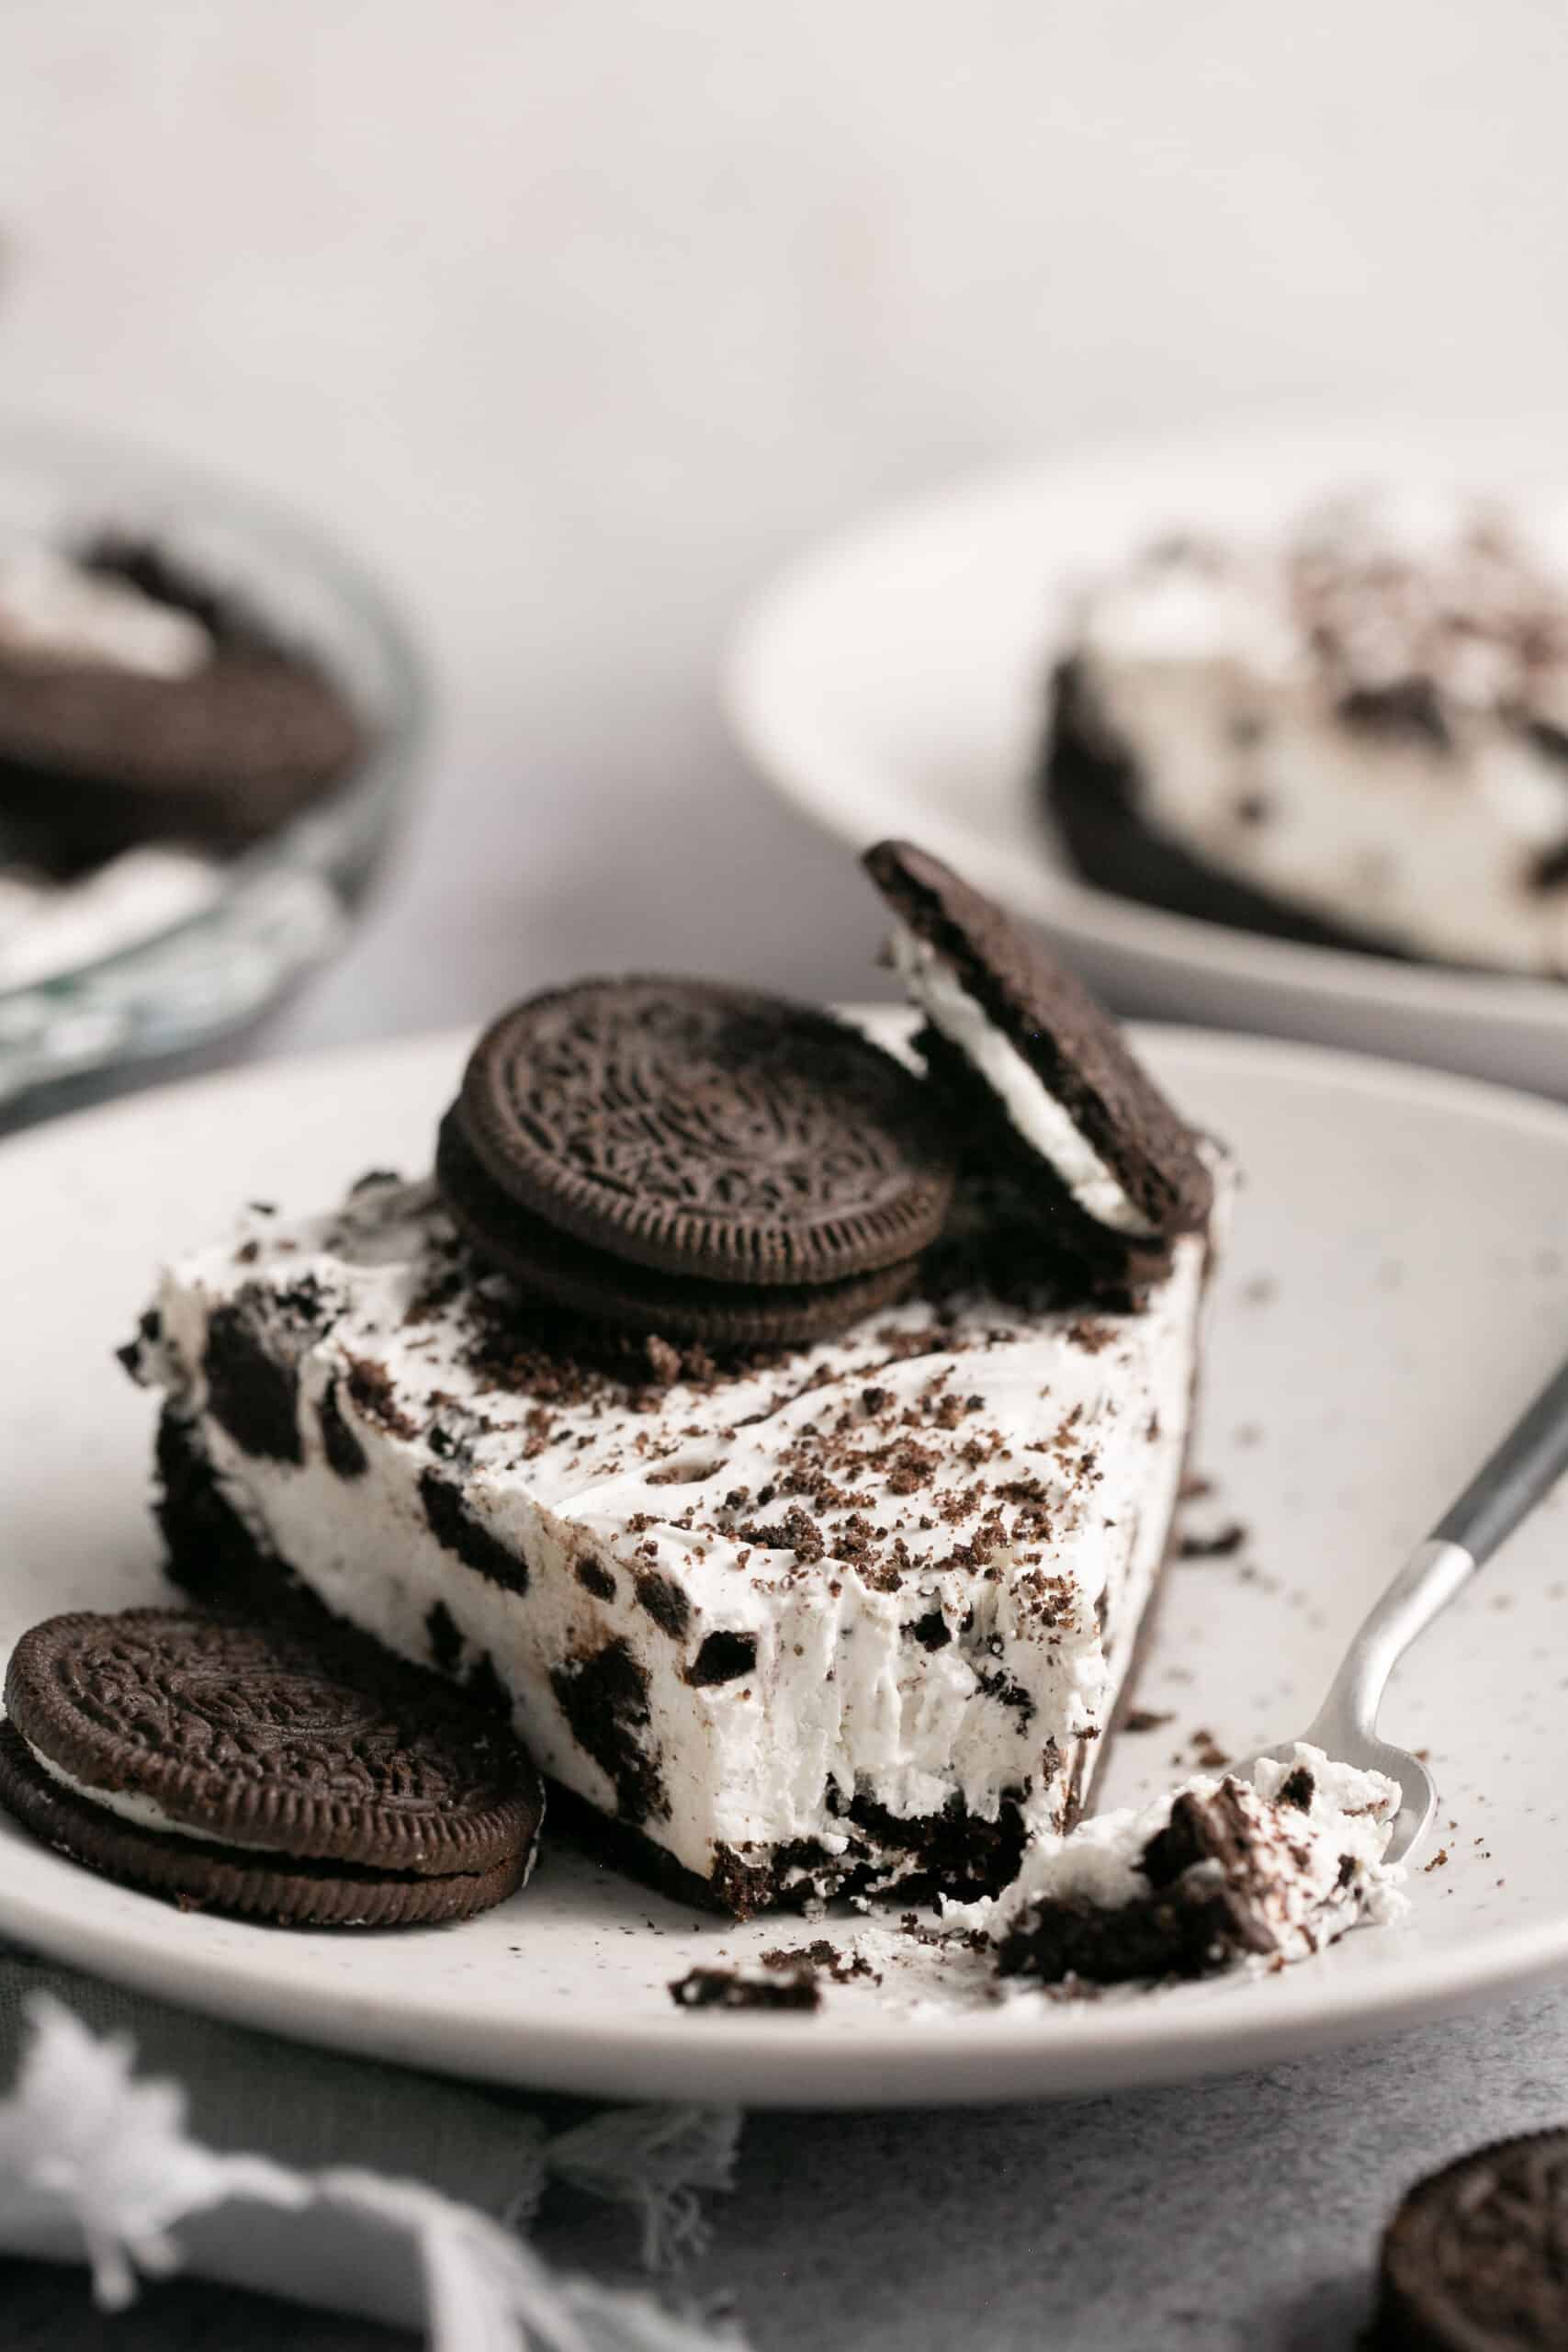
8. When ready to serve, top with extra Oreos, chopped Oreos and/or Oreo crumbles if desired, and enjoy!
Store leftover no bake pie in an airtight container or covered with plastic wrap in the fridge or freezer. This dessert will stay fresh in the fridge for 3-4 days or frozen for up to 3 months.

You can use a pre-made pie crust to save 5-10 minutes of time. I really think its worth it to made the homemade Oreo pie crust though!
Yes, I actually like to keep mine in the freezer because I love when it’s more frozen and solid like an ice box cake! As with anything you are freezing, just make sure to wrap it air tight to prevent freezer burn.
Yes, this pie is actually better made ahead of time! This allows the pie to come to the perfect temperature and also allows the flavors to come together. I would store it in the freezer and then transfer to the fridge 1-2 hours before serving.


Did you make this? If you snap a photo, please be sure leave a review, tag me on Instagram or TikTok at @LaurenFitFoodie or hashtag #LaurenFitFoodie so I can see your creations!
No Bake Oreo Pie with Cool Whip
Ingredients
Oreo pie crust:
- 20 Oreo thins regular Oreos work too
- 3 Tbsp light butter, melted or regular butter
Oreo cream filling:
- 8 oz. low fat cream cheese softened
- 1 tsp liquid stevia optional (or sweetener to taste)
- 1 tsp pure vanilla extract optional
- 8 oz. lite Cool Whip softened
- 10 Oreo thins crushed
Before You Begin! If you make this, please leave a review and rating letting us know how you liked this recipe! This helps our business thrive & continue providing free recipes. Scroll for macros and MyFitnessPal code.
Instructions
For the crust:
- Add the Oreo’s to a food processor or blender and pulse until they’re completely crumbed.
- Remove blade from food processor (or transfer to a mixing bowl) and mix in the melted butter.
- Transfer the Oreo mixture to a greased pie dish and press evenly along the bottoms and sides. Use your fingers to make sure everything is pressed down well.
For the pie:
- In the bowl of a stand mixer (or with a hand mixer), mix together the cream cheese, stevia and vanilla for one minute or until creamy. Then fold in the crushed Oreos and cool whip.
- Add cool whip mixture on top of the Oreo pie crust and spread out evenly.
- Cover the pie and place in the freezer for a minimum of 2 hours.
When ready to serve, top with extra Oreo's, chopped Oreo's and/or Oreo crumbles if desired, and enjoy!
Equipment
Notes
Nutrition Information
Nutrition is hand-calculated and accurate. No autocalulations! However, note that values can vary based on the brands you use and if you substitute ingredients.