This post may contain affiliate links. Please read my disclosure policy.
About This Recipe
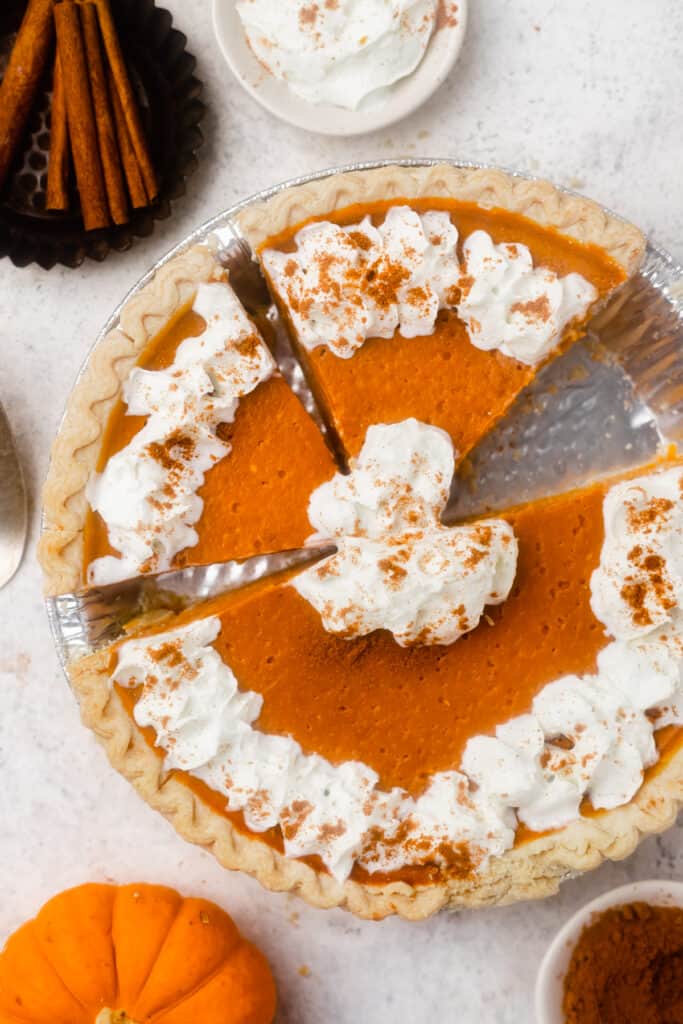
Pumpkin pie is a true Thanksgiving classic! One is sure to make an appearance on your table next to the turkey, stuffing, and cranberry sauce. And they’re absolutely delicious thanks to their creamy, smooth filling and sweet crust!
Pumpkin pies are actually pretty dang easy to make healthier. Traditional recipes are so calorie dense because they use sweetened condensed milk or half and half and lots of sugar.
This Healthy Pumpkin Pie uses almond milk in place of sweetened condensed milk and Swerve, a natural sugar replacement, in place of white and brown sugar. So really, you can enjoy a piece or two (…or three) without any of the sugar high or guilt 🙌🏼
Another cool part about this Healthy Pumpkin Pie recipe? Besides the fact that you can make it in advance which is a total a life saver on Thanksgiving day… is that you can totally make it your own! If you just want to use the filling and use a family favorite pie crust recipe, you can. You can also keep it super simple with a pre-made pie crust. The crunchy kind of the doughy frozen kind. And if you want to skip the crust all together, you can do that too!
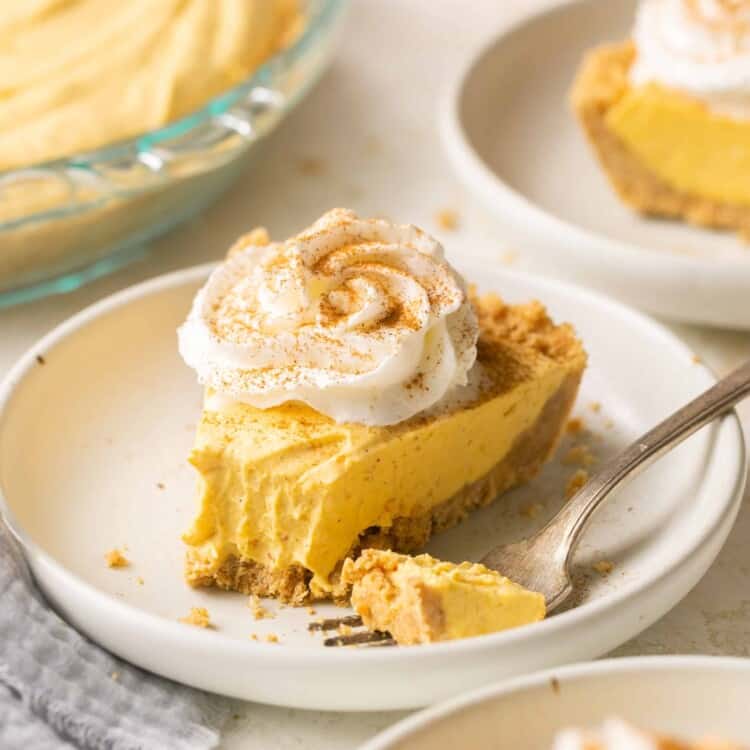
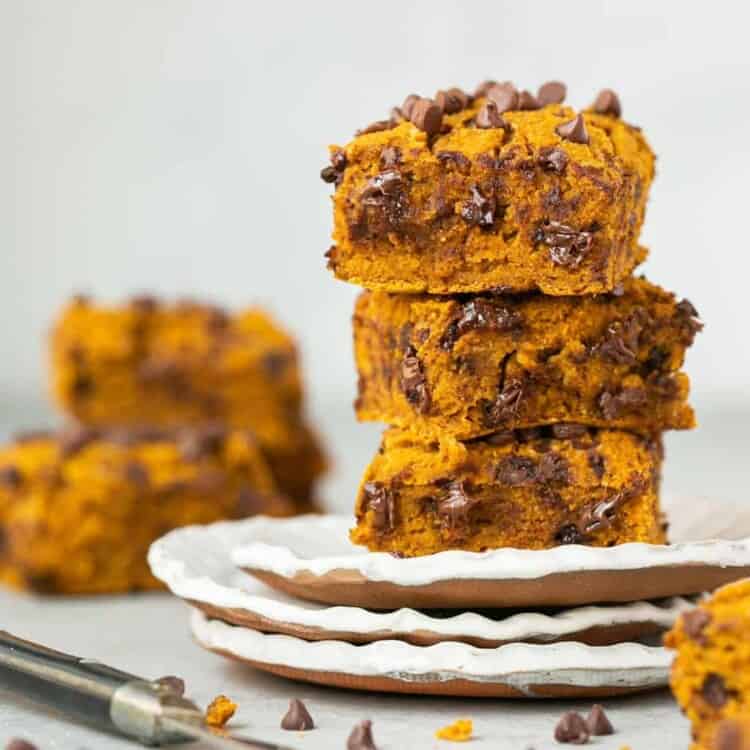
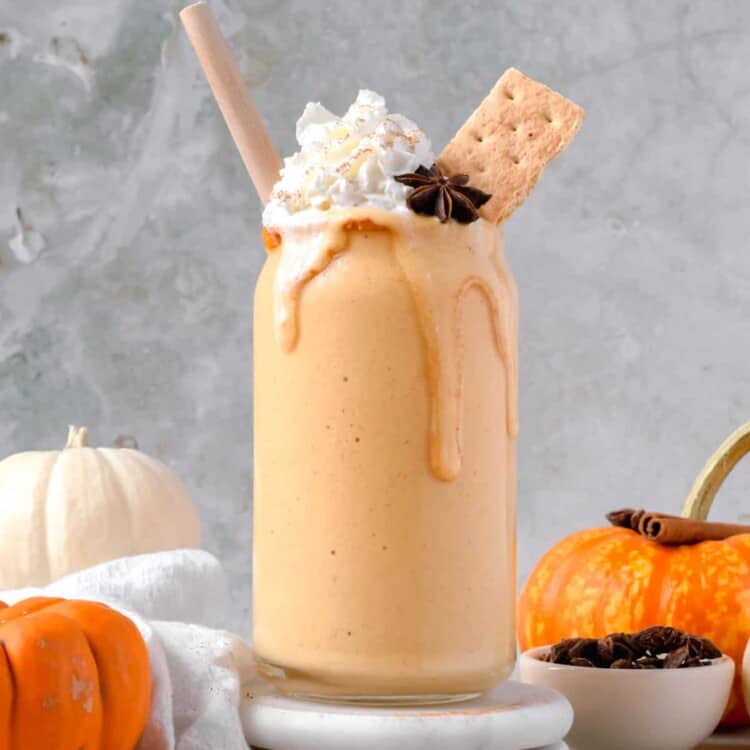
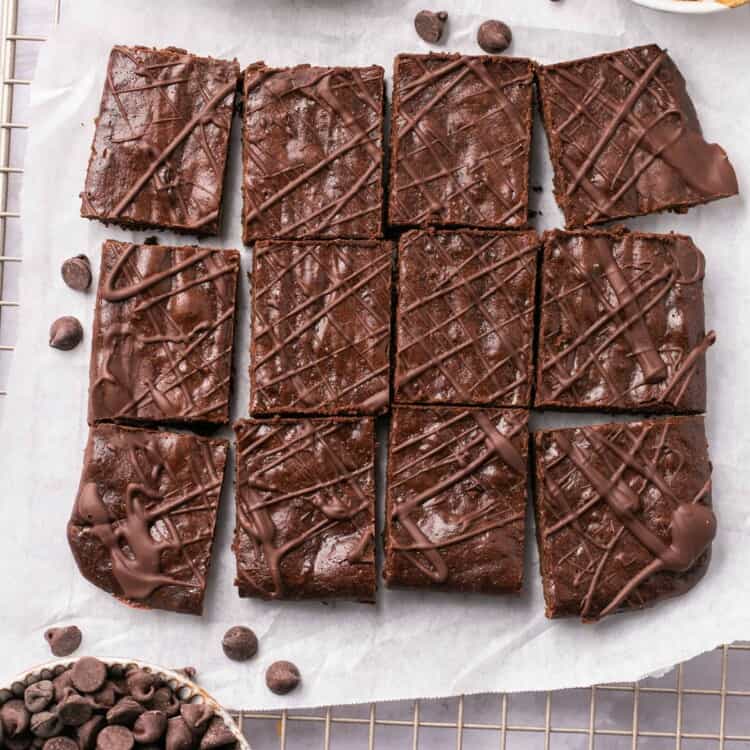
Want more healthy pumpkin recipes to try this fall? Check out one of my 15+ Healthy Pumpkin recipes like my No Bake Pumpkin Dessert Pie, Skinny Pumpkin Pie Dip or my Healthy Pumpkin Brownies (Flourless)!
Why You’ll Love This Love Calorie Pumpkin Pie
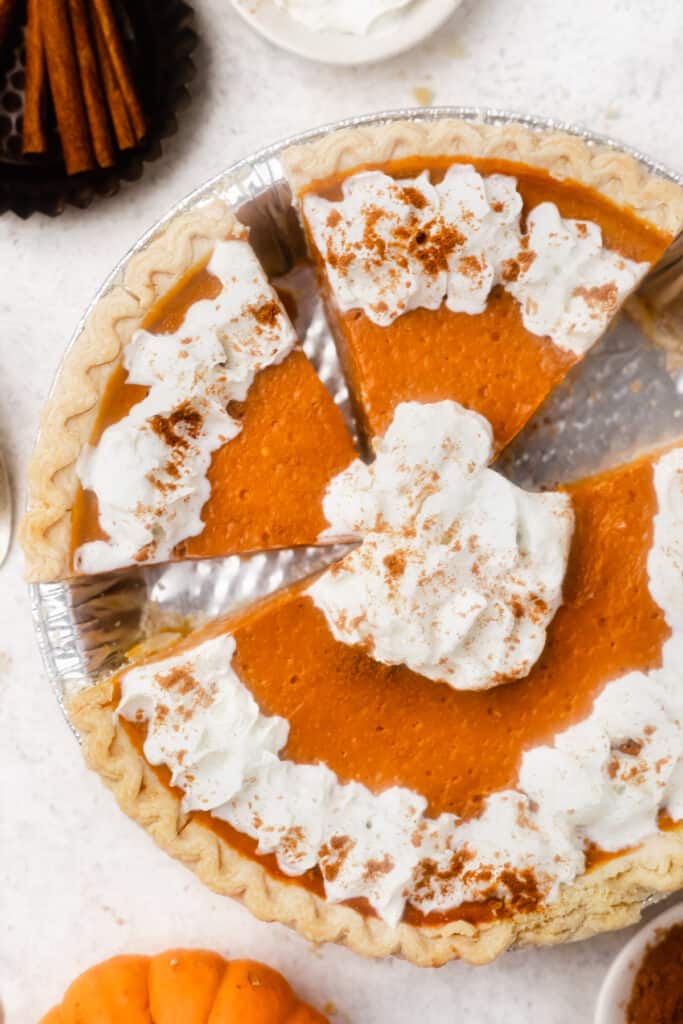
- It’s a holiday staple! What’s not to love about a classic pumpkin pie?!
- Tremendously lighter and lower in calories, carbs, and fats than your traditional pumpkin pie.
- It’s super easy to make. Just one bowl to mix the filling, and then bake!
- Despite being made healthy, it still PACKS the same delicious flavor!
- It’s perfect to make in advance – so you can save your oven for all the other holidays noms
- Not only that, it’s actually BEST when you let it sit in the fridge for a couple of days because the texture and flavor get better with each passing day
- Pie crust – You can use a pre-made crust like I did or make your own homemade pie crust
- Canned pumpkin – Can’t have pumpkin pie without the pumpkin! Make sure you get canned pumpkin and not canned pumpkin pie filling. There is a huge difference in the two!
- Eggs – This will help add structure to the pie.
- Brown sugar – I used Swerve brown sugar. You can use normal light brown sugar or coconut sugar.
- Granular sweetener – I used Swerve granular sweetener. Having both the brown and the normal granular sugar helps balance out the sweetness best.
- Protein powder – Just for a little extra protein. You can’t taste it at all! But if you wish, you can omit. I used PEScience Snickerdoodle. You can also use Vanilla. For all PEScience products, you can use my affiliate code Laurenfitfoodie to save 10%.
- Milk – I used unsweetened vanilla almond milk. You can use low fat, whole milk, coconut milk, evaporated milk, really any type of milk here!
- Baking essentials – Pumpkin pie spice, cinnamon, and pure vanilla extract.
- Cornstarch – Helps make the pie a little sturdier and firm while keeping everything smooth.
How To Make
- Preheat the oven to 425 degrees F.
- In the bowl of a stand mixer (or with a hand mixer) combine all the ingredients.
- Pour the pumpkin pie batter into the pie crust and bake for 15 minutes. Reduce temperature to 350 degrees F and bake for 40-45 minutes, or until a toothpick inserted near the center comes out clean.
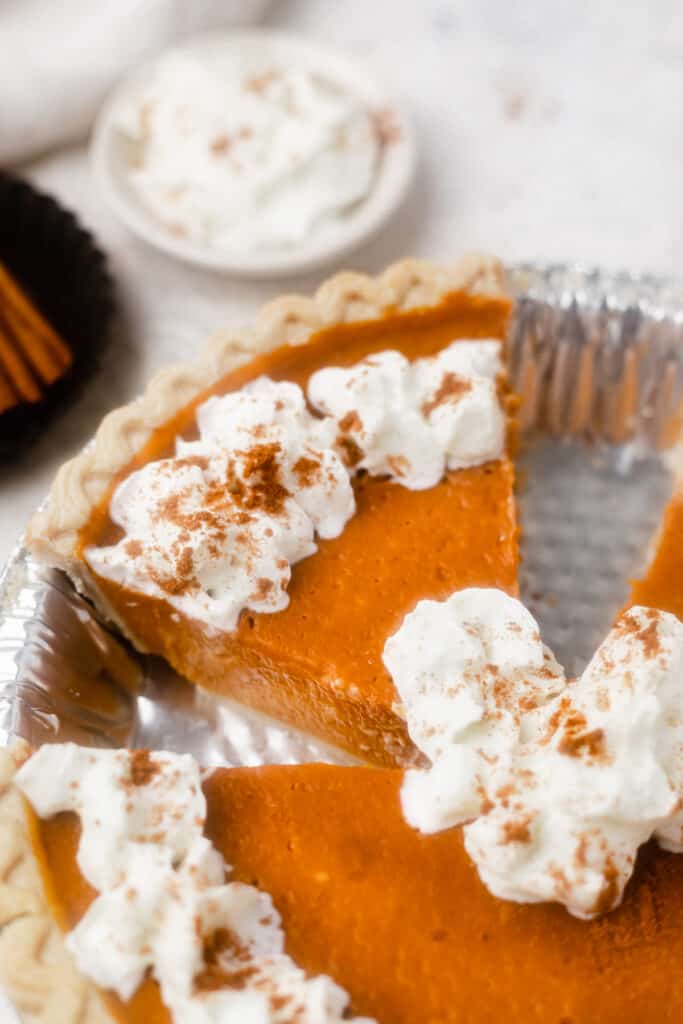
- Let cool to room temperature. Then store, covered, in the fridge for 2-3 hours. Top with a cool whip or whipped cream if desired, and enjoy!
- This pumpkin pie is even better the next day after storing it in the fridge overnight. This allows the texture to set and the flavors to come out even more!
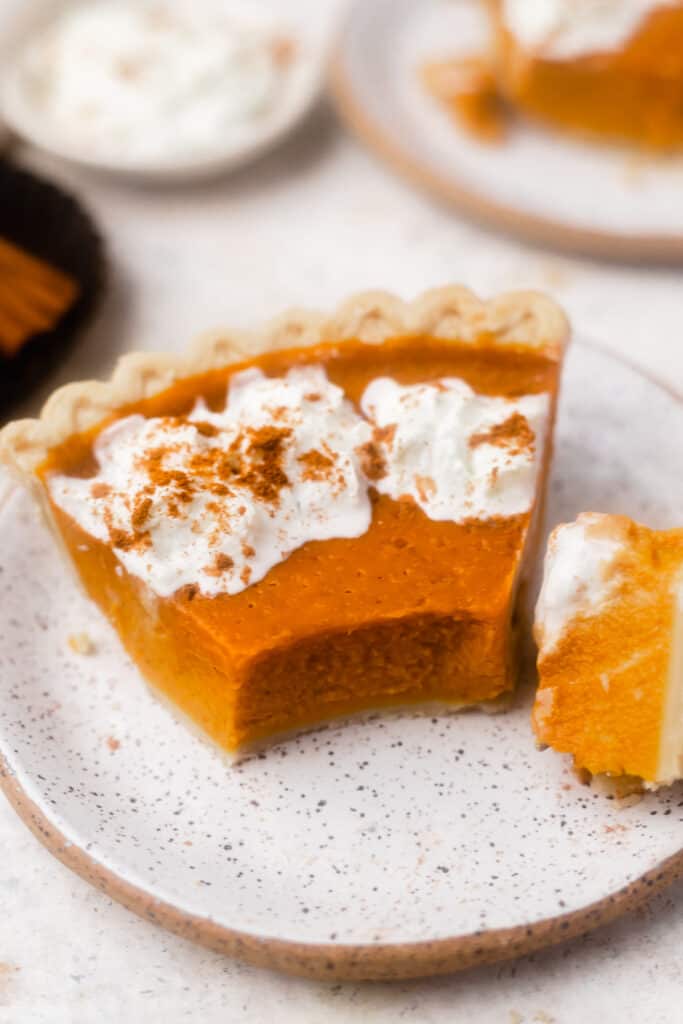
How can I tell when my pumpkin pie is done?
The easiest way is to stick a knife in the filling just off the center of the pie. If it’s done, it will come out clean or nearly so. With experience, you can tell by the jiggle; only the center will still be jiggly.
Why are my pies different colors when I’m using the same recipe?
It’s the canned pie filling. Different brands have different colors, from golden to orange to brownish, and lend a different color to the pies. They will all taste the same.
Can I make this Healthy Pumpkin Pie the day before?
Yes! Pumpkin pie can be made a day ahead and tastes great cold. I actually think it tastes BEST made 1-2 days in advance to allow the texture to set and the flavors to come out even more.
Can I make just the filling ahead of time?
Yes! Simply mix the pumpkin pie filling together and place it in an airtight container in the refrigerator for up to 4-5 days. It’s a great way to save time before Thanksgiving. I truly think this pie is BEST if made at least a day in advance!
Can you freeze pumpkin pie?
Yes! To freeze homemade pumpkin pie, let it cool completely, wrap it well, and put it in the freezer. It will stay good for up to 1 month. Before serving, let the pumpkin pie thaw in the refrigerator overnight.

Did you make this? If you snap a photo, please be sure leave a review, tag me on Instagram or TikTok at @LaurenFitFoodie or hashtag #LaurenFitFoodie so I can see your creations!
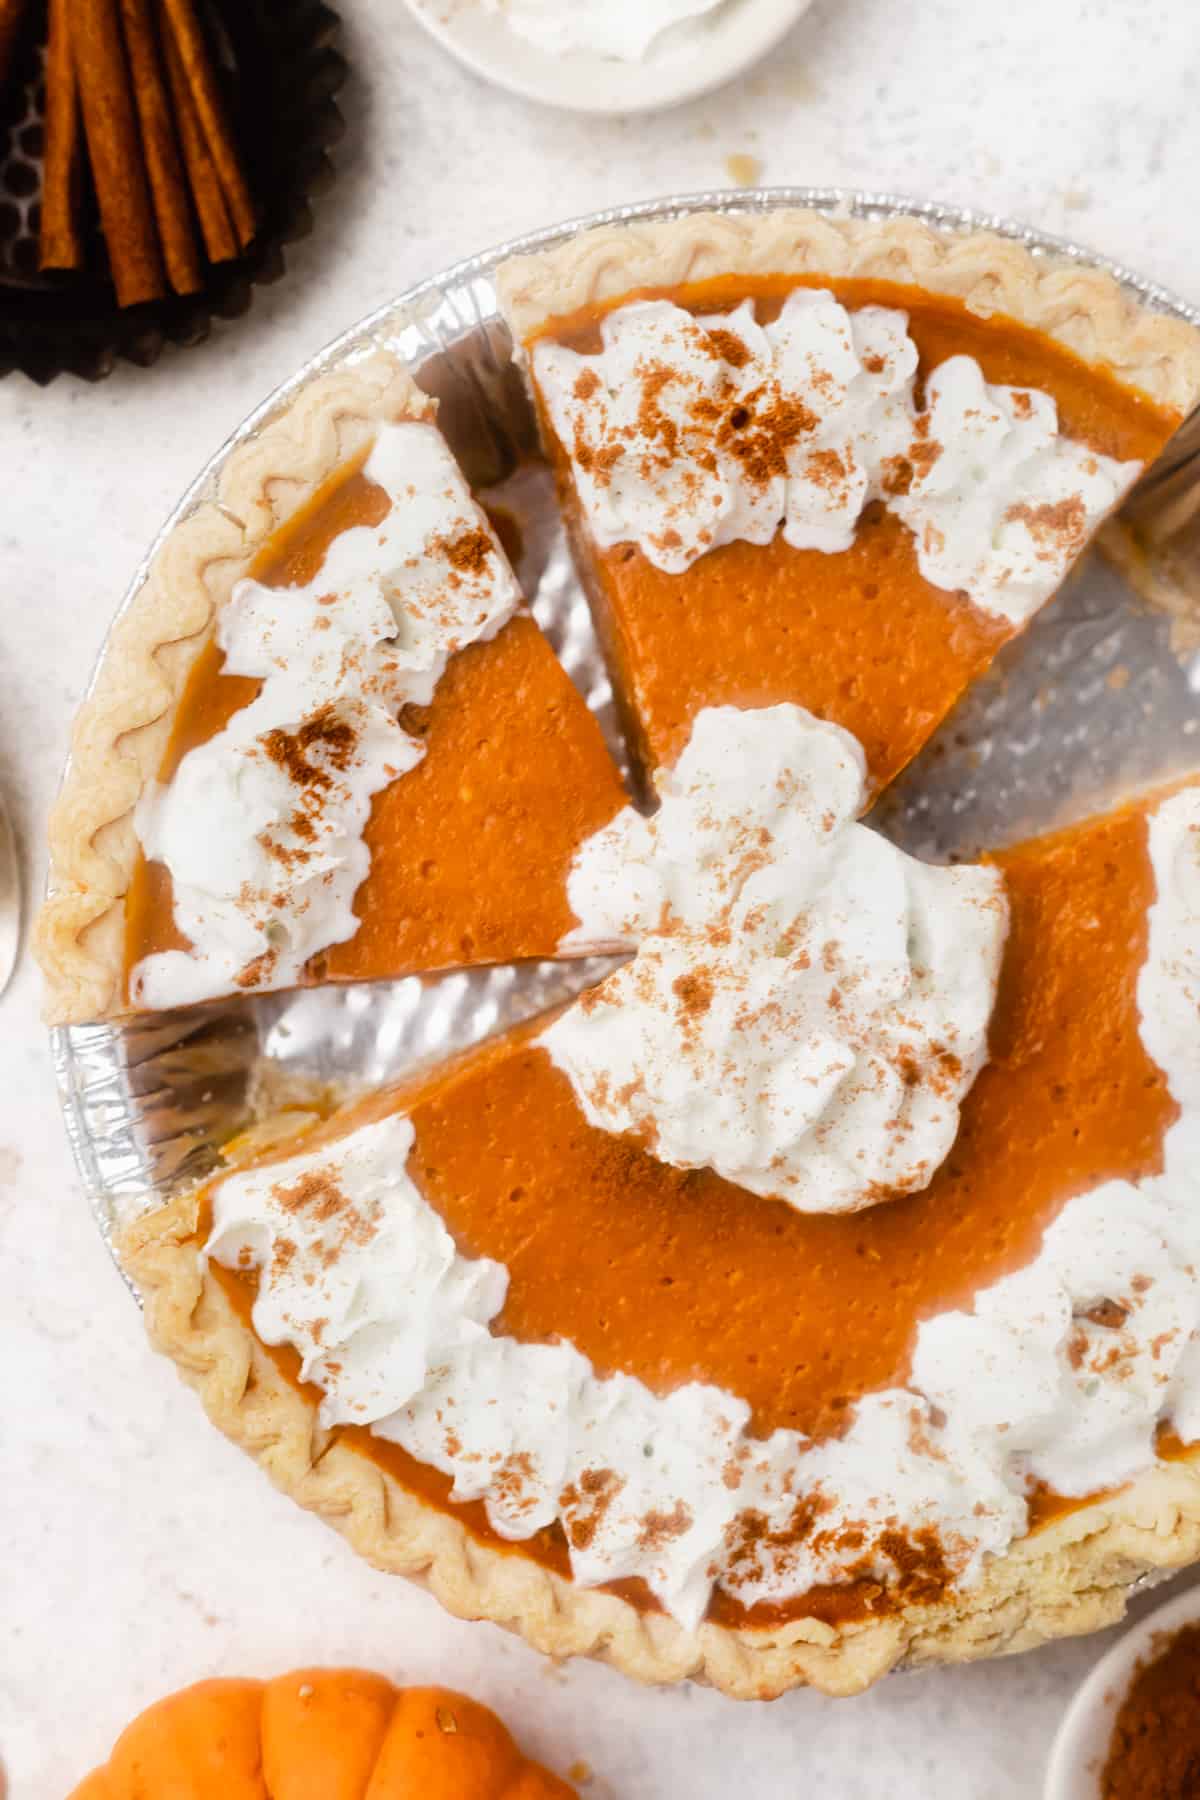
The Best Low Calorie Pumpkin Pie Recipe! (That’s Not Crustless)
Ingredients
- 1 frozen deep dish pie crust I used Pillsbury
- 1 15-oz. can pumpkin (425g) I used Libby
- 2 large eggs
- 1/3 cup brown sugar (64g) I used Swerve
- 1/4 cup granular sweetener (48g) I used Swerve
- 1 scoop vanilla protein powder (31g)
- 1/4 cup plain nonfat Greek yogurt (60g)
- 1/3 cup unsweetened vanilla almond milk (90g)
- 2 Tbsp cornstarch (16g)
- 1 Tbsp pumpkin pie spice (6g)
- 2 tsp cinnamon
- 1 tsp pure vanilla extract
Before You Begin! If you make this, please leave a review and rating letting us know how you liked this recipe! This helps our business thrive & continue providing free recipes. Scroll for macros and MyFitnessPal code.
Instructions
- Preheat the oven to 425 degrees F.
- In the bowl of a stand mixer (or with a hand mixer) combine all the ingredients.
- Pour the pumpkin pie batter into the pie crust and bake for 15 minutes. Reduce temperature to 350 degrees F and bake for 40-45 minutes, or until a toothpick inserted near the center comes out clean.
- Let cool to room temperature. Then store, covered, in the fridge for 2-3 hours*. Top with a cool whip or whipped cream if desired, and enjoy!
Notes
Nutrition Information
Nutrition is hand-calculated and accurate. No autocalulations! However, note that values can vary based on the brands you use and if you substitute ingredients.
