This post may contain affiliate links. Please read my disclosure policy.

About This Recipe
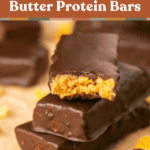
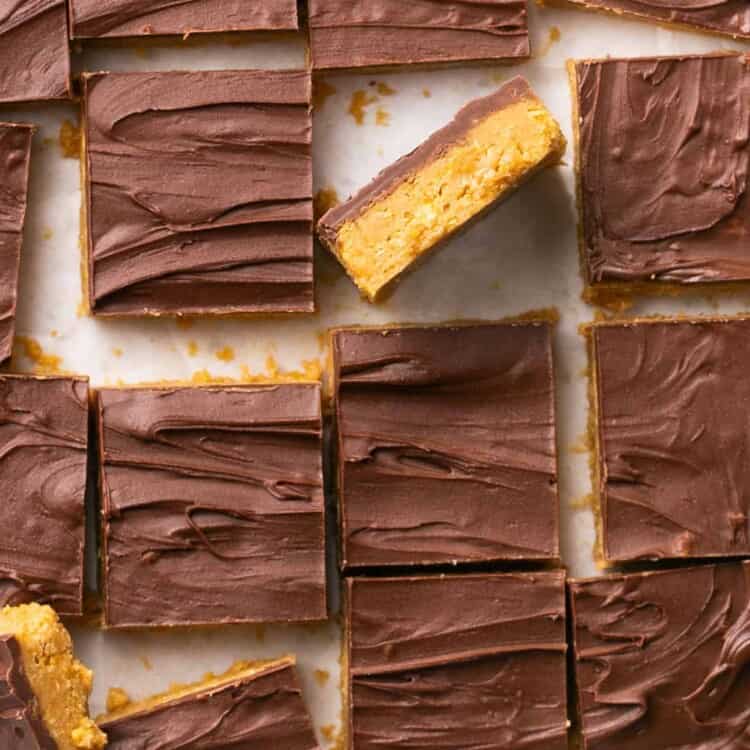
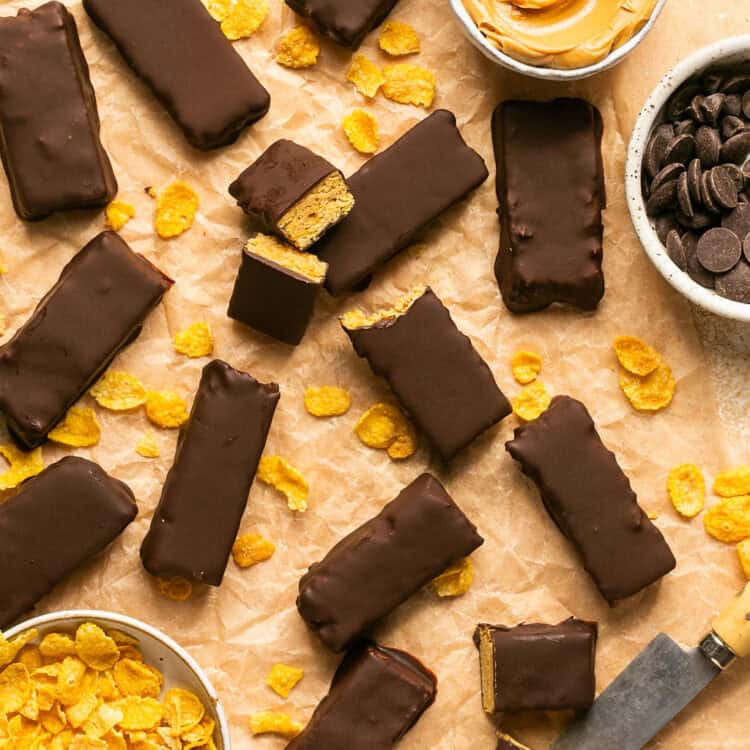
If you’re craving a delicious but also healthy snack that satisfies your sweet tooth without the guilt, you have to try these Chocolate Peanut Butter Protein Bars!
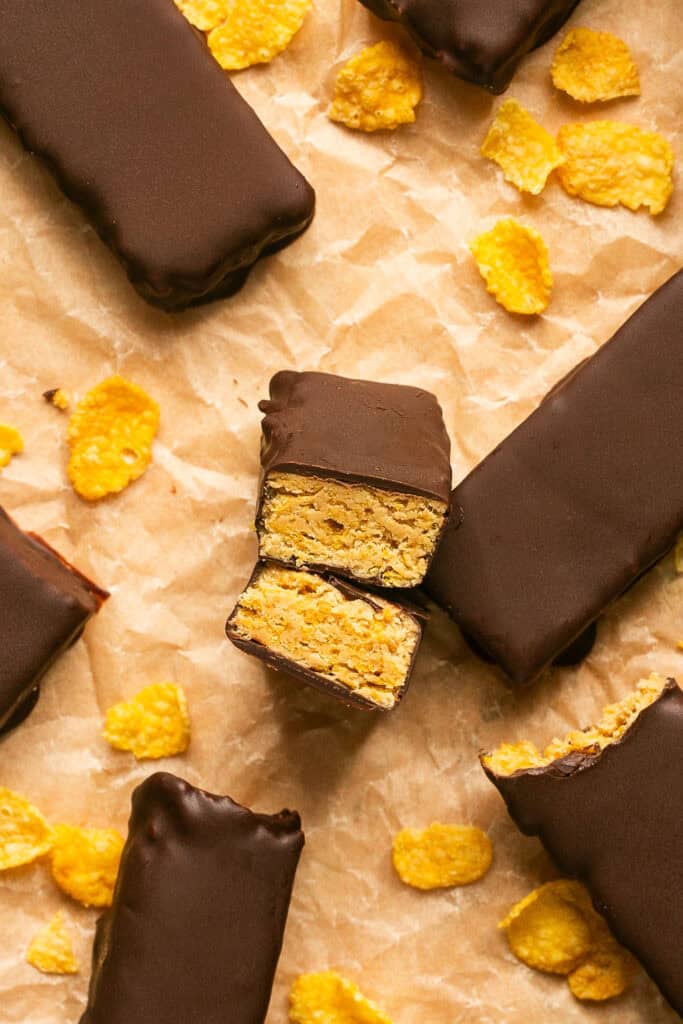
Inspired my childhood-favorite Butterfinger candy bar, these no bake peanut butter protein bars not only made with better ingredients but they’re also packed with protein. Lots of store-bought protein bars and candy bars are filled with artificial sweeteners, artificial colors, vegetable oil, soy lecithin, “natural flavors”, etc. By making your own bars at home with simple ingredients, you can feel a lot better knowing what you’re eating (and feeding to your family).
And not only do you know what ingredients you’re using to make these bars, but you can easily adjust any of the ingredients for dietary restrictions. Not to mention, it’s a total cost saver compared to other bars!!
You can enjoy these bars as a post-workout boost or a midday snack. They’re even tasty enough for dessert. These bars are sure to become your new favorite healthy indulgence!
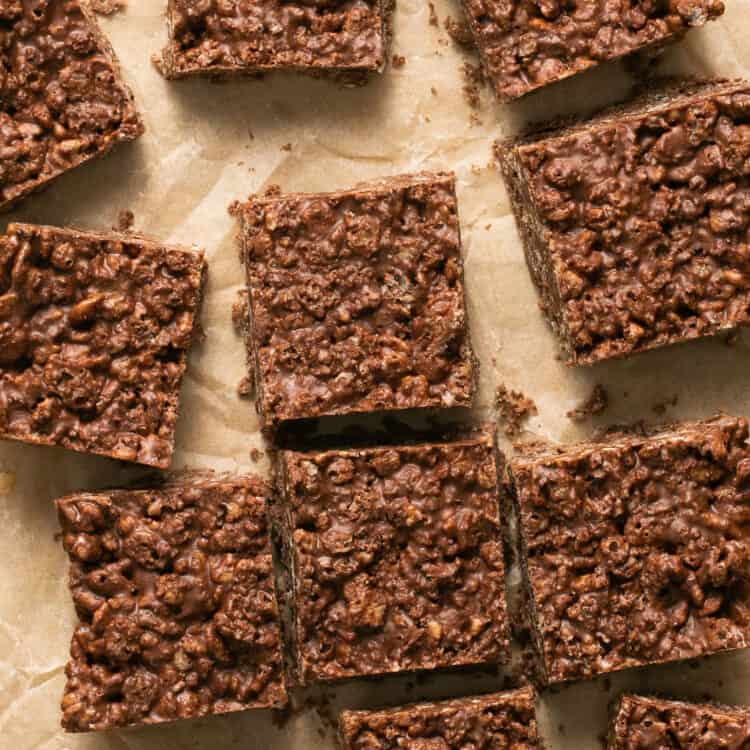
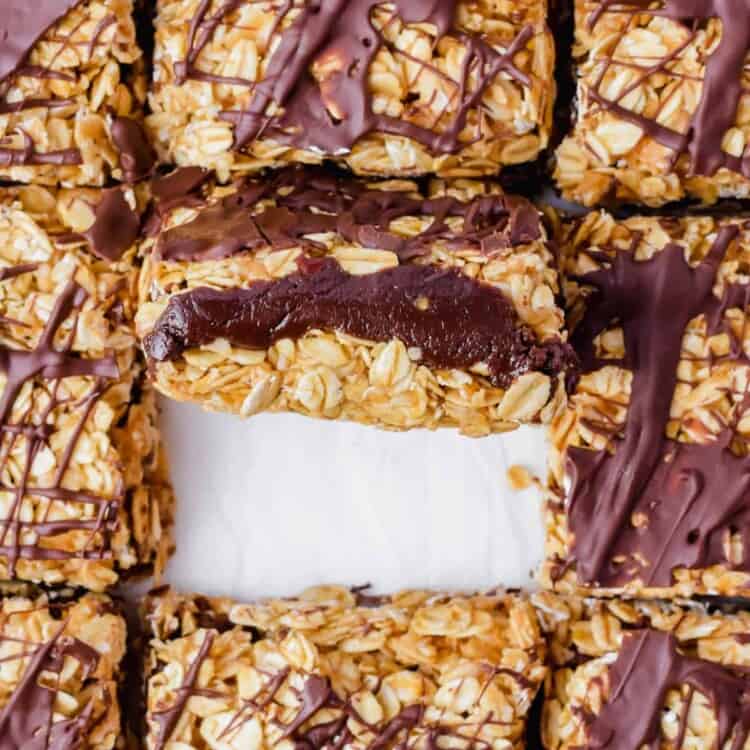
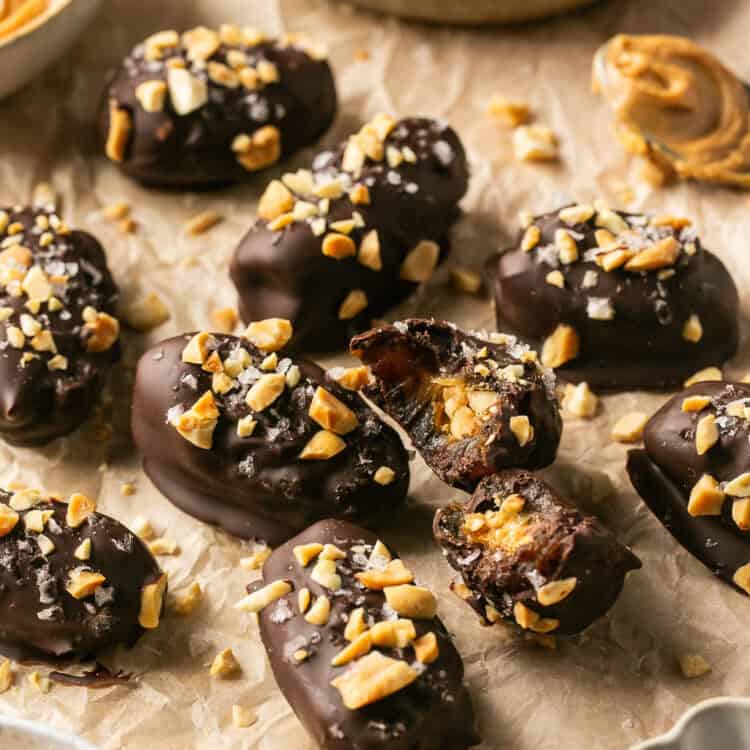
For more alternative protein bar recipes, try my chocolate peanut butter crunch bars, peanut butter cornflake bars or healthy chocolate cookie dough cups! Also, check out my date snickers for another healthy candy bar swap!
Why You’ll Love These Chocolate Peanut Butter Protein Bars
- Taste just like butterfingers but made with high-quality ingredients!
- Over 10 g protein per serving and double the dietary fiber in the original candy bar
- Super easy and quick to make! Save a ton of money making your own protein bars!
- These healthy protein bars make a great snack option or are even sweet enough for dessert!
- Can be made to work with any dietary restrictions – gluten-free, dairy-free, vegan, etc.

- Corn flakes: or any other crunchy cereal. If gluten-free, make sure to verify you’re using a use gluten-free cornflake cereal or cereal of choice
- Honey: you can also use pure maple syrup (or your sweetener of choice)
- Peanut butter: since peanut butter is the one of the main ingredients in this recipe, you want to make sure to use a peanut butter you love the taste of! I love using creamy peanut butter for these but if you’re using a natural peanut butter be sure to stir it really well and you may need to add extra cornflakes to get the right consistency. If using an unsalted natural peanut butter, add salt to taste
- Protein power: I used PEScience vanilla (code Laurenfitfoodie to save!) but you can use any flavor you’d like. You can use a whey protein blend or hemp protein if you want a plant-based option. Alternatively, you can use collagen peptides if you want an unflavored protein powder.
- Coconut oil: this helps melt the chocolate chips to a melty, creamy consistency so it spreads nice and evenly over the protein bars. I recommend using refined coconut oil if you don’t want any coconut flavor. You can also use butter if coconut oil if needed.
- Chocolate chips: Enjoy life chocolate chips are my favorites! Semi-sweet chocolate is my preference here but milk or dark chocolate also works great. You can also use melting wafers for the melted chocolate
- Peanut butter will give you the most similar flavor to real butterfingers but almond butter, cashew butter or sunflower butter will also work.
- If subbing honey, you can also use pure maple syrup, molasses, corn syrup or brown rice syrup.
- You can omit the protein powder if desired – you might just need to add extra cornflakes to get the right consistency
- Sprinkle a little sea salt on top of the chocolate before placing into the freezer if you love a sweet/salty combo
How To Make
The full printable recipe is below, but let me walk you through the process so you know what to expect when you’re making it!

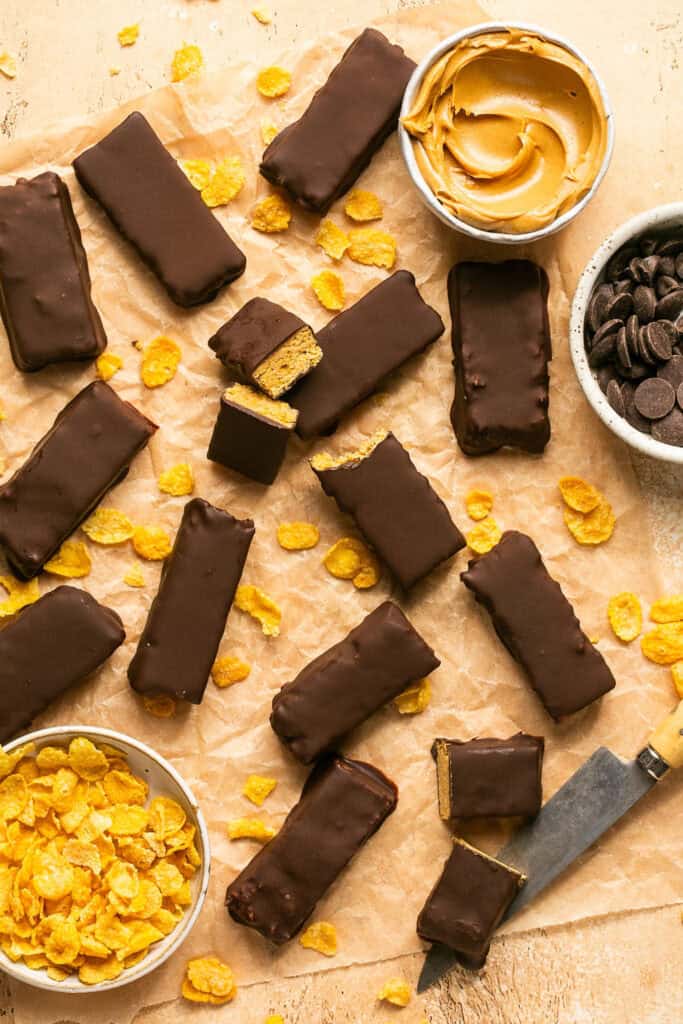
- Step 1: Line an 8×8-inch dish with parchment paper. Crush the corn flakes into fine pieces with a food processor or in a large ziploc bag with a rolling pin.
- Step 2: Warm the honey in a saucepan over low heat or in a heat-safe bowl in the microwave (warming makes it easier to mix!) Stir in the salt and peanut butter.
- Step 3: Then stir in the protein powder and coconut oil.
- Step 4: Stir with a rubber spatula until combined. It should be easy to stir, if not, warm a little more and keep stirring!

- Step 5: Stir in the crushed cereal.
- Step 6: Transfer to prepared dish. Spread out evenly. Use a piece of parchment paper spray with nonstick spray to help press down if needed. Freeze or refrigerate for 1-2 hours, until firm.
- Step 7: Add chocolate and coconut oil to a double broiler or in the microwave.
- Step 8: Heat until melted.

- Step 9: Prepare a small baking sheet (that can fit in your freezer) or plate with parchment paper. Remove the dish from the freezer and cut into bars.
- Step 10: Dip the bars in the chocolate letting the excess chocolate drip off.
- Step 11: Place bars on the parchment paper lined sheet.
- Step 12: Freeze for 30 minutes or until chocolate has set. Keep stored in the freezer.
Keep these chocolate protein bars in an airtight container in the freezer for up to 2 months.
You can enjoy them straight from the freeze (they’re nice and crisp) or you can let them set out on the counter for a few minutes if you prefer them softer.
Yes if you don’t need help increasing your protein intake, you can omit the protein powder. Just note your may need to add extra cornflakes since not adding the protein powder would alter the wet/dry ratio of the cookie dough. Anywhere from 1/4 cup to 1/2 cup extra cornflakes should work. Start with an extra 1/4 cup and gradually add until you get to the right consistency.
Not all corn flakes are gluten-free as some will have gluten in the additives. I used these gluten-free corn flakes.
Be sure to add enough honey and peanut butter so that the cornflakes will stick together. If your mixture still seems kind of dry, add a teaspoon or two until the mixture presses down firmly. Also, make sure you’re pressing down the mixture firmly (I used a piece of parchment paper sprayed with nonstick cooking spray to do this) and to crush your cornflakes into tiny pieces (this makes a huge difference!).
Did you make this? If you snap a photo, please be sure leave a review, tag me on Instagram or TikTok at @LaurenFitFoodie or hashtag #LaurenFitFoodie so I can see your creations!
Chocolate Peanut Butter Protein Bars (Healthy Butterfingers)
Ingredients
- 3 cups corn flakes (90g) crushed, or other crunchy cereal
- 1 cup honey (336g)
- 1 cup creamy peanut butter (240g)
- pinch of salt more if peanut butter is unsalted
- 1 cup vanilla protein powder (90g)
- 2 tsp coconut oil (10g)
Chocolate coating:
- 1.5 cup semi sweet chocolate chips or melting wafers (240g)
- 1 tsp coconut oil (5g)
Before You Begin! If you make this, please leave a review and rating letting us know how you liked this recipe! This helps our business thrive & continue providing free recipes. Scroll for macros and MyFitnessPal code.
Instructions
- Line an 8×8-inch dish with parchment paper.
- Crush the corn flakes into fine pieces with a food processor or in a large ziploc bag with a rolling pin.
- Warm the honey in a saucepan over low heat or in a heat-safe bowl in the microwave (warming makes it easier to mix!) Stir in the salt and peanut butter. Then stir in the protein powder and coconut oil. Stir with a rubber spatula until combined. It should be easy to stir, if not, warm a little more and keep stirring!
- Stir in the crushed cereal.
- Transfer to prepared dish. Spread out evenly. Use a piece of parchment paper spray with nonstick spray to help press down if needed. Freeze or refrigerate for 1-2 hours, until firm.
- Prepare a small baking sheet (that can fit in your freezer) or plate with parchment paper.
- Melt chocolate and coconut oil over a double broiler or in the microwave until melted.
- Remove the dish from the freezer and cut into bars.
- Dip the bars in the chocolate letting the excess chocolate drip off. Place bars on the parchment paper lined sheet. Freeze for 30 minutes or until chocolate has set. Keep stored in the freezer.
Notes
Nutrition Information
Nutrition is hand-calculated and accurate. No autocalulations! However, note that values can vary based on the brands you use and if you substitute ingredients.