This post may contain affiliate links. Please read my disclosure policy.
About This Recipe
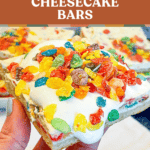
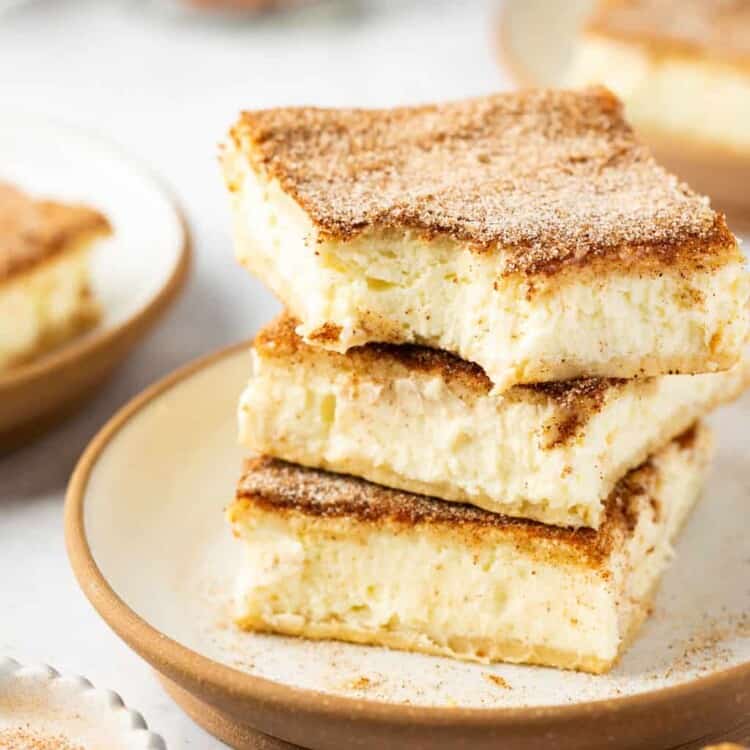
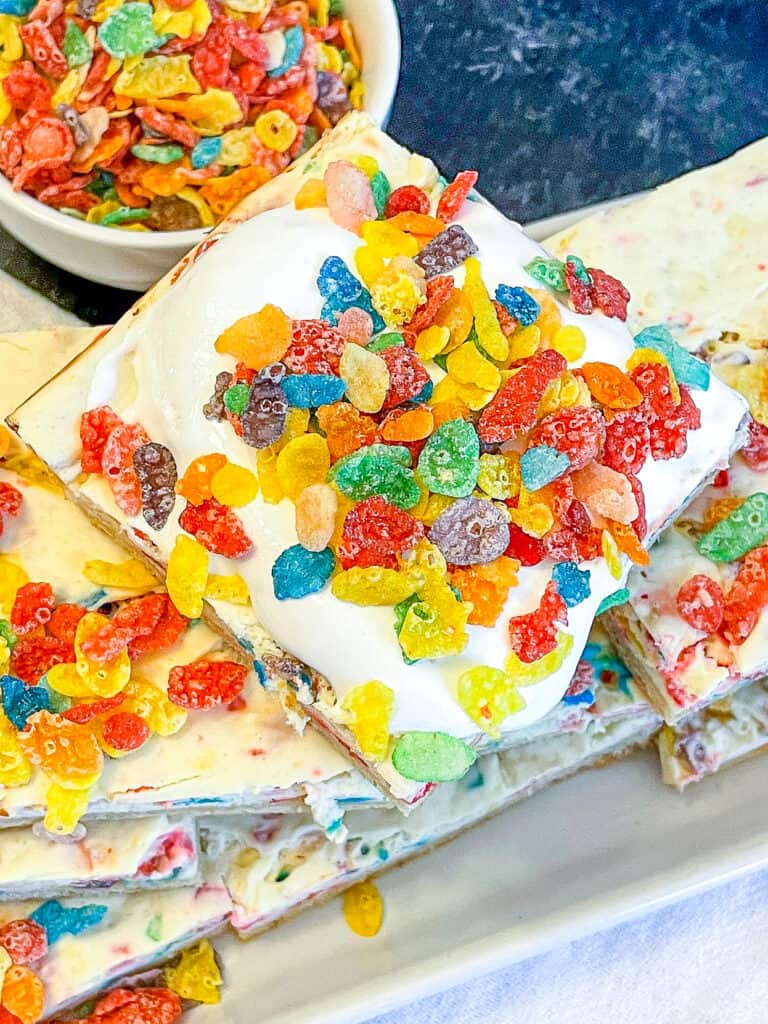
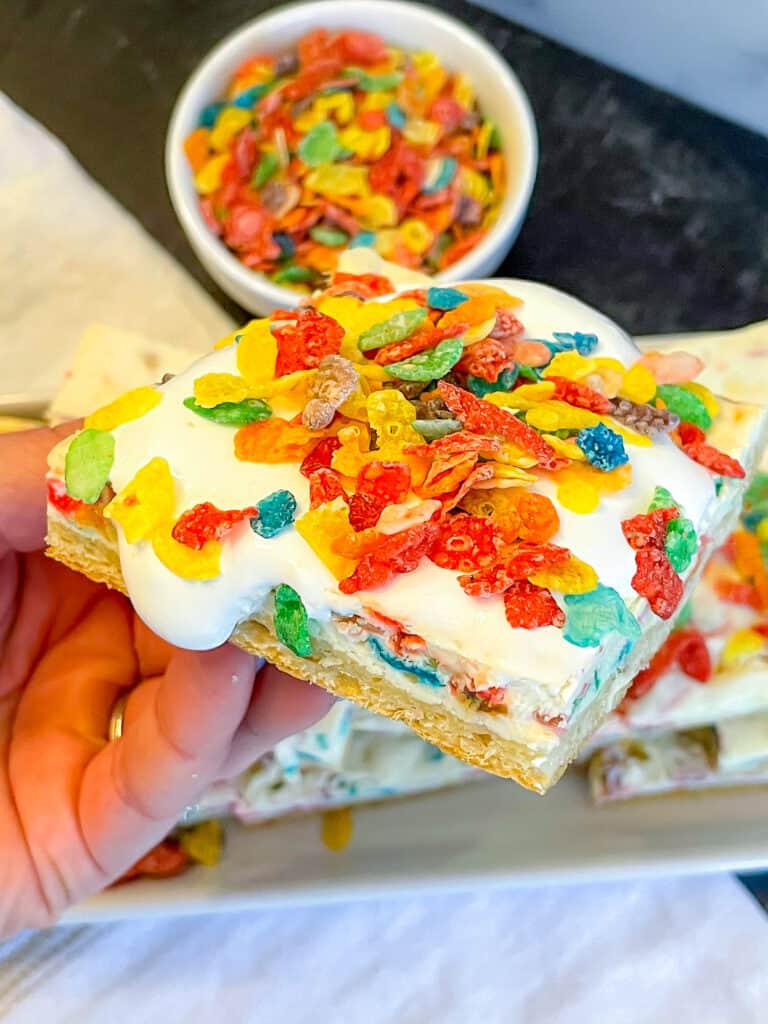
First, there were the Churro Protein Cheesecake Bars. And now, I bring you…Fruity Pebbles Cheesecake Bars!
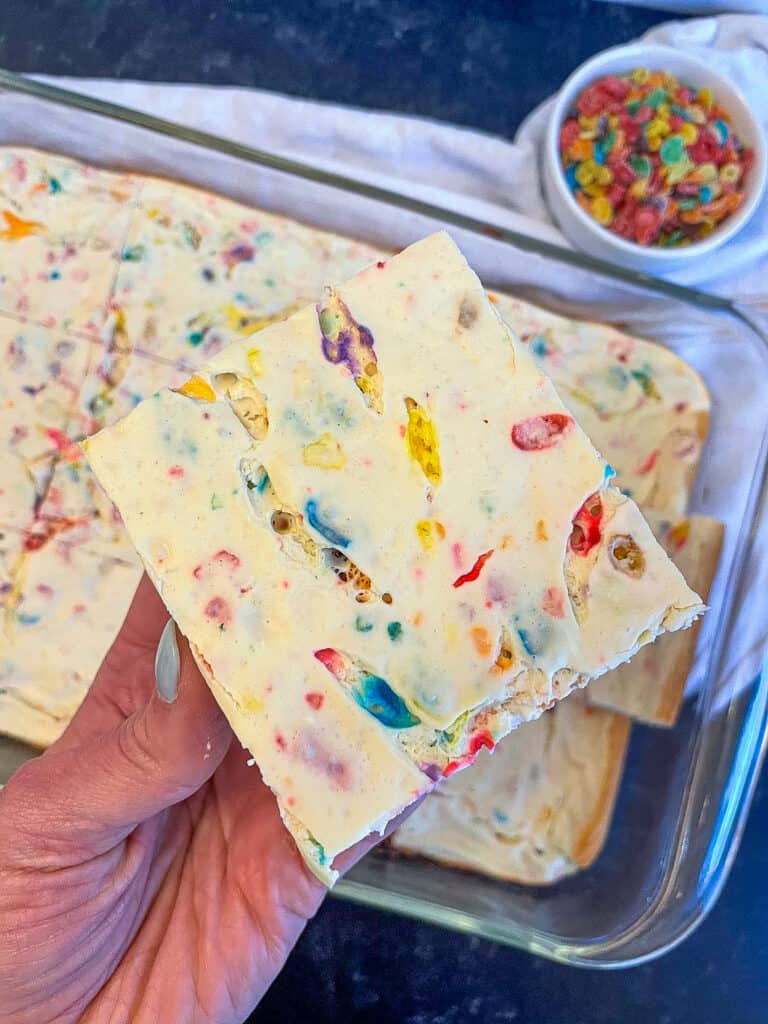
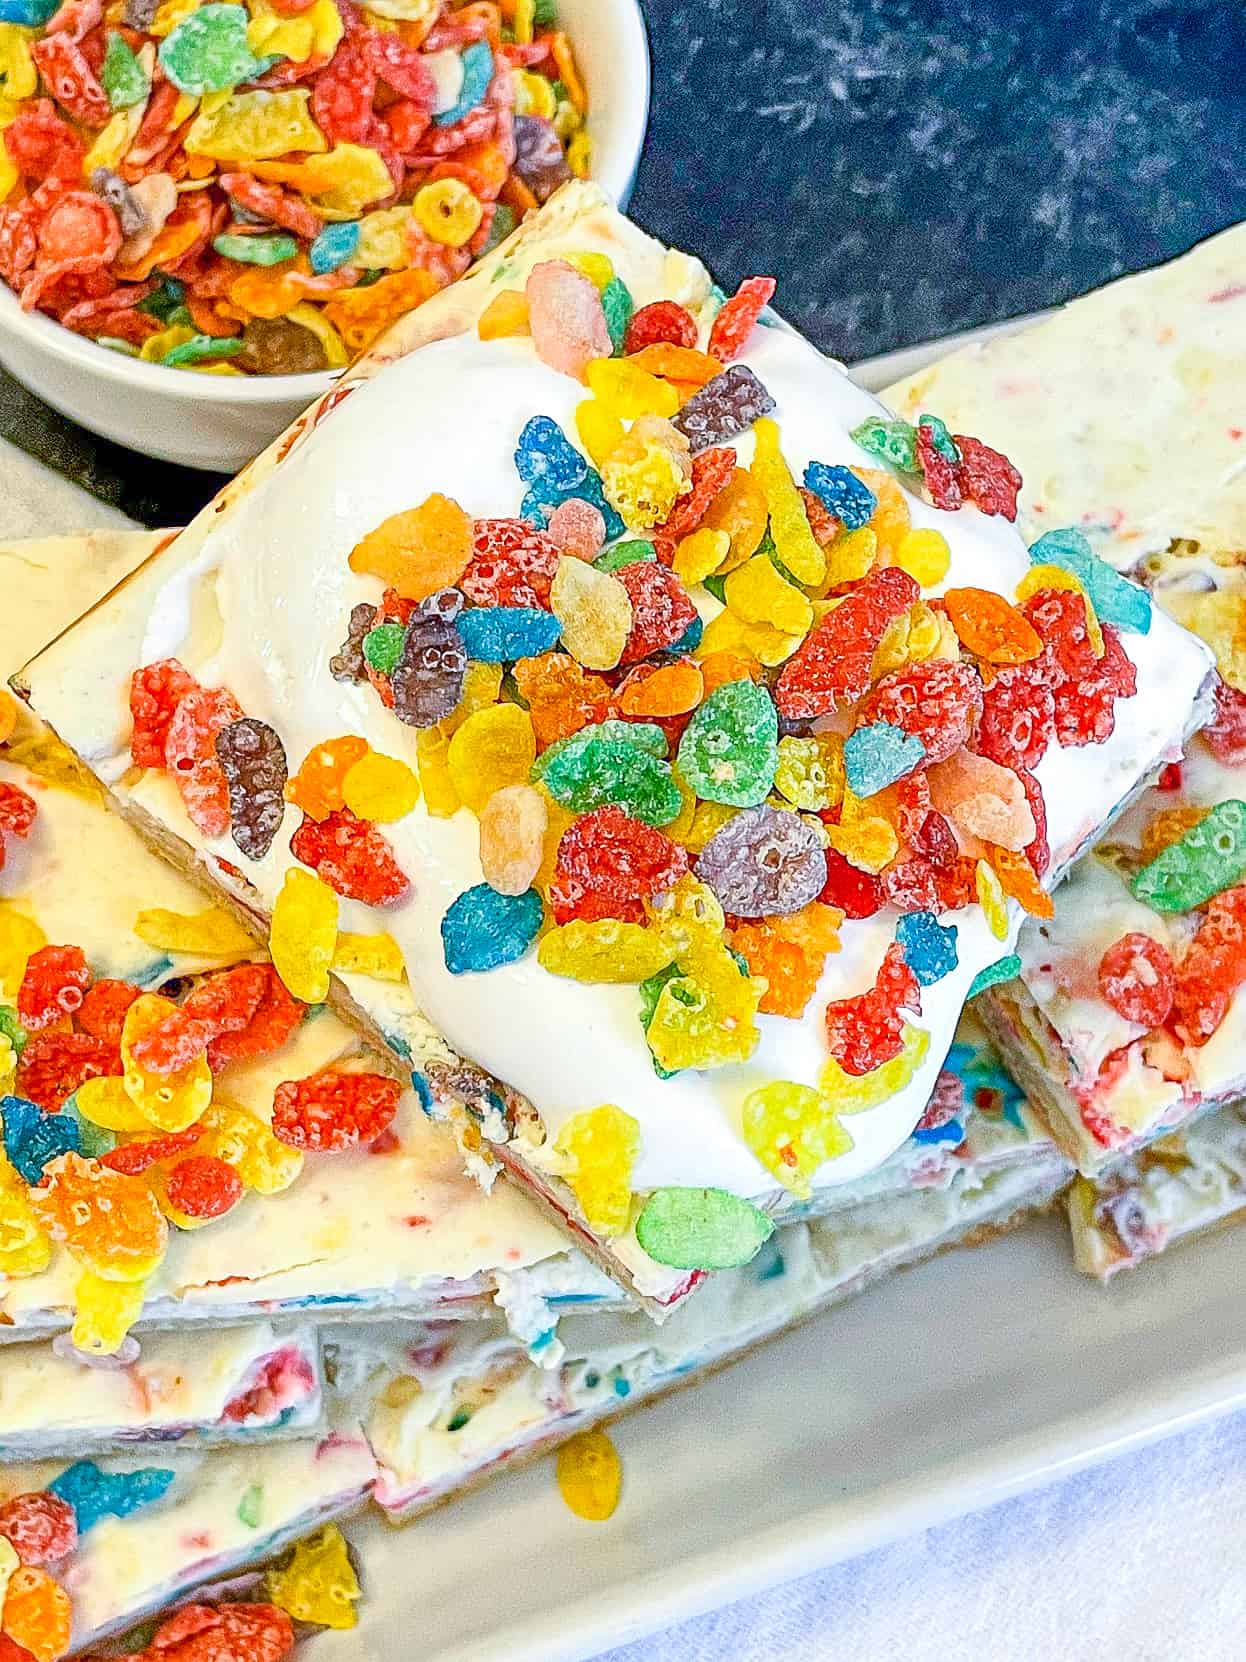
Sweet, creamy, chilled cheesecake with a doughy base meets crunchy Fruity Pebbles cereal! Oh heavens. You guys, these are absolutely incredible. And they’re easy to make, packed with protein, and oh so divine!
And, don’t worry, these bars are still as doughy, creamy, and delicious as their predecessors. But this time, they have a sweet, fruity cereal twist.
If you’ve seen this recipe before in my All Things Sweet cookbook you might notice I made some tweaks to improve both the flavor and texture. I promise, they’re even better and you’re going to love them!
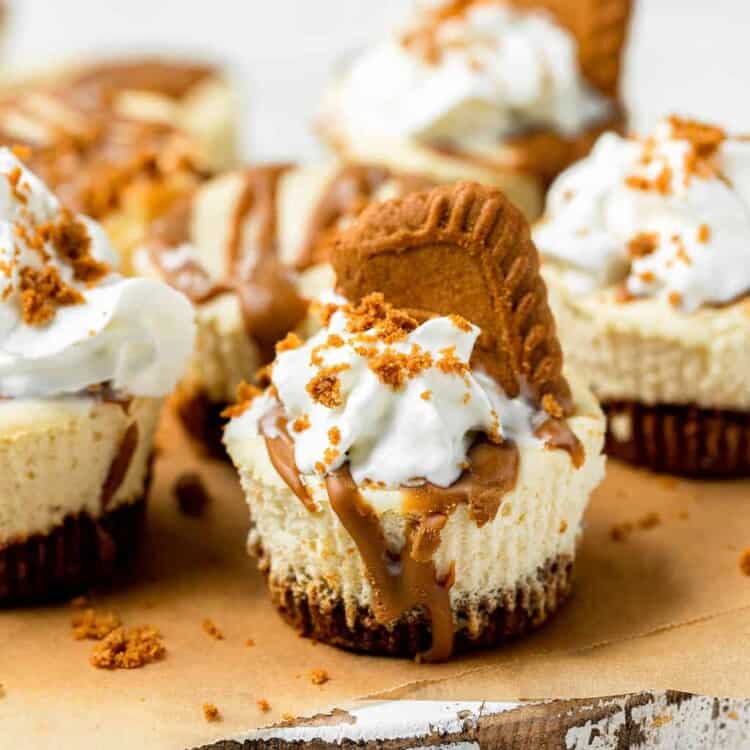
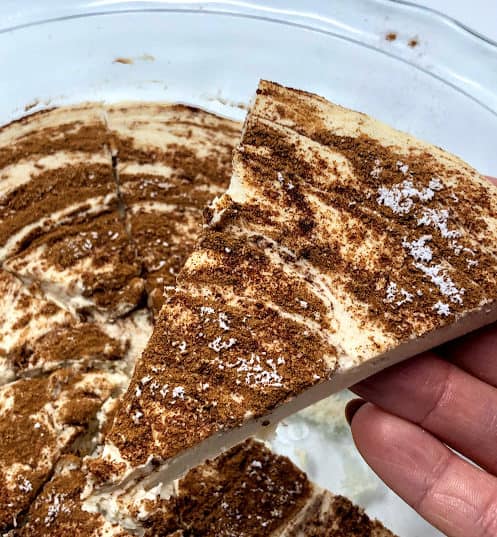
If you want more lightened up cheesecake, try my Cinnamon Swirl Protein Cheesecake! And for more of the real-deal, check out my Mini Biscoff Cookie Cheesecakes!
Why You’ll Love These Fruity Pebble Cheesecake Bars
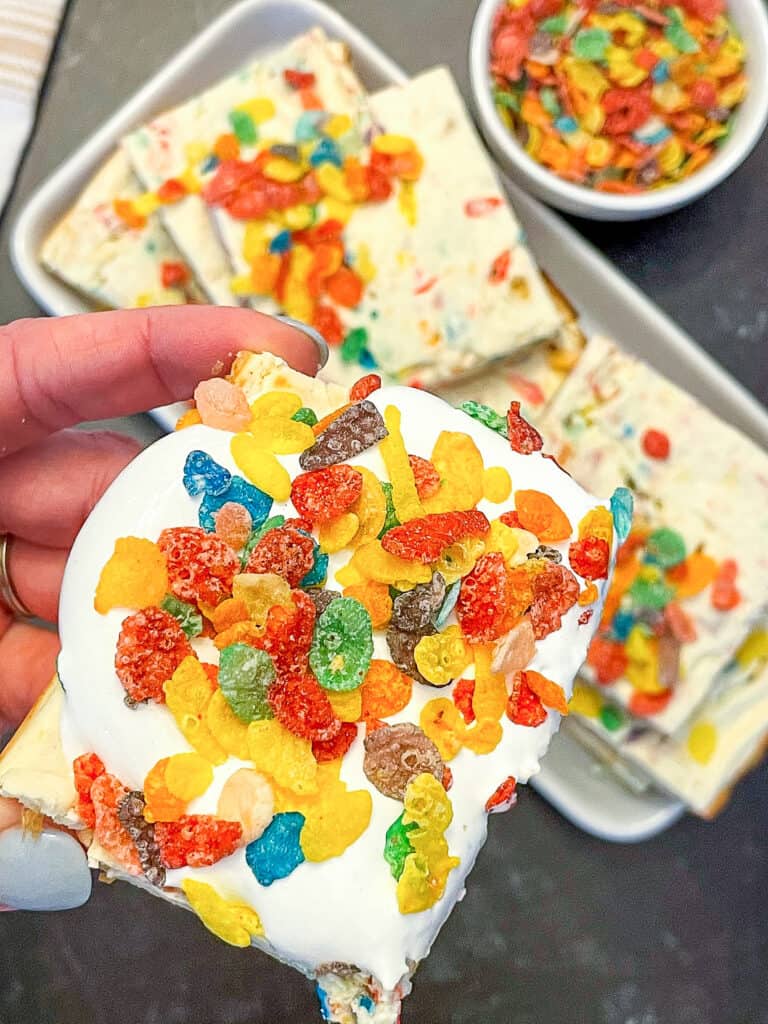
- It’s a sweet, chilled, creamy and fruity cereal cheesecake!
- The texture, flavor, and sweetness are well balanced. They hit the spot!
- These bars are packed with protein!
- Makes for a perfect-sized and macro-balanced snack, dessert, or night-time treat!
- An awesome dessert to make ahead or for meal prep!
- Crescent rolls – I used Pillsbury.
- Granulated sweetener – I used Stevia in the Raw.
- Sprinkles – Rainbow, of course!
- Cream cheese – I used fat-free cream cheese. If you need to replace, you can use reduced-fat, regular, or even whipped Greek cream cheese.
- Egg
- Greek yogurt – I used non-fat plain Greek yogurt.
- Sugar-free Jello pudding mix – I’ve found this makes the cheesecake bars thicker and more flavorful. So good!
- Protein powder – I used PEscience Vanilla. You can save 10% on PEScience products with my affiliate code LaurenFitFoodie.
- Fruity Pebbles
How To Make
- Preheat oven to 350°F. Spray a 13×9″ baking dish with cooking spray.
- Add dough to baking dish and press down with fingers until spread evenly across the bottom. Top with a teaspoon each of sprinkles and sweetener, pressing them into the dough.
- Using a hand mixer, combine all the filling ingredients except the Fruity Pebbles and the sprinkles in a medium sized bowl. Once well blended, use a spoon to add the Fruity Pebbles and sprinkles into the mixture. Pour mixture on top of the dough.
- Bake for about 20-25 minutes or until a toothpick comes out clean. Be careful not to over-bake or they won’t be as gooey!
- Let cool, then cover with saran wrap and place in fridge overnight. This will allow the flavors to set and come together!
- After refrigerating at least 12 hours, take out, slice, top with frosting (if desired), and enjoy!
Keep stored in the fridge in an air-tight container or covered tightly in saran wrap. This will prevent the bars from drying out. They will stay fresh covered up to a week.
These Fruity Pebbles Cheesecake Bars taste best 2-3 days after making as the flavors have more time to set. Refrigerate at least 12 hours before eating.
To freeze, let the bars cool and wrap individually in parchment paper, saran wrap, or aluminum foil. Store in a freezer safe Ziploc bag. Freeze for up to 6 months.
Topping Ideas!
Since these Fruity Pebble Cheesecake Bars are so low in calories, you can easily add all your favorite toppings! A few of my favorites are:
- I LOVE topping with whipped cream cheese frosting! (Either white or strawberry 😍)
- Whipped cream cheese
- Frozen blueberries
- More Fruity Pebbles cereal (I love the crunch this adds)
- Marshmallow fluff
- Cool whip
- Nut butter
Are these cheesecake bars different from the version in the Sweets Cookbook?
Yes, since the original recipe in the All Things Sweet macro-friendly dessert cookbook, I’ve made some changes to really elevate these bars in taste and texture! They were good before, but now they’re even better!
Which recipe in MyFitnessPal should I use for these Fruity Pebble Cheesecake bars?
To keep from creating confusion between the cookbook and this new, updated recipe, I have created two My Fitness Pal entries. The version in the cookbook will remain the same as the MFP entry that’s listed (Lauren Fit Foodie Fruity Pebble Cheesecake Bars). This version of the bars will be listed under LFF Fruity Pebbles Cheesecake Bars.
Can I make these fruity pebble cheesecake bars gluten-free?
To make these cheesecake bars gluten-free, you’ll have to use a gluten-free crescent roll mix (in place of the pre-made crescent roll sheet).
More Delicious Cheesecake Recipes To Try
Did you make this? If you snap a photo, please be sure leave a review, tag me on Instagram or TikTok at @LaurenFitFoodie or hashtag #LaurenFitFoodie so I can see your creations!
Fruity Pebble Cheesecake Bars
Ingredients
Crust:
- 1 package crescent rolls 8 rolls
- 1 tsp sprinkles (4g) 4g
- 1 tbsp granulated sweeter
Cheesecake Filling:
- 8 oz. cream cheese (224g) softened, I used fat-free
- 1 large egg
- 5 oz plain nonfat greek yogurt (140g)
- ½ cup Fruity Pebbles (18g)
- 4 tsp sugar free cheesecake jello pudding mix (8g)
- 1/4 cup granulated zero-calorie sweetener
- 1 tsp baking powder
- 1 tsp sprinkles (4g)
- 1/4 cup vanilla or cake pop protein powder (30g)
Before You Begin! If you make this, please leave a review and rating letting us know how you liked this recipe! This helps our business thrive & continue providing free recipes. Scroll for macros and MyFitnessPal code.
Instructions
- Preheat oven to 350 °F. Spray an 13×9" baking dish with cooking spray.
- Add dough to baking dish and press down with fingers until the dough is spread evenly across bottom. Sprinkle with tsp of sprinkles and sweetener and press into the dough.
- In a medium sized bowl, using a hand mixer, mix together all the filling ingredients except the fruity pebbles and the sprinkles. Once well blended, use a spoon to combine the fruity pebbles and sprinkles into the mixture. Pour mixture on top of the dough.
- Bake for about 20-25 minutes (or until toothpick comes out mostly clean). Be careful not to over-bake or they won't be as gooey!
- Let cool, then cover with saran wrap and place in fridge overnight. This will allow the flavors to set and come together!
- After refrigerating at least 12 hours, take out, slice, top with frosting (if desired), and enjoy!
Nutrition Information
Nutrition is hand-calculated and accurate. No autocalulations! However, note that values can vary based on the brands you use and if you substitute ingredients.
