This post may contain affiliate links. Please read my disclosure policy.

About This Recipe
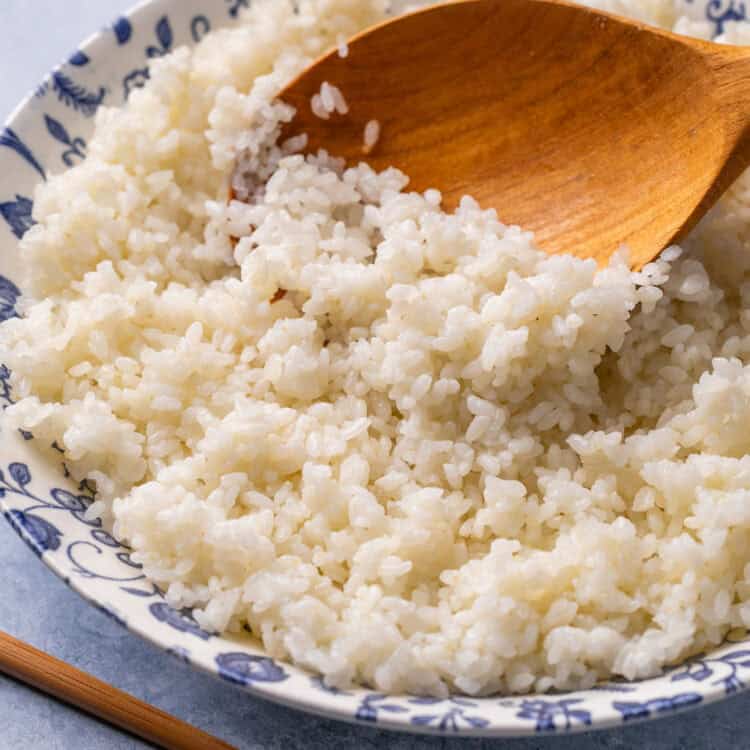
Making your own sushi rice is seriously so simple! I never knew what made sushi rice have that perfect taste and sticky texture but turns out it’s only 3 simple ingredients! And using the Instant Pot is seriously a game changer! It’s the easiest way to make this easy sushi rice perfectly every time!
There are so many reasons why I love cooking this sushi rice in the instant pot! The first, is that it’s quick and saves time. It’s also mess-free and makes clean up a breeze.
The other reason it’s great is because cooking rice on the stovetop can sometimes be tedious and be more finicky. If your temperature isn’t just right it can sometimes cause the rice to burn or take too long to cook. Cooking this rice in the instant pot guarantees perfection every time and it has the best texture and flavor!
Although I think it’s easiest cooking this rice in the instant pot, it doesn’t mean it’s impossible on the stovetop. If you don’t have an instant pot, I’ve also included instructions for cooking rice on the stovetop. Just be sure the follow the directions and you’ll be good to go!
Use this delicious sushi rice to make my Baked Sushi Cups! You can also use it for my Salmon Sushi Bowls or Asian Ground Chicken Bowls. You can also use it to sub for the cauliflower rice in my Salmon Poke Bowls!
Why You’ll Love This Sushi Rice Recipe
- The perfect sushi rice for poke bowls, homemade sushi rolls, sushi cups, etc.
- Quick and easy to make! Ready in just 30 minutes.
- No mess! Cooking in the instant pot makes this recipe so simple and easy to clean up!
- Only five basic ingredients needed!
- Two different cooking methods included! Use the Instant Pot or stovetop. No rice cooker needed!

- Rice: Look for short-grain Japanese rice that is either made in Japan or labeled as “sushi rice”. You can find this short-grained rice at a asian or japanese grocery store or many brands are now on Amazon. Quality, taste and textures can wildly vary with sushi rice so I recommend trying to find one that is a high-quality, reputable brand!
- Seasoned rice vinegar: I used a basic bottle of unseasoned rice vinegar since I prefer make my own rice vinegar mixture with the sugar and salt but you can also buy store-bought “sushi vinegar” if you want. The pre-seasoned vinegar typically has additives mixed in so that’s why I prefer to make my own (plus it’s SO easy and I think tastes way better) but it’s an option if you want to skip a step or save time.
- Sugar: Granulated sugar is traditional for sushi rice. You can also sub for your favorite sweetener alternative like Truvia or Swerve if you prefer.
- Salt: Use a high quality sea salt or kosher salt. You can easily adjust the amount of salt based on your taste preference.
How To Make
The full printable recipe is below, but let me walk you through the process so you know what to expect when you’re making it!
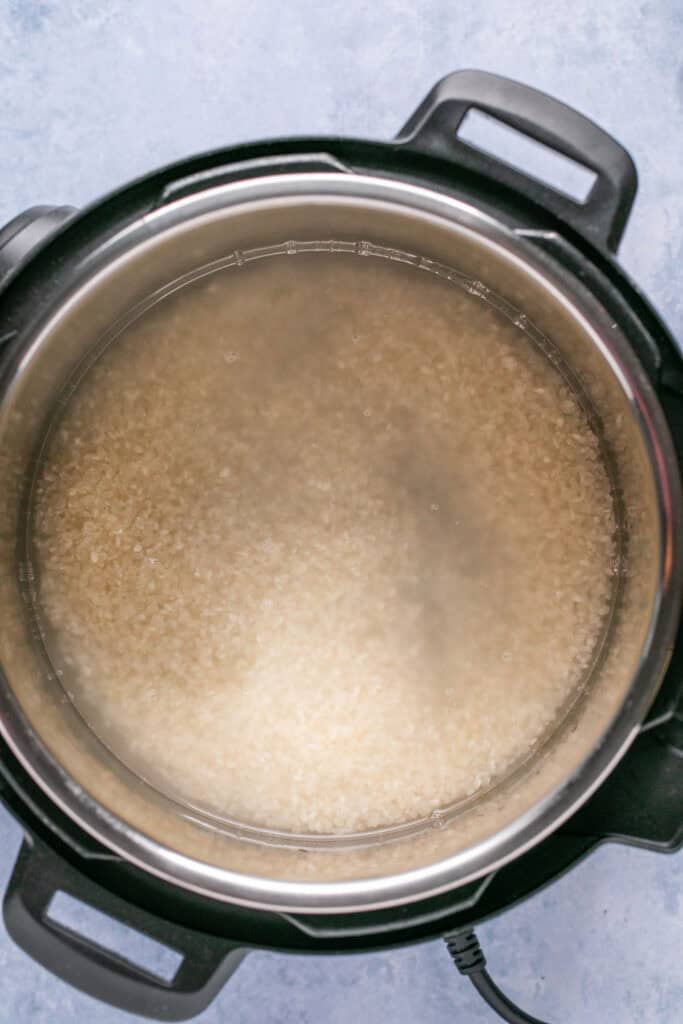
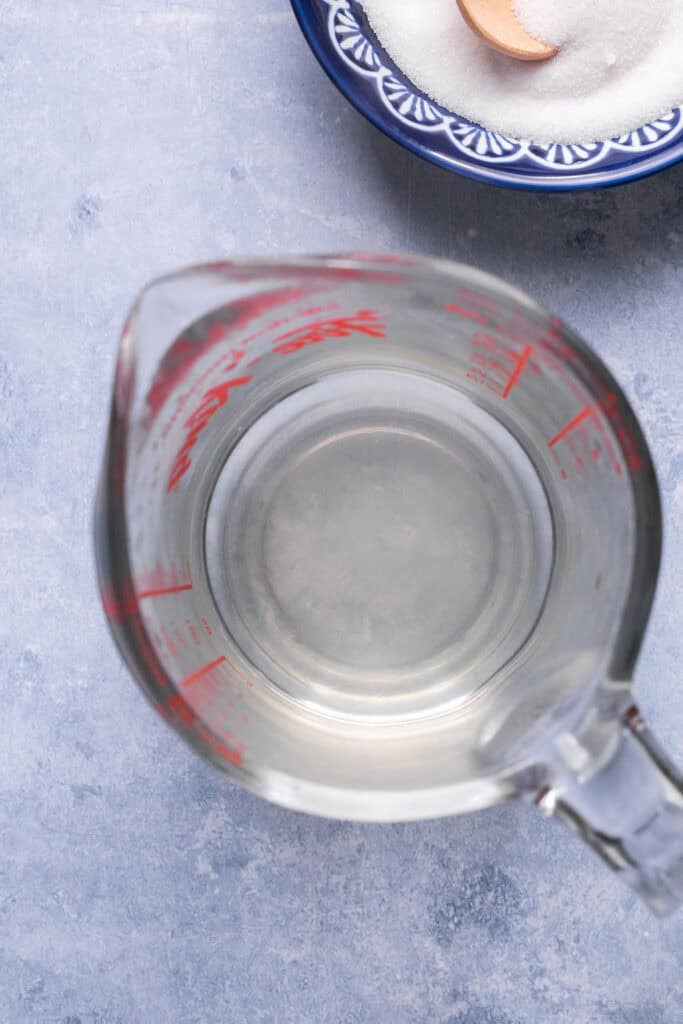
1. Run cold water over the short-grain rice in a fine mesh strainer for 1-2 minutes, shaking a few times. Drain well. Add washed rice and water to the Instant Pot.

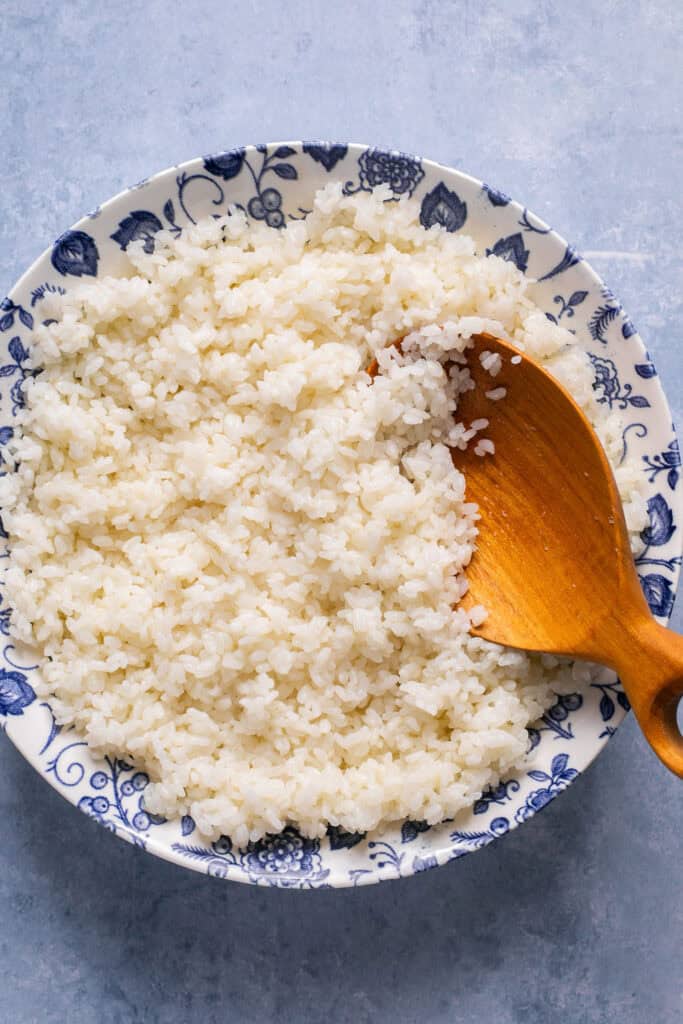
2. Turn the valve to sealing. Cook on high pressure for 10 minutes. Then natural release for 10 minutes. Quick release any remaining pressure immediately (so as to not overcook the rice). Transfer rinsed rice to a large mixing bowl.
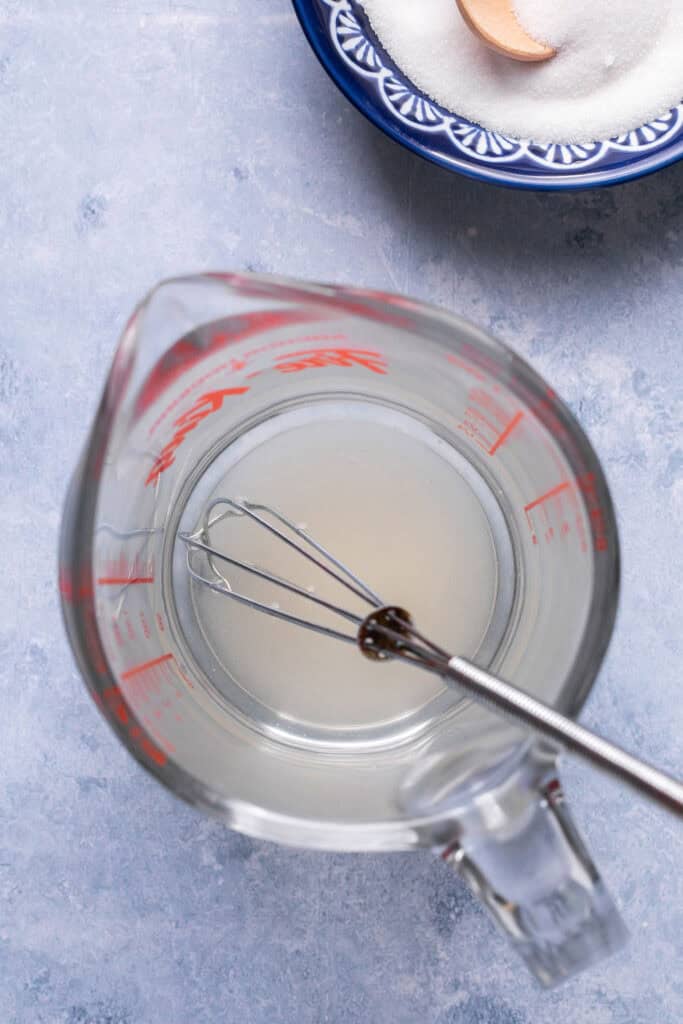
3. Meanwhile, make the sushi vinegar. Whisk rice vinegar, sugar and salt in a microwave safe bowl.
4. Microwave for 30-45 seconds, whisking again, until the white sugar has completely dissolved (you can also do this on the stove top in a small saucepan). Let cool to room temperature.

5. Pour the seasoned vinegar mixture over the rice.
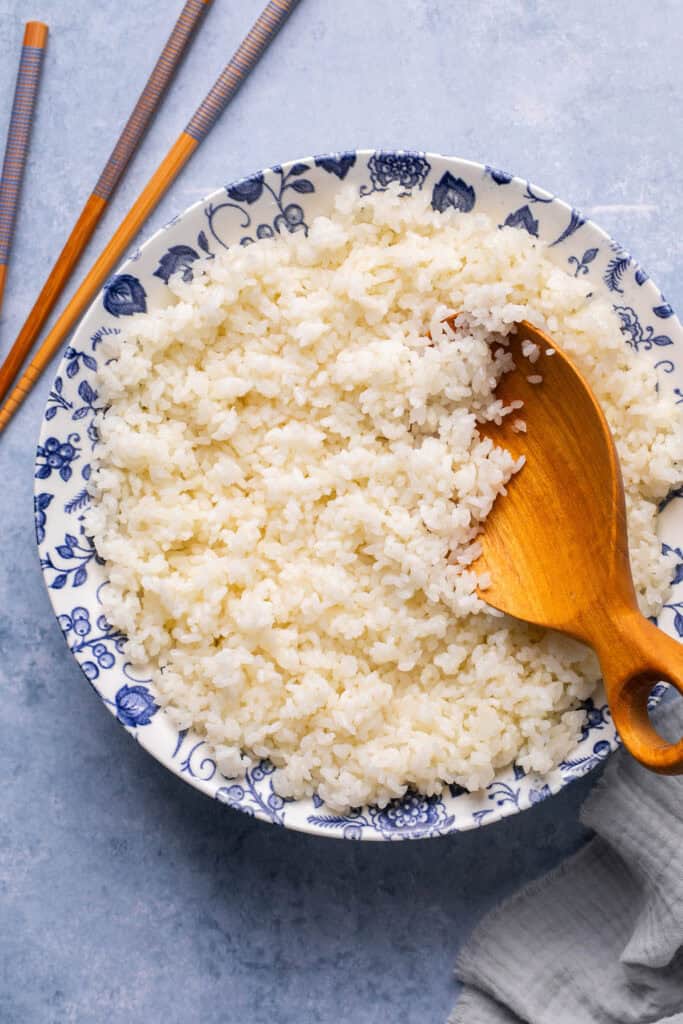
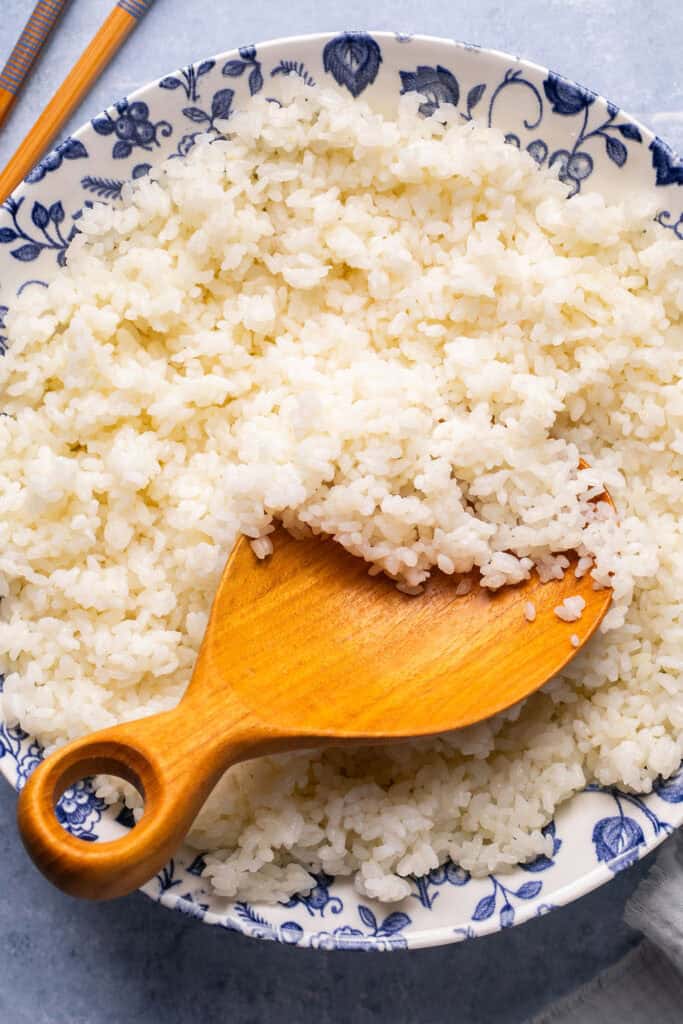
6. Use a rice paddle, wooden spoon or silicone spatula to fold the rice to coat, gently so as to not smoosh. Cover with a damp towel touching the rice to help prevent drying out. Let rice cool in the fridge or at room temperature until ready to use. Use it for sushi rice bowls, sushi cups, sushi rolls etc!
Stove top method: Add rice and water to a saucepan. Cover with a tight fitting lid and set heat to medium-high heat. Once water has reached a simmer, reduce heat to medium-low and cook, covered, for 15 minutes. Turn off the heat and let the rice sit for about 10 minutes or until the water has absorbed.
Store sushi rice can be kept in an airtight container in the fridge for 3–5 days.
You can also freeze cooked sushi rice. To freeze, let cool then place in a freezer bag or freezer-safe container and freeze for up to 6 months. Just note, rice may be a little bit mushy when thawed.
To reheat, microwave the rice for 20-30 seconds with a tablespoon of water mixed through or cover with a damp paper towel. You can also reheat in a skillet or small saucepan over medium heat. I do think this rice is best enjoyed fresh but you can still reheat with good results! Make sure to add a little bit of water or cover with a damp towel when reheating to prevent rice from drying out (but be careful to not add too much water or rice will be mushy).
Sushi Rice Tips!
- Don’t skip rinsing the rice grains! Make sure to rinse your rice until the water runs clear. Keep the water circulation or some of the water might get absorbed by the rice. Then let the rice drain and dry for at least two minutes after rinsing. Rinsing the rice helps remove excess starch that coats the rice.
- To cool your rice quickly: You can place rice on a large baking sheet and use a rubber spatula to fold rice a few times until it reaches room temperature. Folding the rice helps prevent the rice from drying out while cooking.
There are a couple reasons your sushi rice might turn out gummy. Not rinsing the rice before cooking can leave excess starch on the surface causing the rice grains to stick together while cooking. Also, be careful about your water ratio. If you use too little or too much water it can affect the texture of your rice.
I do not recommend using basmati or jasmine rice for sushi rice as they don’t stick together well and provide the sticky consistency needed for good sushi rice. For the best sushi rice, use japanese, short grain rice.
I recommend using a rice paddle or silicone spoon to add the mixture of rice vinegar to rice. Using a metal spoon or over stirring will mash rice and make it mushy.
Of course! To cook sushi rice with a rice cooker, stir the rinsed rice and water together in rice cooker bowl. Cover and cook according to the rice cooker instructions
More Rice and Side Dish Recipes You’ll Love

Did you make this? If you snap a photo, please be sure leave a review, tag me on Instagram or TikTok at @LaurenFitFoodie or hashtag #LaurenFitFoodie so I can see your creations!
How To Make Sushi Rice
Ingredients
- 1.5 cups sushi rice (270g) short grain rice, uncooked
- 1.5 cups water (360g)
- 3 Tbsp seasoned rice vinegar (45g)
- 1 Tbsp sugar (12g)
- 3/4 tsp salt
Before You Begin! If you make this, please leave a review and rating letting us know how you liked this recipe! This helps our business thrive & continue providing free recipes. Scroll for macros and MyFitnessPal code.
Instructions
- Run cold water over the sushi rice in a fine mesh strainer for 1-2 minutes, shaking a few times. Drain well.
- Add rice and water to the Instant Pot. Turn the valve to sealing. Cook on high pressure for 10 minutes. Then natural release for 10 minutes. Quick release any remaining pressure immediately (so as to not overcook the rice). Transfer to a bowl.
- Meanwhile, make the sushi vinegar. Whisk rice vinegar, sugar and salt in a microwave safe bowl. Microwave for 30-45 seconds, whisking again, until sugar has completely dissolved (you can also do this on the stove top). Let cool to room temperature.
- Pour the seasoned vinegar over the rice. Use a rice paddle or silicone spatula to fold the rice to coat, gently so as to not smoosh.
- Cover with a damp paper towel touching the rice to help prevent drying out. Let cool in the fridge or at room temperature until ready to use. Use it for sushi bowls, sushi cups, sushi rolls etc!
Stovetop Method:
- Add rice and water to a saucepan. Cover with a tight fitting lid and set heat to medium-high heat. Once water has reached a simmer, reduce heat to medium-low and cook, covered, for 15 minutes. Turn off the heat and let the rice sit for about 10 minutes or until the water has absorbed.
Notes
- Don’t skip rinsing the rice grains! Make sure to rinse your rice until the water runs clear. Keep the water circulation or some of the water might get absorbed by the rice. Then let the rice drain and dry for at least two minutes after rinsing. Rinsing the rice helps remove excess starch that coats the rice.
- If you need to cool your rice quickly, you can place rice on a large baking sheet and use a rubber spatula to fold rice a few times until it reaches room temperature. Folding the rice helps prevent the rice from drying out while cooking.
Nutrition Information
Nutrition is hand-calculated and accurate. No autocalulations! However, note that values can vary based on the brands you use and if you substitute ingredients.