This post may contain affiliate links. Please read my disclosure policy.
About This Recipe
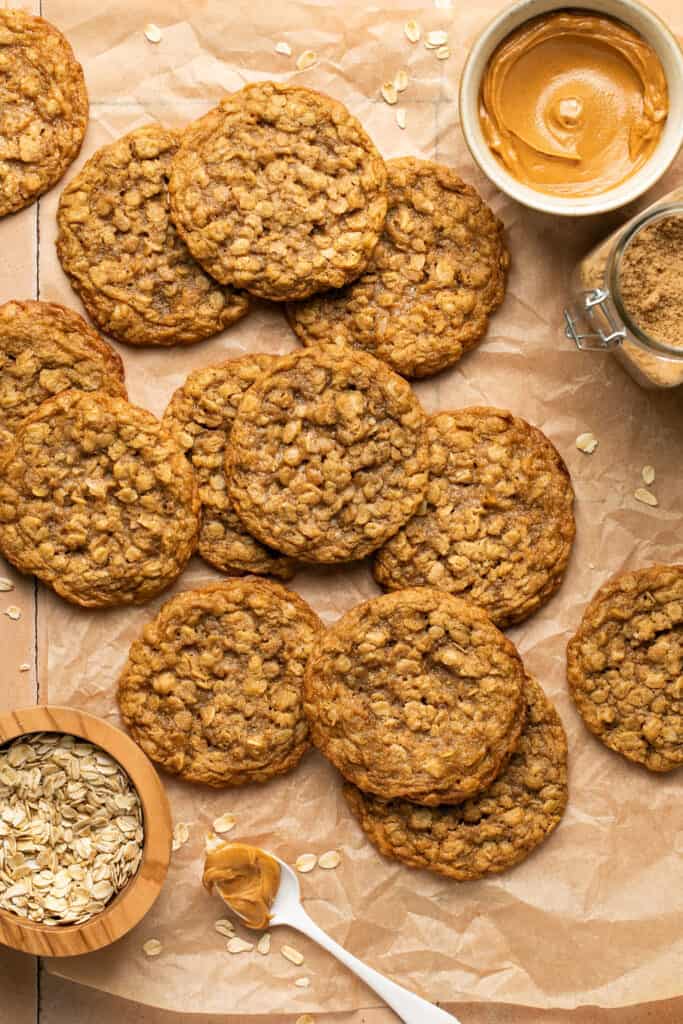
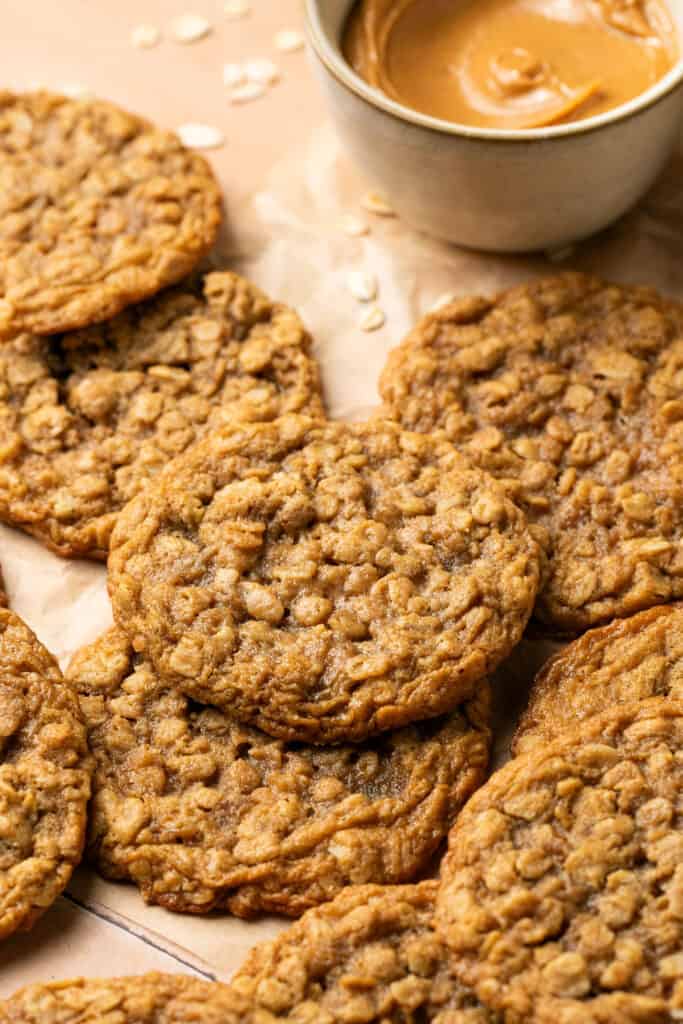
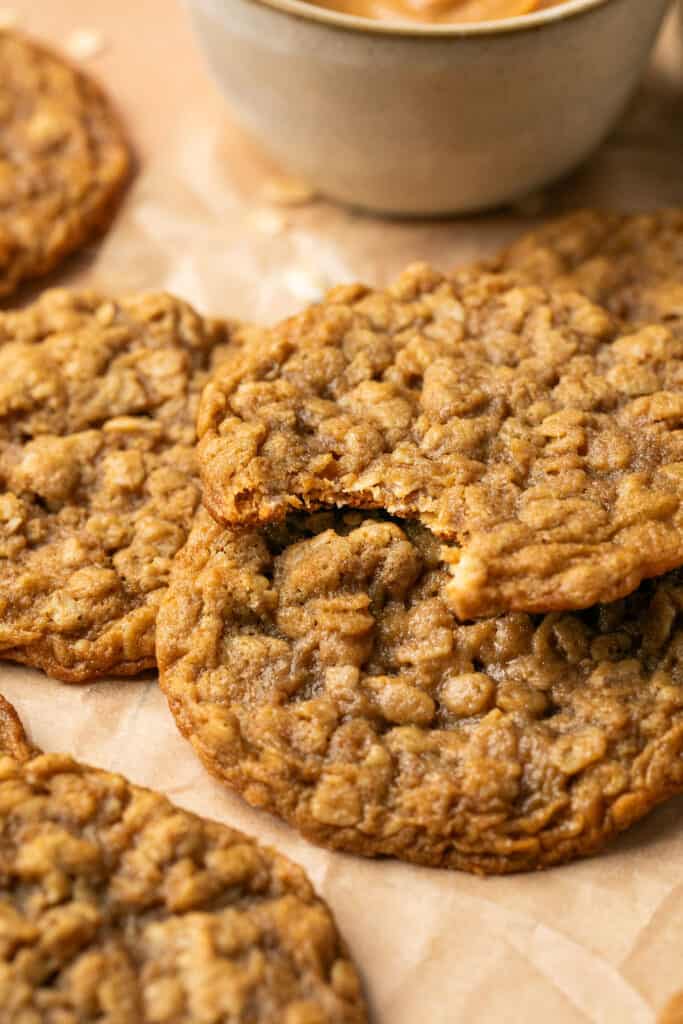
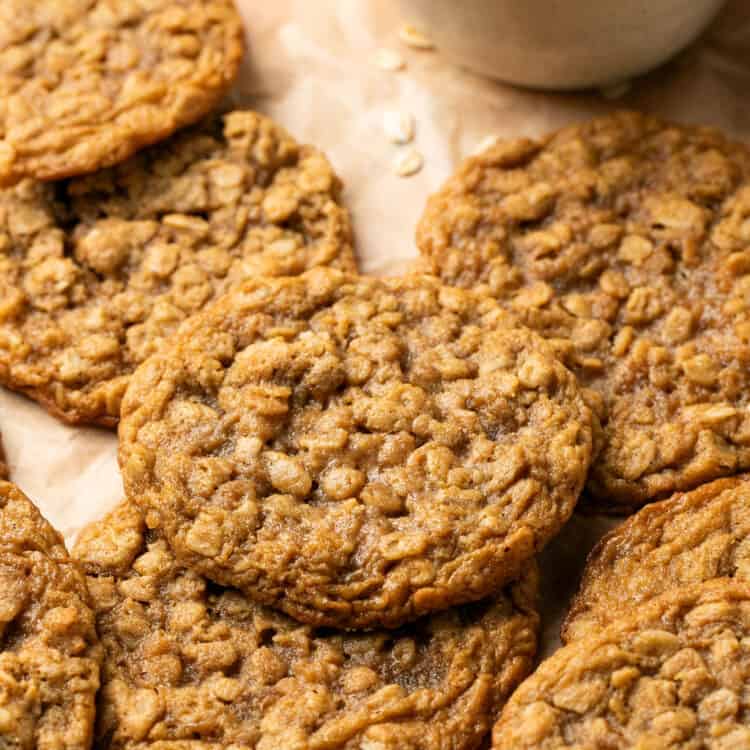
If you’re on the hunt for the perfect balance of nutty, sweet, and chewy, these oatmeal peanut butter cookies are about to become your new favorite treat. Packed with hearty oats, creamy peanut butter flavor, and a touch of brown sugar, they’re the ultimate comfort cookie.
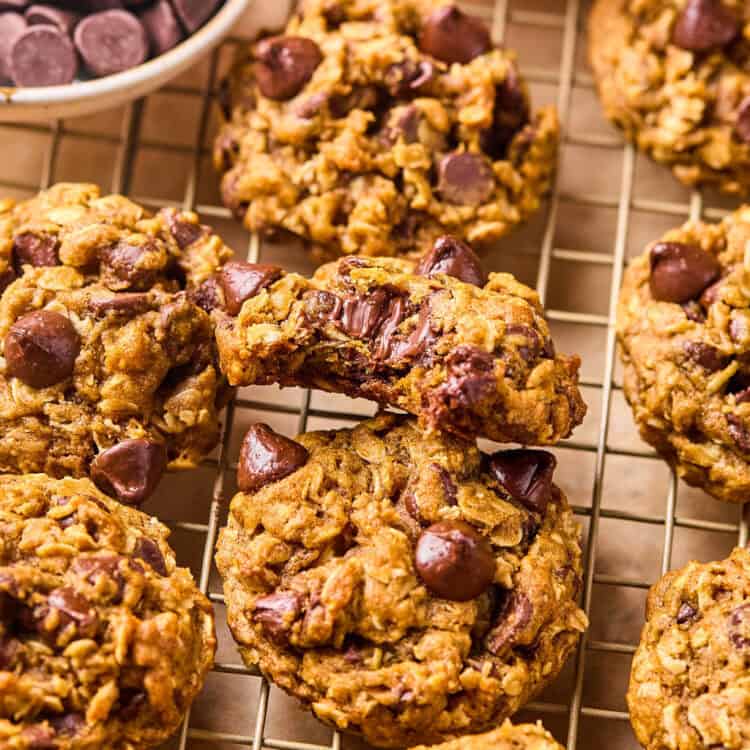
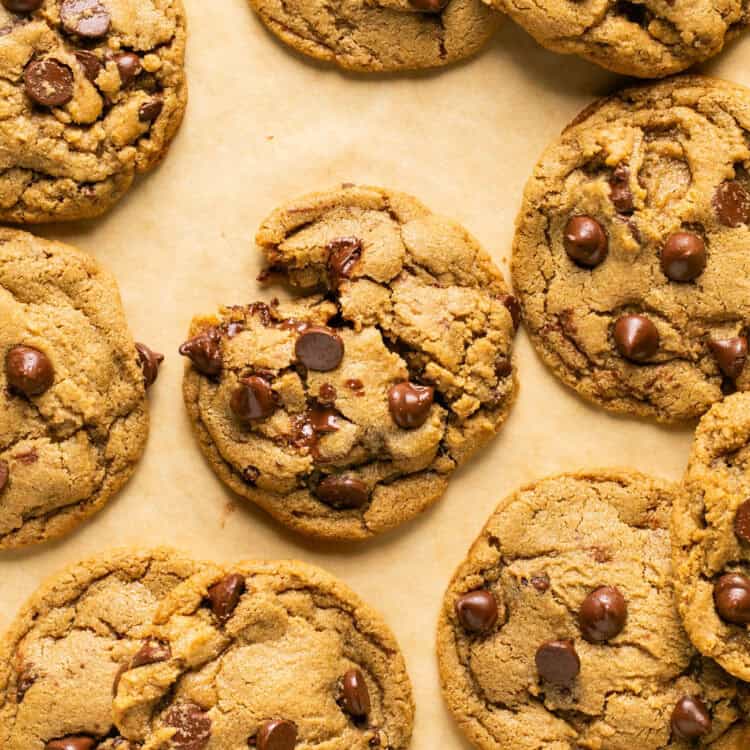
Whether you’re craving a quick treat, baking for fun, or need an easy dessert for your next get-together, this recipe is easy to follow and guaranteed to deliver soft, chewy, amazing cookies every time. Bonus: they’re great for customizing with your favorite mix-ins like chocolate chips, raisins, or chopped nuts.
For more delicious cookie recipes, try my Brown Butter Pumpkin Oatmeal Cookies, Oat Flour Cookies or Lactation Cookies (Chocolate Chip Oatmeal Cookies)!
Why You’ll Love These Oatmeal Peanut Butter Cookies
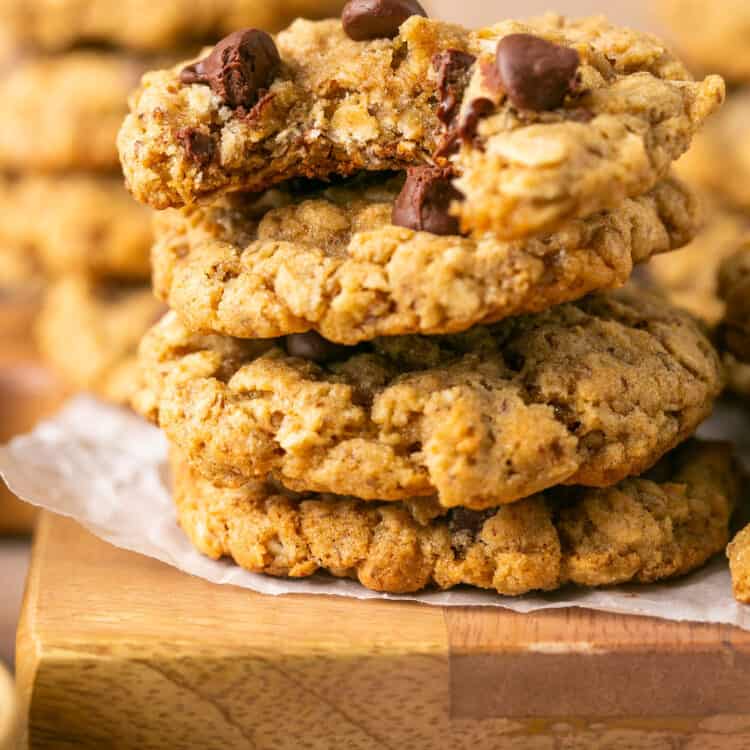
- Thick and chewy! These cookies have the best texture and are soft, tender and chewy!
- No chill required! Make these delicious cookies in just 25 minutes!
- Perfect for peanut butter fans! These chewy cookies are packed with nutty peanut butter flavor perfect for peanut butter lovers!
- Easily adapted for dietary restrictions! Can easily be made gluten-free or dairy-free if needed!
- Freeze great! These easy cookies freeze great so you can keep stashed in the freezer and have warm cookies any time!

- Oats: I used old-fashioned oats to give these cookies that thick and chewy texture. You can also use quick oats just note the texture won’t be as chewy.
- Flour: I used all-purpose flour. Use gluten-free flour or oat flour if needed.
- Baking essentials: Grab some cinnamon, baking soda, salt and vanilla extract.
- Butter: I used unsalted butter (room temperature) for these cookies. I prefer to use unsalted butter in most of my baking so I can control the amount of salt. However, if using salted butter just omit the additional salt.
- Peanut butter: since peanut butter is the one of the main ingredients in this recipe, you want to make sure to use a peanut butter you love the taste of! I recommend using a creamy peanut to help get the right consistency. However, if using a natural peanut butter just be sure to stir really well before adding. If using an unsalted natural peanut butter, you can add additional salt to taste.
- Sugar: You’ll need both granulated sugar and brown sugar. You can use light or dark brown sugar.
- Egg: One large egg is need to help bind these cookies together and give us that chewy texture!
- Dairy-free: Use dairy-free butter.
- Nut-free: Sub the peanut butter for sunflower butter or more butter.
- Nut butters: Switch it up and use almond butter or cashew butter for a unique twist on the cookies.
- Chocolate chips: Add your favorite semi-sweet chocolate chips. white chocolate chips or peanut butter chips!
- Nuts: If you love nuts in your cookies, try throwing in some walnuts or pecans!
How To Make
The full printable recipe is below, but let me walk you through the process so you know what to expect when you’re making it!
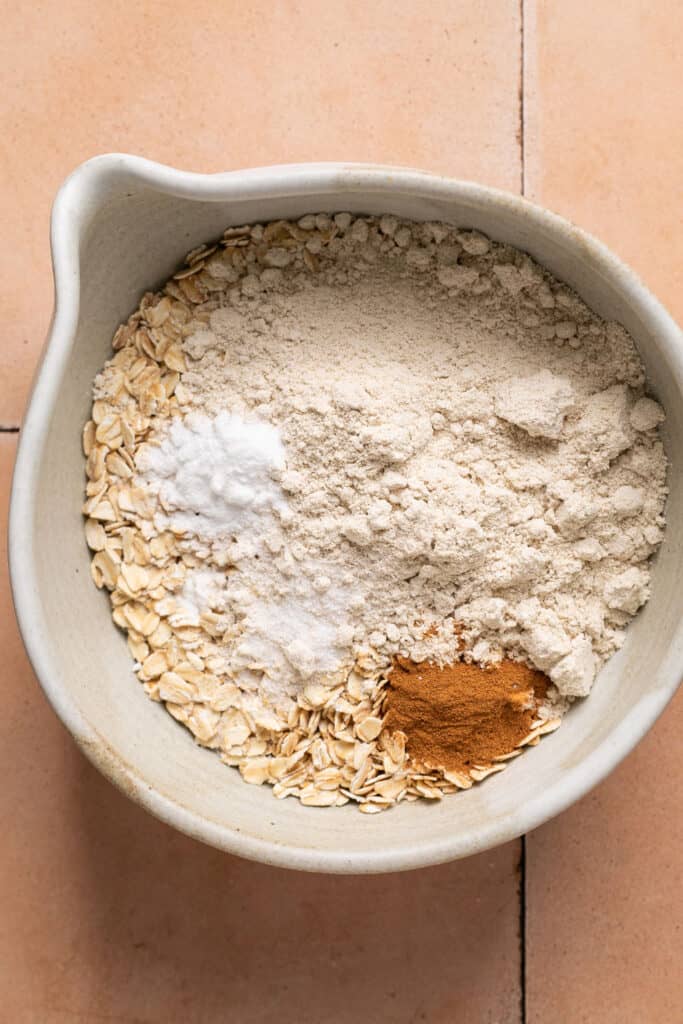
1. Preheat the oven to 350 degrees F. Line two baking sheets with parchment paper (or just one if making a half batch). In a medium bowl, whisk the oats, flour, cinnamon, baking soda and salt together. Set aside.
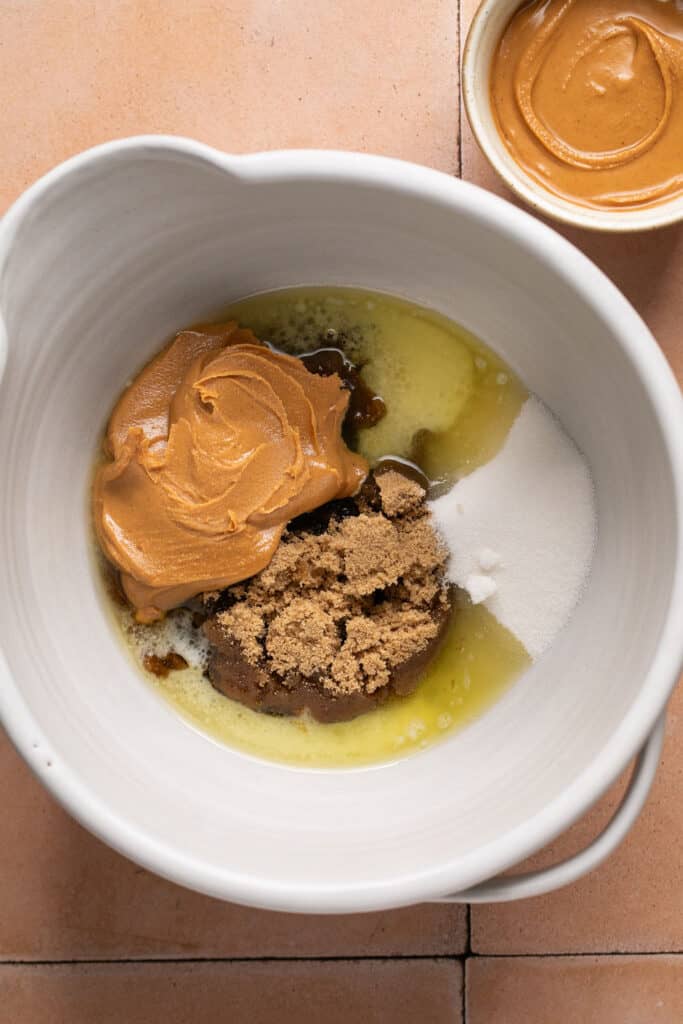
2. In the bowl of your Kitchenaid with a paddle attachment, or in a bowl with a hand mixer, beat the butter, peanut butter, brown sugar and sugar together on medium speed until creamed, about 2 minutes.
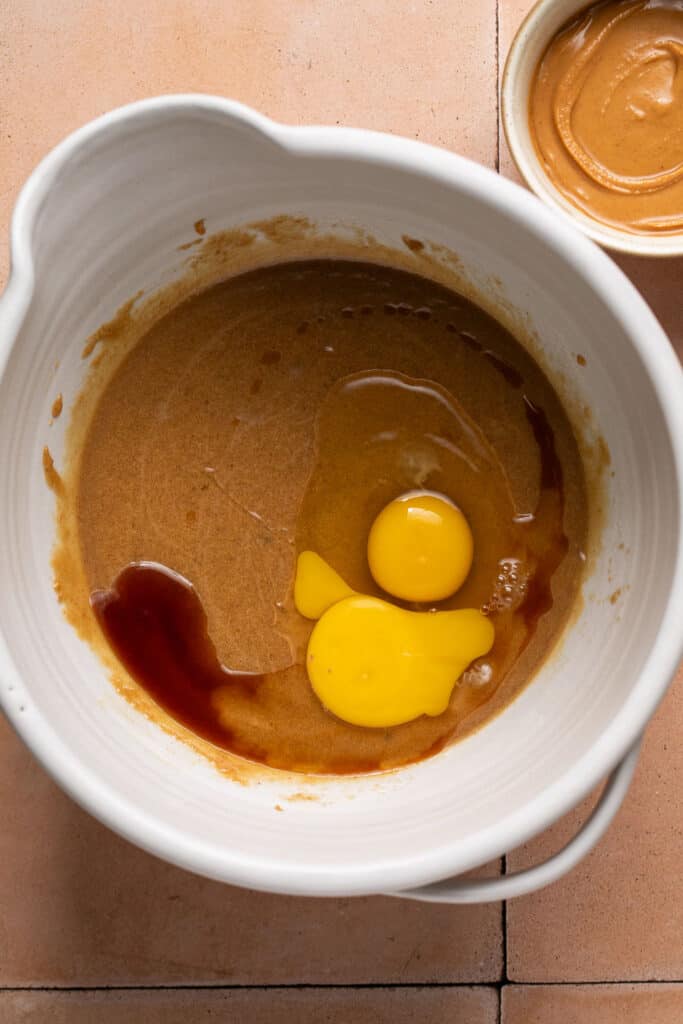
3. Add the egg and vanilla and mix until combined.
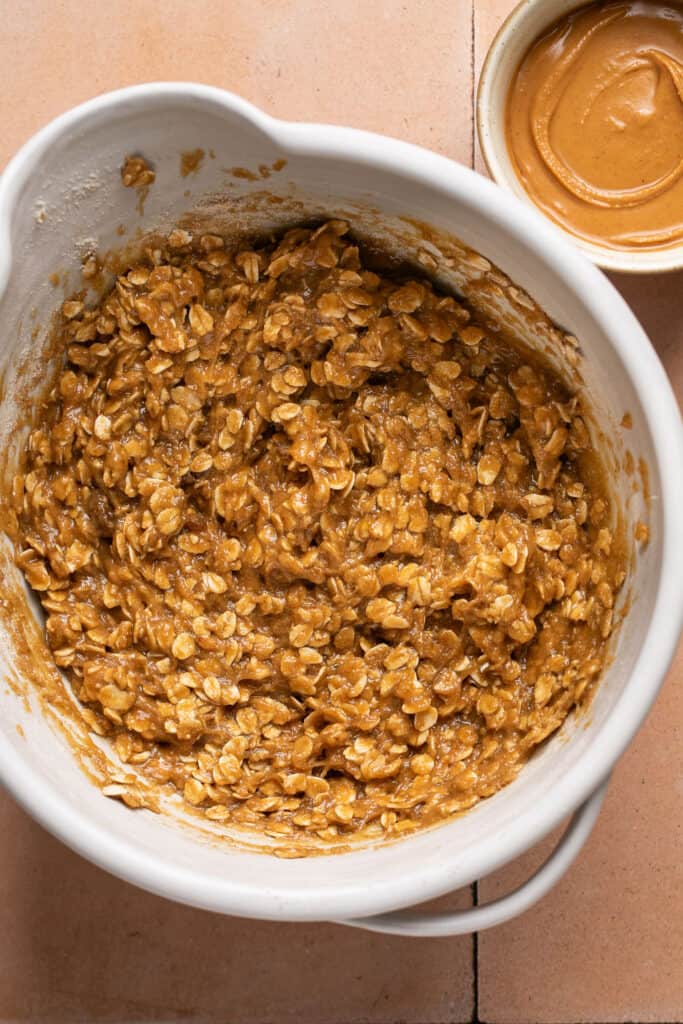
4. Then add the dry ingredients and beat on low, just until the dry ingredients are just mixed in.

5. Scoop dough into 2 tablespoons balls and place on a baking sheet 2 inches apart.

6. Bake for 10-12 minutes or until golden brown along the edges. They will still look underdone in the center. Let cookies cool on the pan for 5-10 minutes then transfer to a wire rack to finish cooling.
- Storage: store cookies in airtight container at room temperature for 3-4 days.
- Freezing: let the baked cookies cool to room temperature and then store in an airtight ziplock bag. For best results, make sure to get all the air out to prevent freezer burn!
- To freeze cookie dough: scoop cookie dough onto a lined baking sheet, then place in the freezer for 2 or more hours. Once frozen, transfer the frozen balls of dough to a large freezer bag or freezer-safe container and store in the freezer until ready to use. When ready to eat, just take out however many you want (no need to thaw) and bake at the same temperature for the same time (you may need to add 1-2 extra minutes depending on how you like your cookies).
Helpful Tips
- Chill the dough: Chilling the dough isn’t necessary, but it’s an option if you want to make the cookies thicker. Cover with plastic wrap and chill in the fridge for 2 hours (up to 48 hours).
- Do not overbake: Be careful not to overbake these cookies! Bake cookies until they are starting to just show golden brown along the edges. They may seem slightly underdone but will continue backing on the hot pan when removed from the oven.
- Let ingredients come to room temperature. Make sure your butter and egg are room temperature. I typically like to let my ingredients sit out about 30 minutes to an hour before baking.
- Use a stand mixer or electric mixer to beat the butter and sugars. This makes sure that the batter is nice and smooth. If you try to mix these cookies by hand, they may turn out gritty.
No, you don’t have to let the dough chill but it can help create softer, chewier, thicker cookies if you have time. Chilling the dough allows the flour time to hydrate which gives the cookies that chewy texture. It also allows the butter to chill so that the cookies don’t spread too thin.
I like to use old fashioned oats for these cookies! You can use quick-cooking oats for this recipe but the texture will be slightly different. If you use old-fashioned rolled oats, these cookies will be thicker and chewier and if you use quick oats they’ll have a lighter, fluffier texture. Both will work fine and it’s just up to your preference. I would not use steel-cut oats for these cookies.
These cookies are not gluten-free (since they have all-purpose flour) but if you need to make these cookies gluten-free just use gluten-free flour (I recommend Bob’s Red Mill 1:1 Gluten-free Flour) or oat flour. You can use regular oat flour or make your own using homemade oat flour (just blend up certified gluten-free oats in a blender or food processor until a flour-like consistency).
Did you make this? If you snap a photo, please be sure leave a review, tag me on Instagram or TikTok at @LaurenFitFoodie or hashtag #LaurenFitFoodie so I can see your creations!
Soft & Chewy Peanut Butter Oatmeal Cookies
Ingredients
- 1.5 cups old fashioned oats (120g)
- 1/2 cup all-purpose flour (60g)
- 1/2 tsp cinnamon
- 1/2 tsp baking soda
- 1/4 tsp salt
- 1/2 cup unsalted butter (112g) room temp
- 1/2 cup creamy peanut butter (120g)
- 2/3 cup packed brown sugar (128g)
- 1/3 cup granulated sugar (64g)
- 1 large egg
- 1.5 tsp vanilla extract
Before You Begin! If you make this, please leave a review and rating letting us know how you liked this recipe! This helps our business thrive & continue providing free recipes. Scroll for macros and MyFitnessPal code.
Instructions
- Preheat the oven to 350 degrees F. Line two baking sheets with parchment paper (or just one if making a half batch).
- In a medium bowl, whisk the oats, flour, cinnamon, baking soda and salt together. Set aside.
- In the bowl of your Kitchenaid, or in a bowl with a hand mixer, beat the butter, peanut butter, brown sugar and sugar together on medium speed until creamed, about 2 minutes.
- Add the egg and vanilla and mix until combined.
- Then add the dry ingredients and beat on low, just until the dry ingredients are just mixed in.
- Scoop dough into 2 tablespoons balls and place on a baking sheet 2 inches apart.
- Bake for 10-12 minutes or until golden brown along the edges. They will still look underdone in the center.
- Let cookies cool on the pan for 5-10 minutes then transfer to a wire rack to finish cooling.
Notes
Nutrition Information
Nutrition is hand-calculated and accurate. No autocalulations! However, note that values can vary based on the brands you use and if you substitute ingredients.