This post may contain affiliate links. Please read my disclosure policy.

About This Recipe
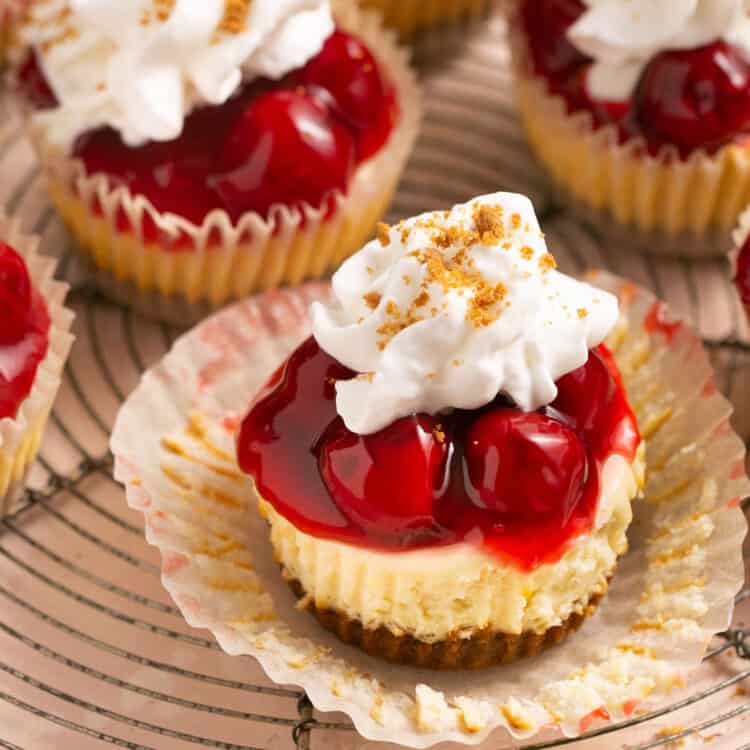
If you’re looking for the best healthy dessert to make for Valentine’s day or the perfect summer dessert, you have to try this no bake cherry cheesecake recipe! It’s so simple and so delicious!
These creamy miniature desserts that are lightened up and high protein but don’t taste it for a second!
These no bake mini cheesecakes only take 30 minutes to put together! Throw them in the fridge for a few hours to chill and you’re good to go!
You can also bake these cheesecakes if you prefer a more traditional cheesecake texture. Honestly, you can’t go wrong either way and any cheesecake lovers will enjoy this recipes!
Just like my Mini Biscoff Cookie Cheesecakes, these cheesecakes are lightened up with just a few simple ingredient swaps!
We use a combination of greek yogurt (instead of sour cream) for extra protein and reduced-fat cream cheese. The protein powder also serves to add extra protein and sweetness but you can easily omit if you prefer!
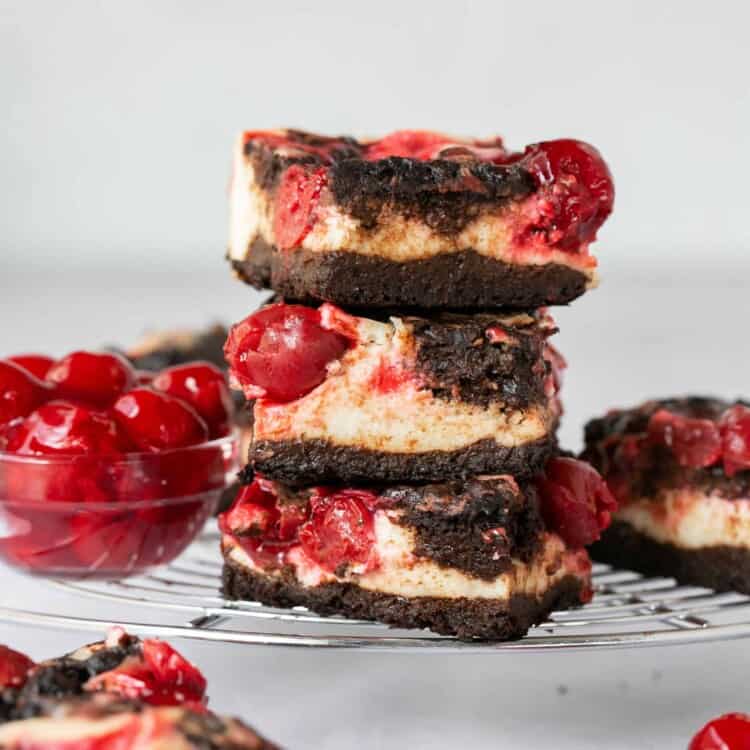
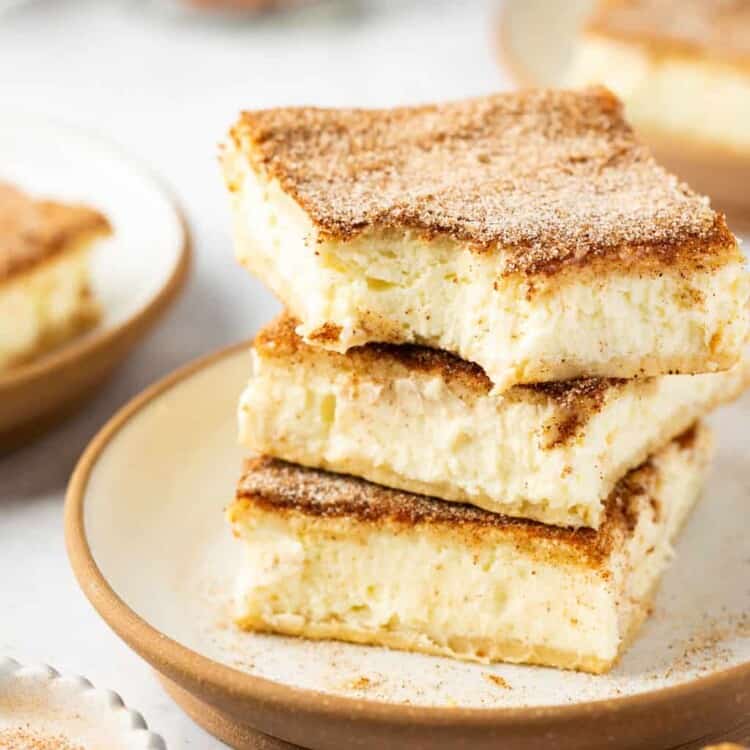
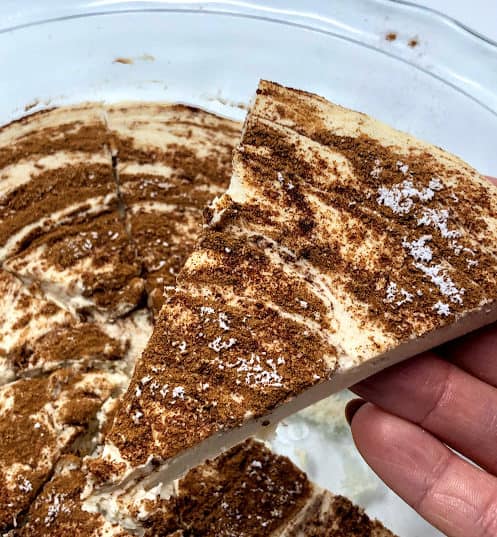
Looking for more desserts like these mini cherry cheesecake bites? Try my Healthy Cherry Cheesecake Swirl Brownies for a fun twist on the classic brownie recipe or my favorite Low-Fat Cinnamon Swirl Protein Cheesecake for the ultimate healthy dessert!
Why You’ll Love These Mini Cherry Cheesecakes
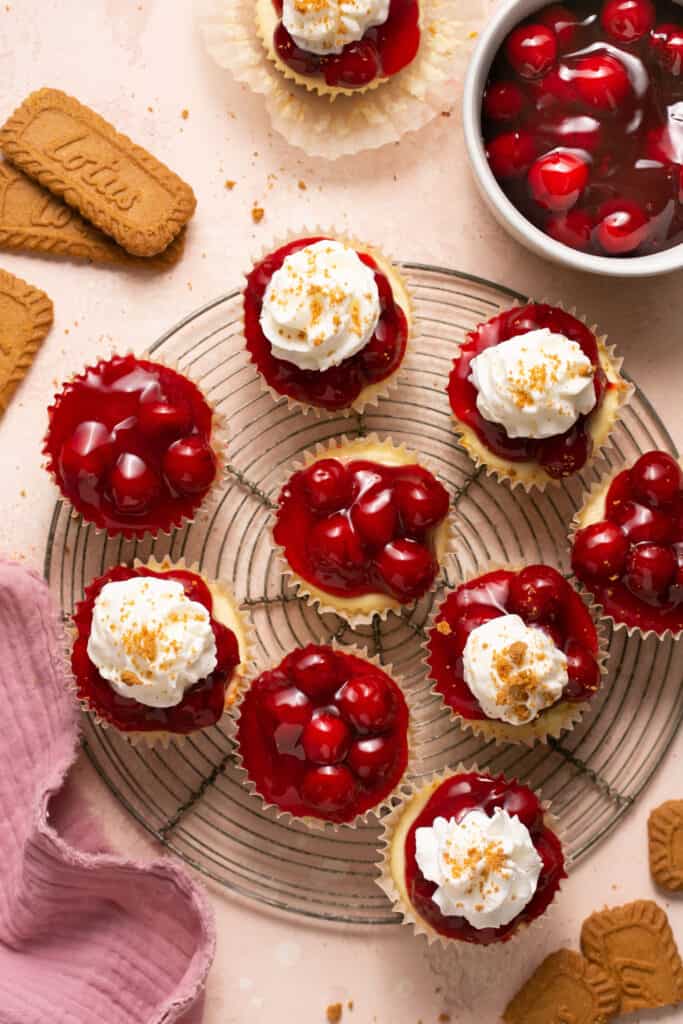
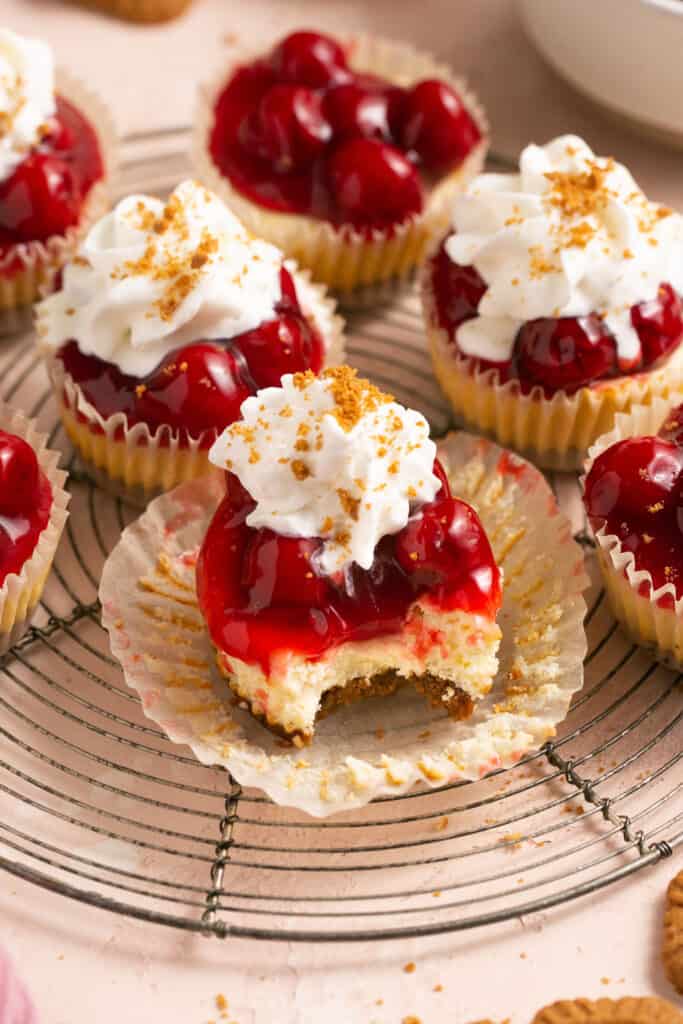
- The best creamy cheesecake filling on top of a crisp cookie crust and finished with a sweet cherry topping!
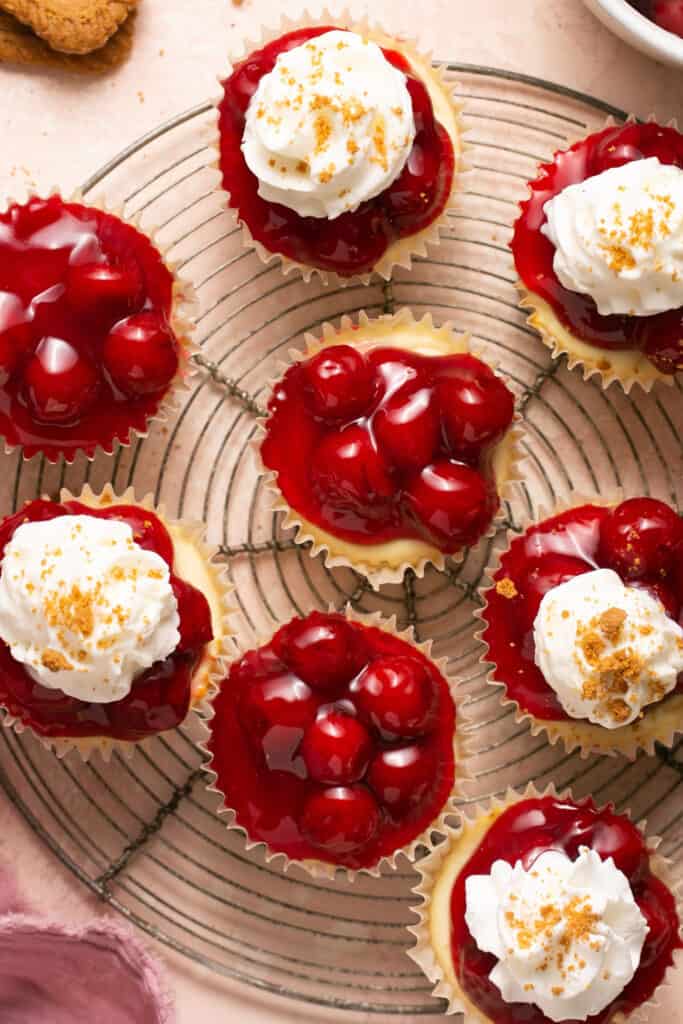
- The perfect bite-sized sweet treat! A great single serve dessert option during the summer months!
- An easy recipe for the best no bake desserts (or you can bake them too)!
- Only 200 calories and over 6 grams of protein per cheesecake!
- The great thing is no one would ever know they’re lightened up.
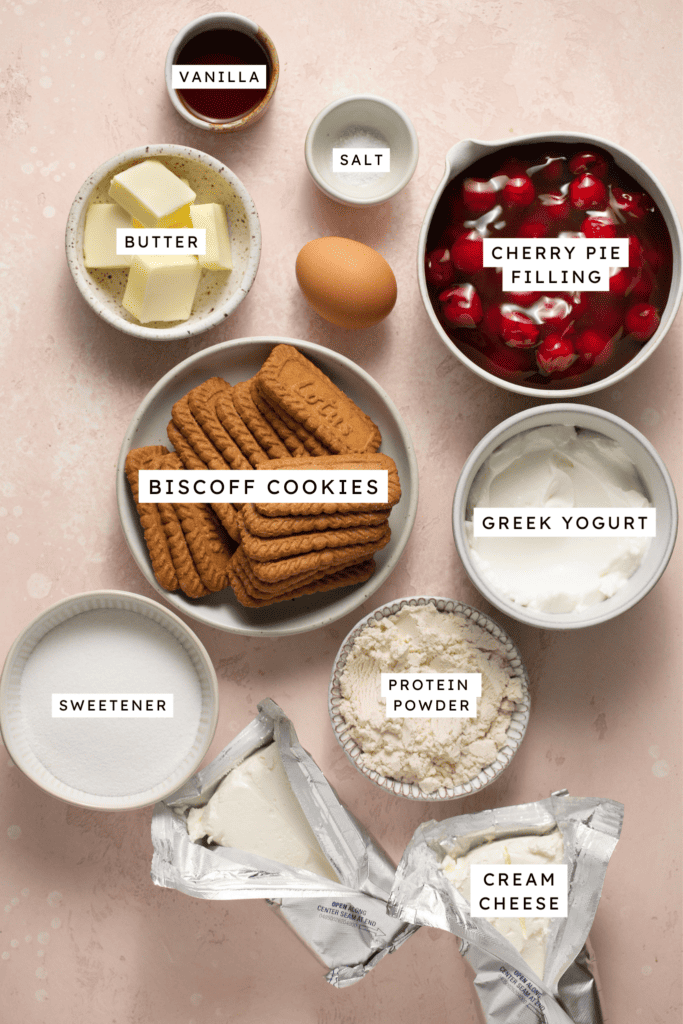
- Biscoff cookies – you can also use graham crackers or vanilla wafers.
- Sweetener – I used Truvia but you can also use granular sugar or your favorite sweetener
- Light butter – I used I Can’t Believe It’s Not Butter. You can use any butter or sub with oil for non-dairy.
- Cream cheese – normal, reduced-fat, fat free, Greek cream cheese or vegan all work.
- Greek yogurt – I used plain nonfat Greek yogurt
- Protein powder – I used PEScience Vanilla (code Laurenfitfoodie to save!) Since this is a no-bake dessert, any protein should work here (whey, casein, or vegan).
- Vanilla extract
- Cherry fruit filling – you will only use half. You can also sub for sugar-free or light cherry pie filling and it will reduce the carbs by 2 for each mini cheesecake.
- Whipped cream – This is optional but sure makes it look pretty.
- Omit the protein powder! The protein powder adds flavor and sweetness to this recipe. If you wish to omit, I would recommend tasting the batter before chilling and adding more sweetener to taste.
- Use fresh fruit! Swap the store-bought cherry pie filling for homemade cherry pie filling or fresh berries!
- Switch up the flavor! Sub the cherry filling for blueberry, strawberry or apple pie filling. Or use Oreo cookies to make mini Oreo cheesecakes!
- Make cheesecakes gluten-free! If you need to make these mini cheesecakes gluten-free, I recommend using gluten-free graham cracker crumbs.
- Bake them instead! Love the tastes of traditional baked cheesecake? Add an egg and bake cheesecakes for 25-30 minutes.
How To Make
The full printable recipe is below, but let me walk you through the process so you know what to expect when you’re making it!
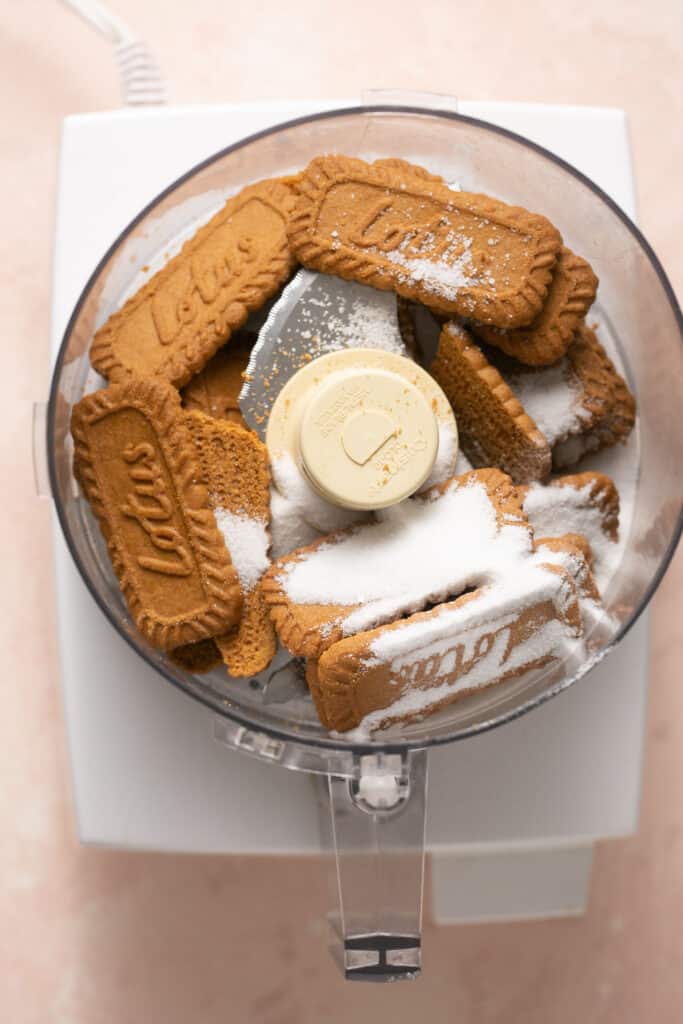
1. For the Crust: Line a muffin tin with cupcake liners and/or spray 12 cavities with cooking spray. Add the biscoff cookies, sugar and salt to a food processor.
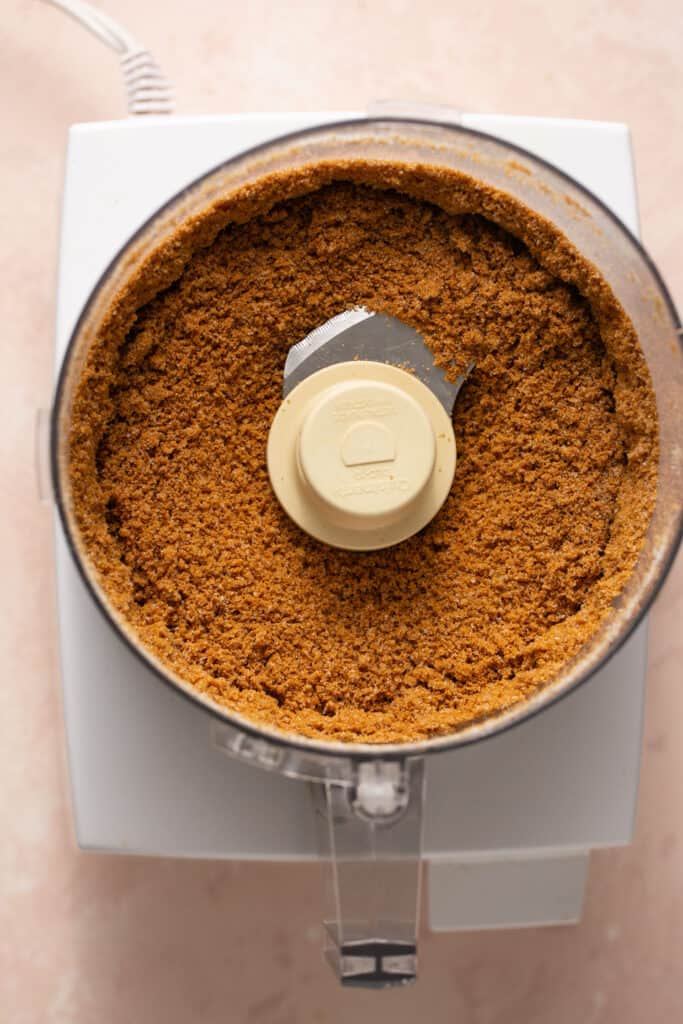
2. Pulse until no chunks remain and it becomes like fine sand.

3. Add the melted butter and mix until combined.
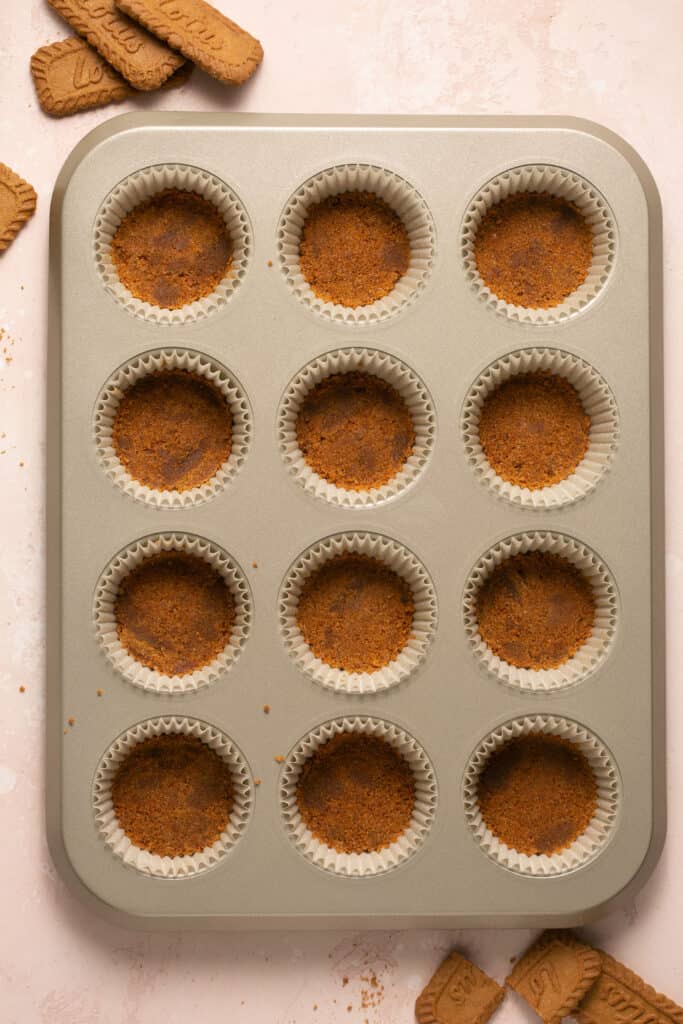
4. Then distribute evenly (about a heaping tablespoon each) amongst the 12 cupcake liners. Press the crumbles down with the bottom of a shot glass (or your fingers).
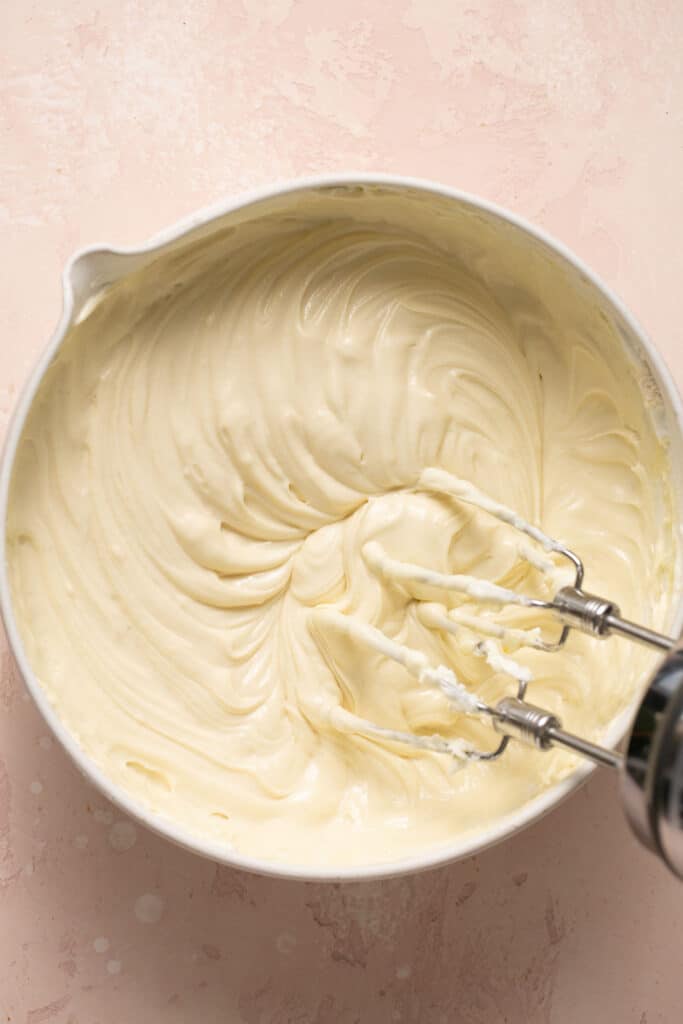
5. For the Cheesecake: In the bowl of a stand mixer fitted with a paddle attachment, add the cream cheese and mix until smooth. Add the rest of the ingredients and mix on low until all the ingredients are incorporated.
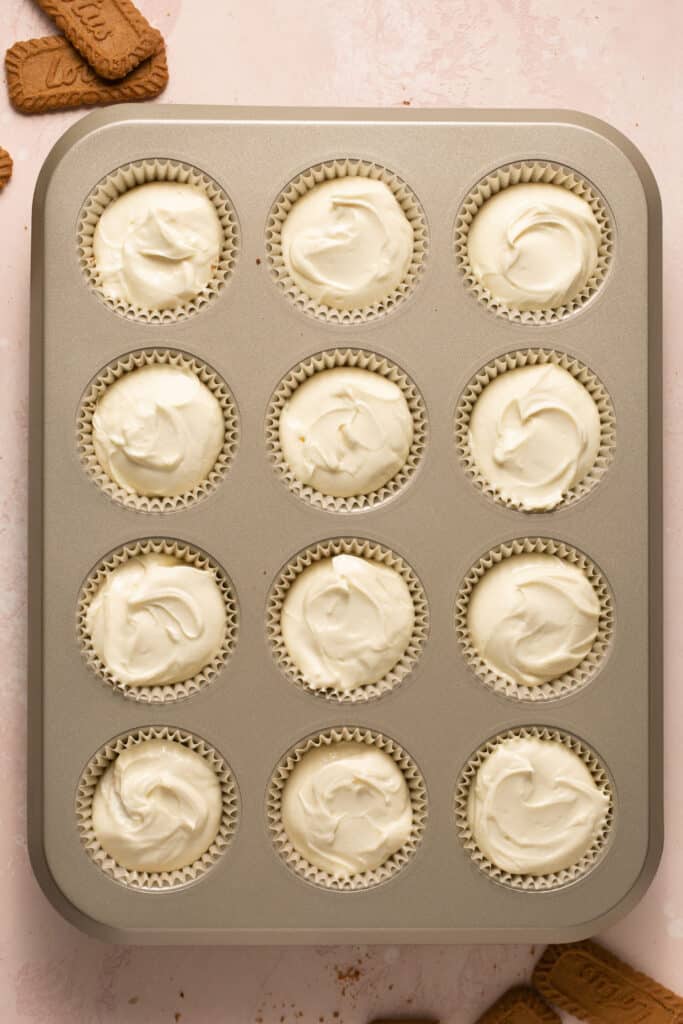
6. Distribute the cheesecake batter evenly between the cupcake liners. They will be filled to the top. Then transfer to the fridge and chill for at least 4 hours.
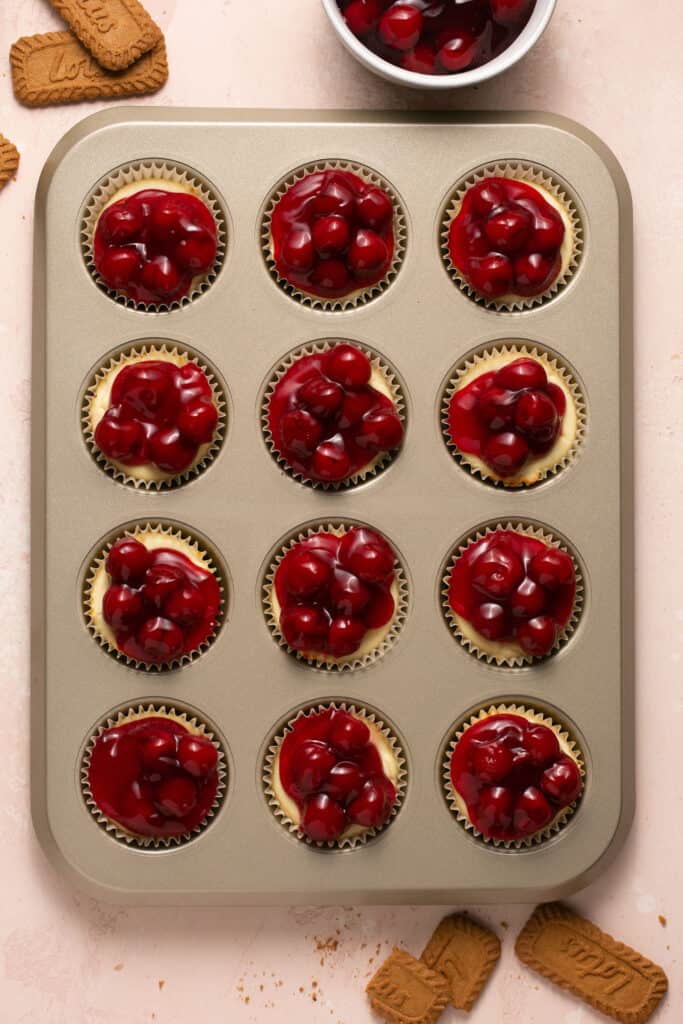
7. For the Topping: Spoon the cherry pie filling evenly on top (you will only use about half of the can).
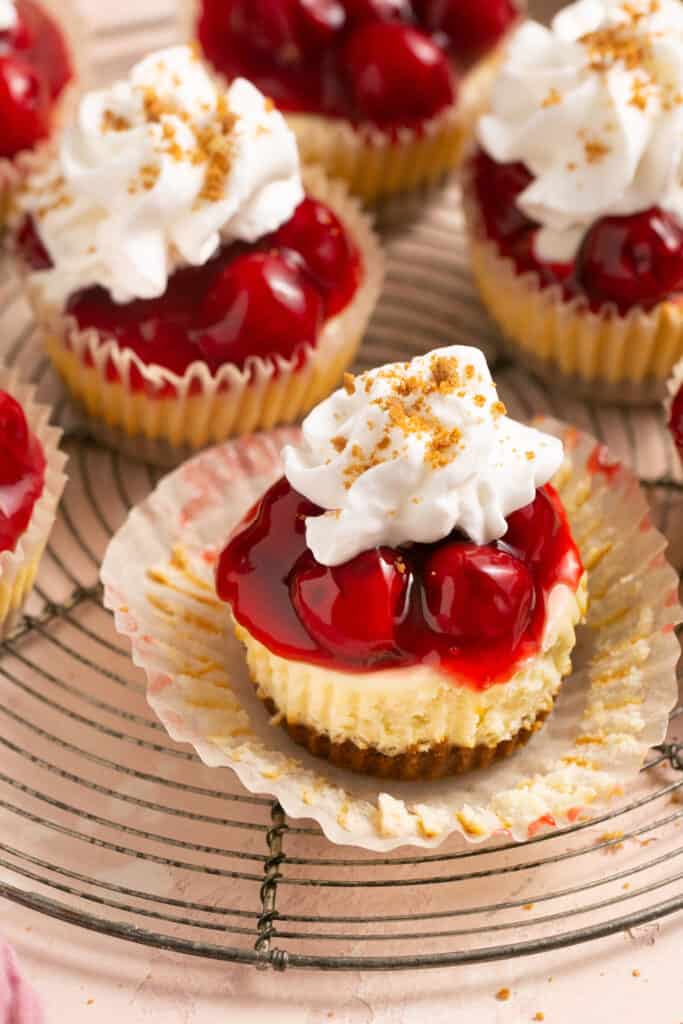
8. Add to the fridge for another hour to chill (recommended) then top with whipped cream and biscoff crumbles (if desired) and enjoy!
To maximize the shelf life of these mini cherry cheesecakes, place them in a covered airtight container or cover with plastic wrap to prevent it from drying out.
- Mini cheesecakes in the fridge will last 1-1.5 weeks.
- Mini cheesecakes in the freezer will last 3-4 months. Freeze individually and thaw overnight in the refrigerator before serving.
Use Room Temperature Ingredients!
Use room temperature ingredients, especially room temperature cream cheese. This will decrease the chance of lumpy cheesecake batter and make sure you get a creamy cheesecake mixture.
Yes, to bake these mini cheesecakes just bake biscoff crust for 10-12 minutes at 350F after step 1 (before adding cream cheese mixture). Add one large egg when mixing the cream cheese mixture (step 2) then after step 2 is complete, bake for 25-30 minutes or until slightly puffy at the edges. Remove from the oven and place on a wire rack to cool for 30 minutes. Then transfer to the fridge and chill for at least 4 hours.
No-bake cheesecake typically has a lighter, smoother, and creamier texture. Traditional baked cheesecake includes an egg which can lead to a denser texture. Despite the difference in creamy texture, both no-bake and regular cheesecake have the same classic flavor and are both delicious!
Yes, you can omit the protein powder. The protein powder adds flavor and sweetness to this recipe. If you wish to omit, I would recommend tasting the batter before chilling and adding more sweetener to taste.
More Cheesecake Recipes You’ll Love

Did you make this? If you snap a photo, please be sure leave a review, tag me on Instagram or TikTok at @LaurenFitFoodie or hashtag #LaurenFitFoodie so I can see your creations!
No Bake Mini Cherry Cheesecakes (High Protein)
Ingredients
Biscoff Cookie Crust:
- 1 cup Biscoff cookies (140g) finely crumbled
- 2 Tbsp Truvia (48g) or sugar
- 1/8 tsp salt
- 1/4 cup light butter (56g) melted
Cheesecake:
- 16 oz. softened cream cheese reduced-fat
- 1/2 cup plain Greek yogurt (120g)
- 1/2 cup Truvia (96g) or sugar
- 1/4 cup vanilla protein powder (30g) can omit, see notes
- 1 Tbsp vanilla extract
Topping:
- 1 (21-oz.) can cherry fruit filling you will only use half
- whipped cream optional
Before You Begin! If you make this, please leave a review and rating letting us know how you liked this recipe! This helps our business thrive & continue providing free recipes. Scroll for macros and MyFitnessPal code.
Instructions
- Line a muffin tin with cupcake liners and/or spray 12 cavities with cooking spray.
- For the Crust: Add the biscoff cookies, sugar and salt to a food processor. Pulse until no chunks remain and it becomes like fine sand. Add the melted butter and mix until combined. Then distribute evenly (about a heaping tablespoon each) amongst the 12 cupcake liners. Press the crumbles down with the bottom of a shot glass (or your fingers).
- For the Cheesecake: In the bowl of a stand mixer fitted with a paddle attachment, add the cream cheese and mix until smooth. Add the rest of the ingredients and mix on low until all the ingredients are incorporated. Distribute the cheesecake batter evenly between the cupcake liners. They will be filled to the top. Then transfer to the fridge and chill for at least 4 hours.
- For the Topping: Spoon the cherry pie filling evenly on top (you will only use about half of the can).
- Add to the fridge for another hour to chill (recommended) then top with whipped cream and biscoff crumbles (if desired) and enjoy!
Notes
Nutrition Information
Nutrition is hand-calculated and accurate. No autocalulations! However, note that values can vary based on the brands you use and if you substitute ingredients.